Hey folks- get ready for another Goodwill make-over!
Here’s the finished product, a chalk board of my very own!
I was shocked at how easy this was- seriously- you’ll see 🙂
 Before:
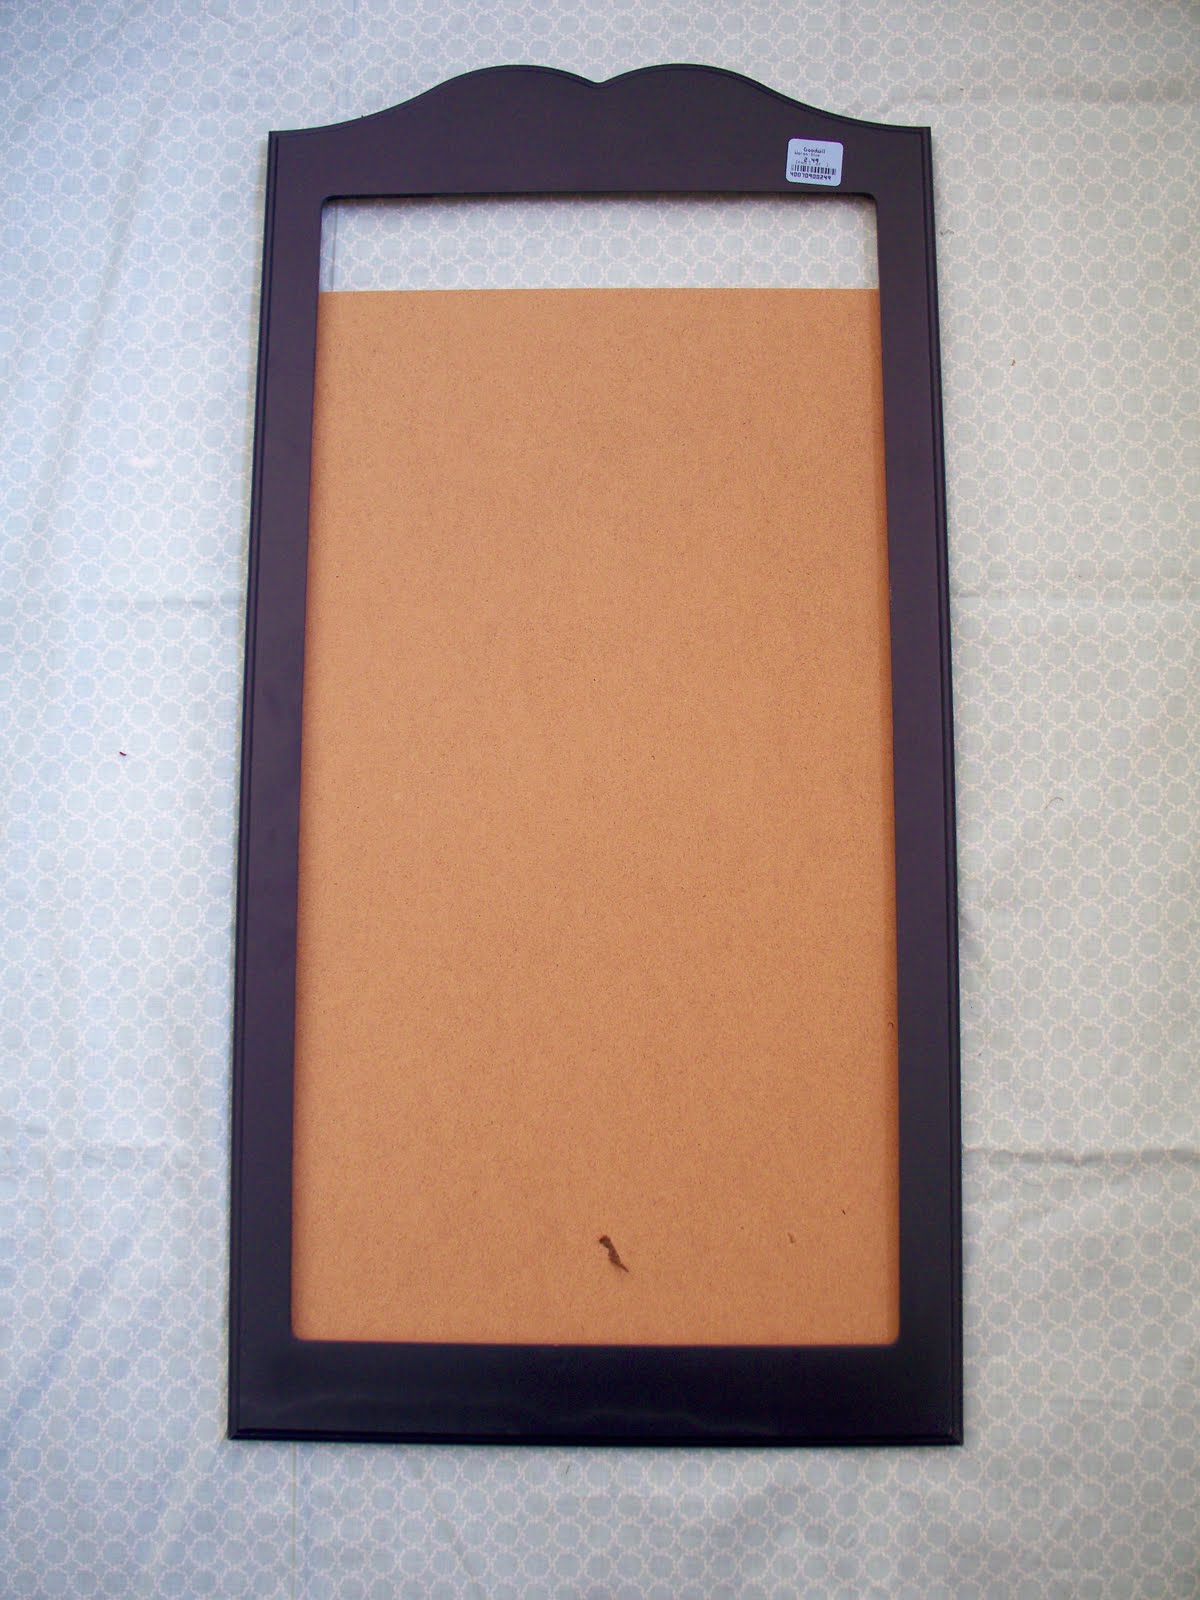
{Some kind of calendar board- priced at $1.99}

{First, I took apart the board- and got my chalkboard paint ready}
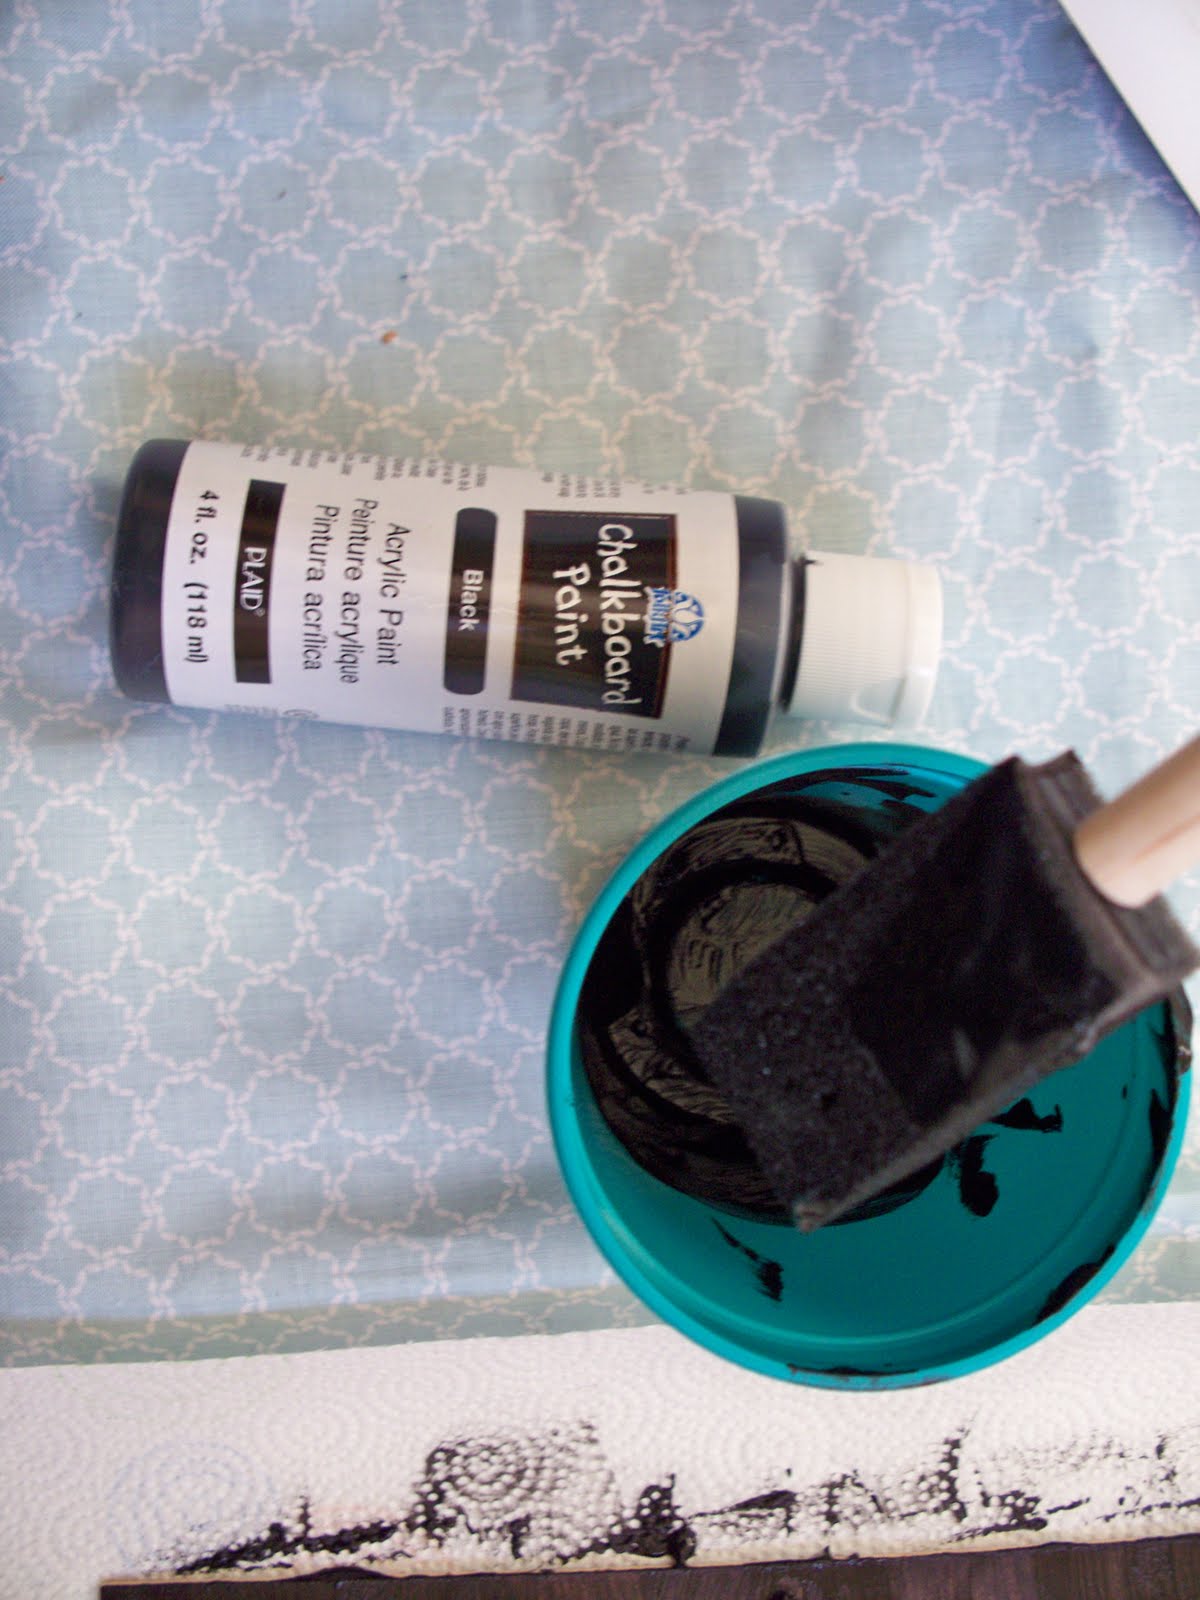
{One coat}

{Two coats}

{Painted the frame a bright teal color!}

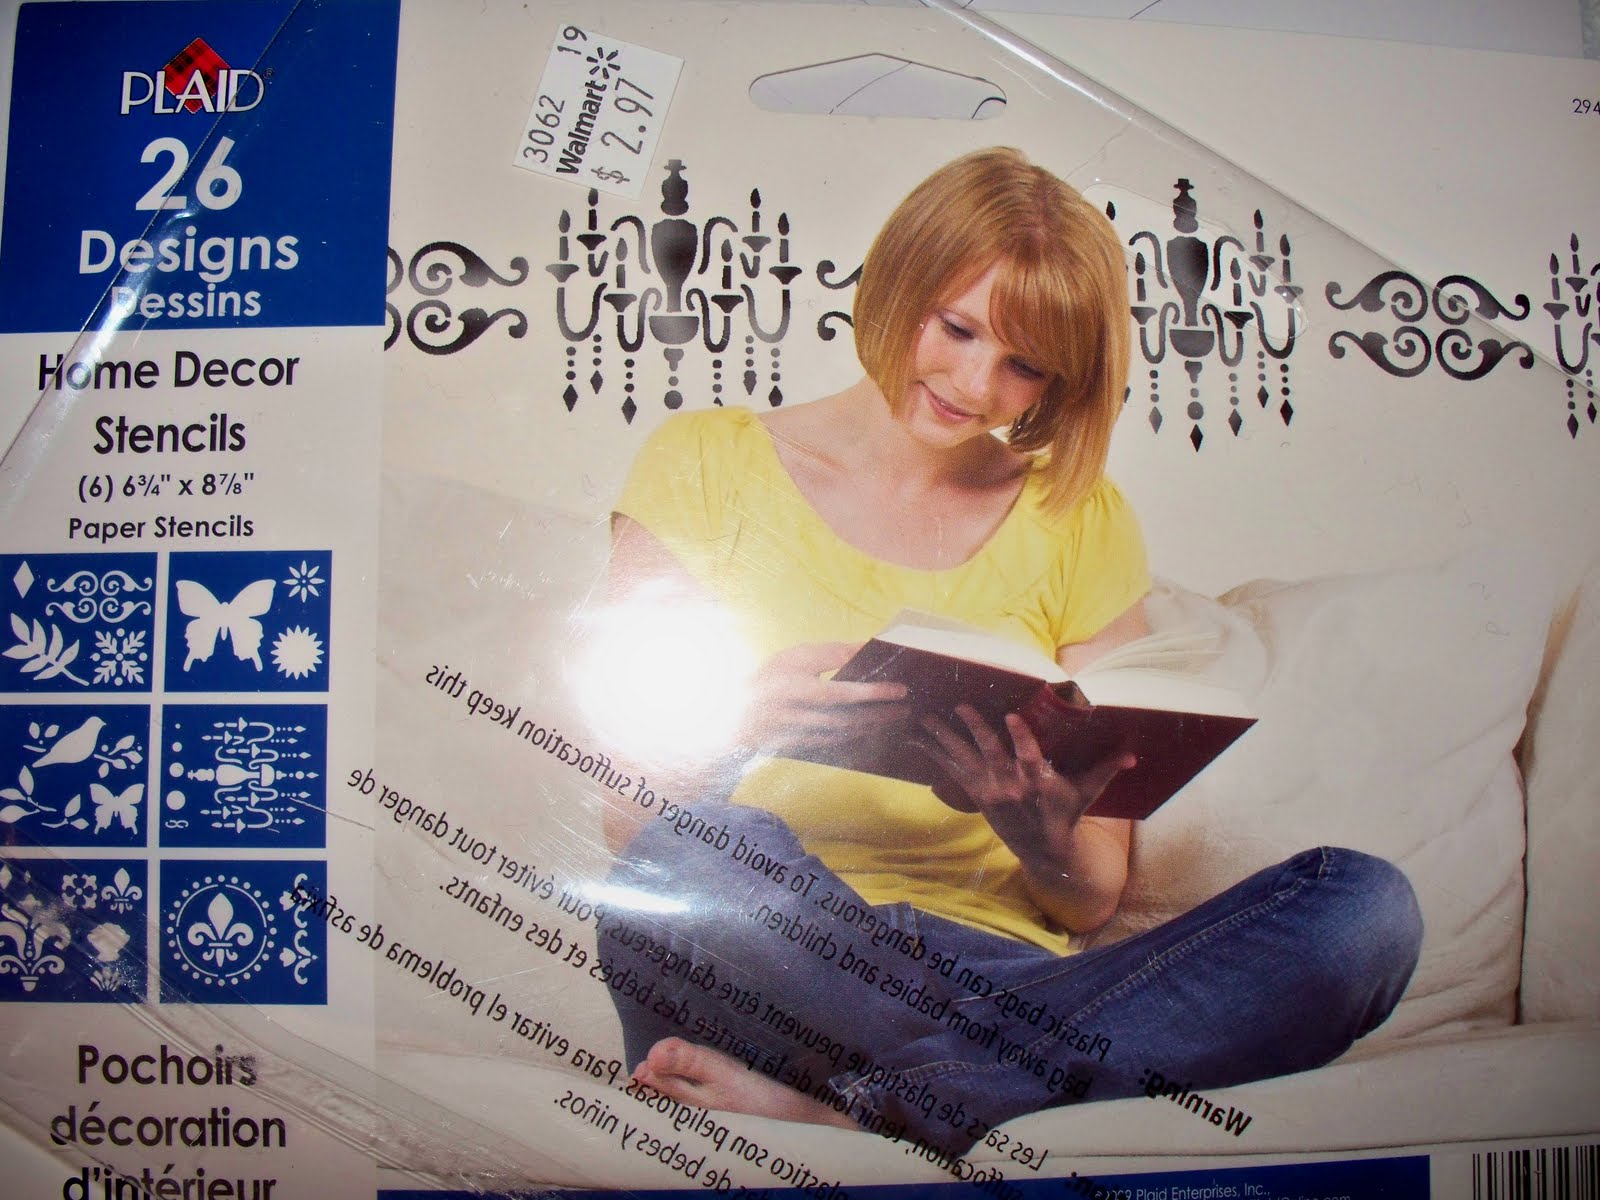
{Did some stenciling}
I used these:
Using a small brush, I added a wing & an eye to the bird.
Then I outlined the stencil using the frame color because:
{these paper stencils were a bit messy}
I cut a piece of fabric to fit the gap that was in the frame and used my staple gun to put everything back together once it was dry.

The Finished Product:
 {Look how perfectly it fits in this space!}
 I’m so proud 🙂
Look how purdy! What do you guys think?


cute! how did the chalkboard paint work out? Did you find two coats was enough? I have a project that will require chalkboard paint, but I am kind of hesitant to do it!
Marissa- Yes, two coats was perfect! If your unsure try using 3 coats! I can’t wait to see your project- and thanks for your comment 😉
I absolutely adore this project! Thanks for sharing about the chalkboard paint! It’s nice to see it step by step. Really great job!
*I must try and make this for myself* 😉
Hope you had a nice weekend!
KareyEllen
KareyEllenDesigns.blogspot.com
Karey- It was really easy- you should try to make it!
Thanks for sharing lady! I love it. I definitely want to make one and the stenciling is adorable.
I love it! I made a chalkboard out of an old mirror. I need to give it another touch up coat though- some of it is coming of. I love yours!
Coming from DIY showoff.
Here’s my chalkboard, if you’re interested:
https://thecozycape.blogspot.com/2010/09/lovin-some-chalkboard-paint.html
Rach- thanks! You should make one & then post a pic!
Cozy Cape- I just checked it out- very cute!
Very fun! The pop of colour would have me gravitating towards drawing something equally colourful. Lovely addition to your room!
Donna
🙂 Thanks so much Donna!