A huge thanks to our friends at Spin Master for sponsoring today’s post. Keep scrolling to see how you can create your own Dinosaur Island Sensory Bin with Kinetic Sand!
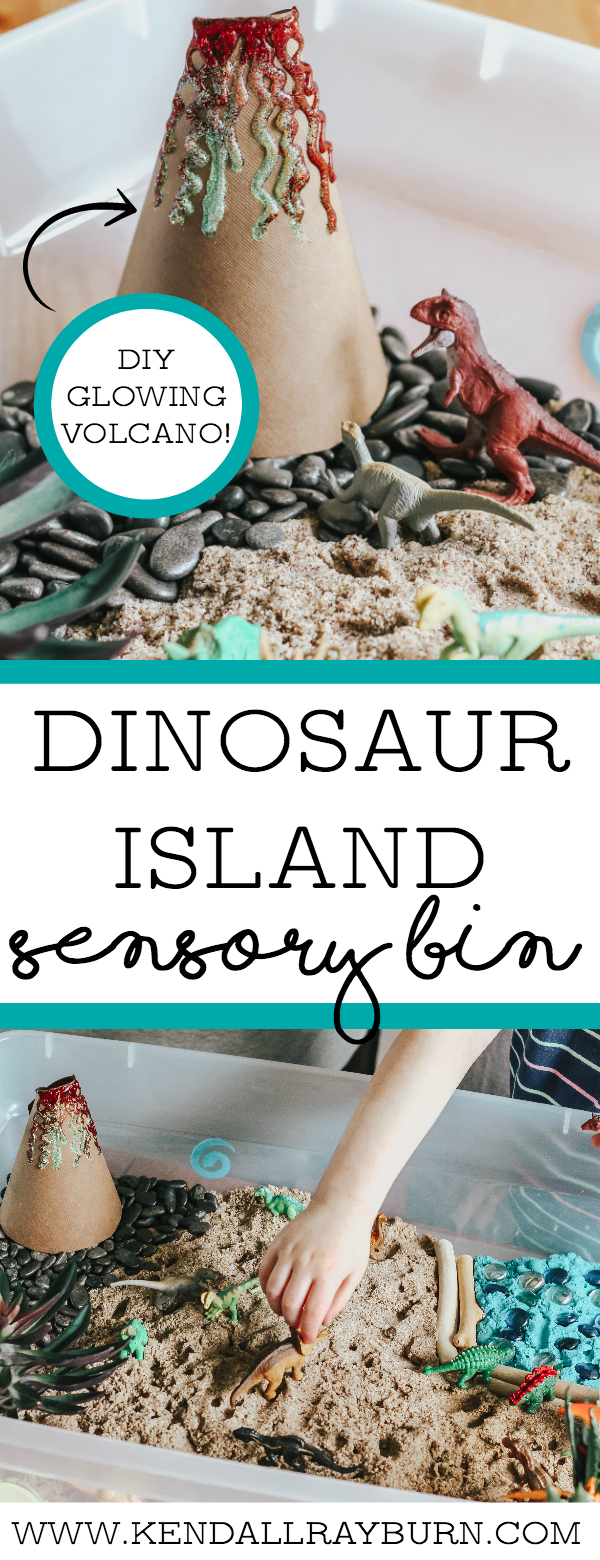
Dinosaur Island Sensory Bin With Kinetic Sand
Hello, friends!
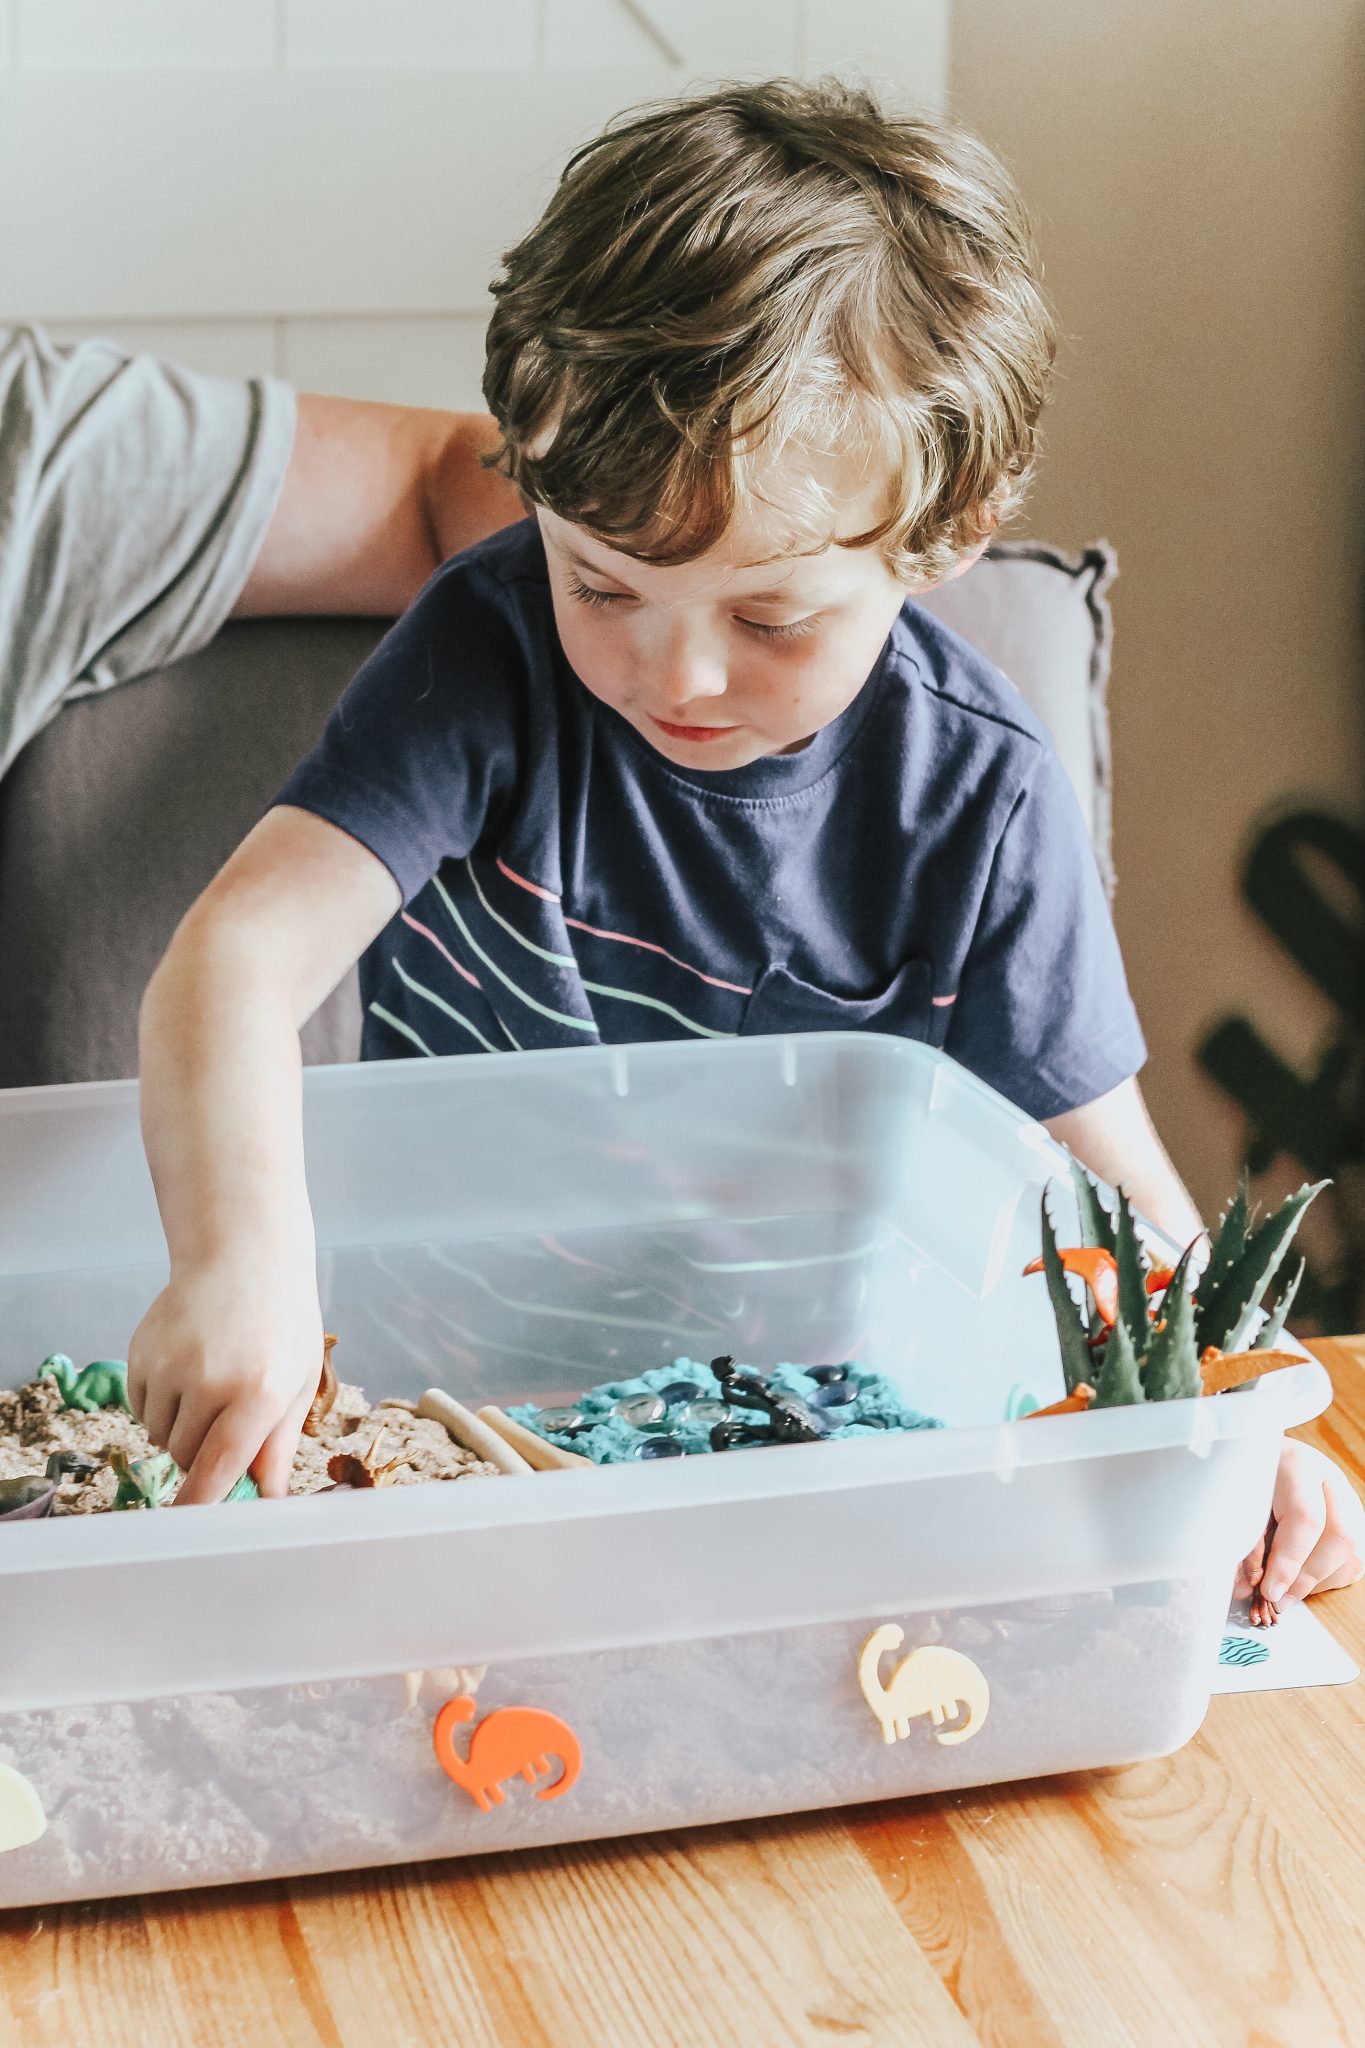
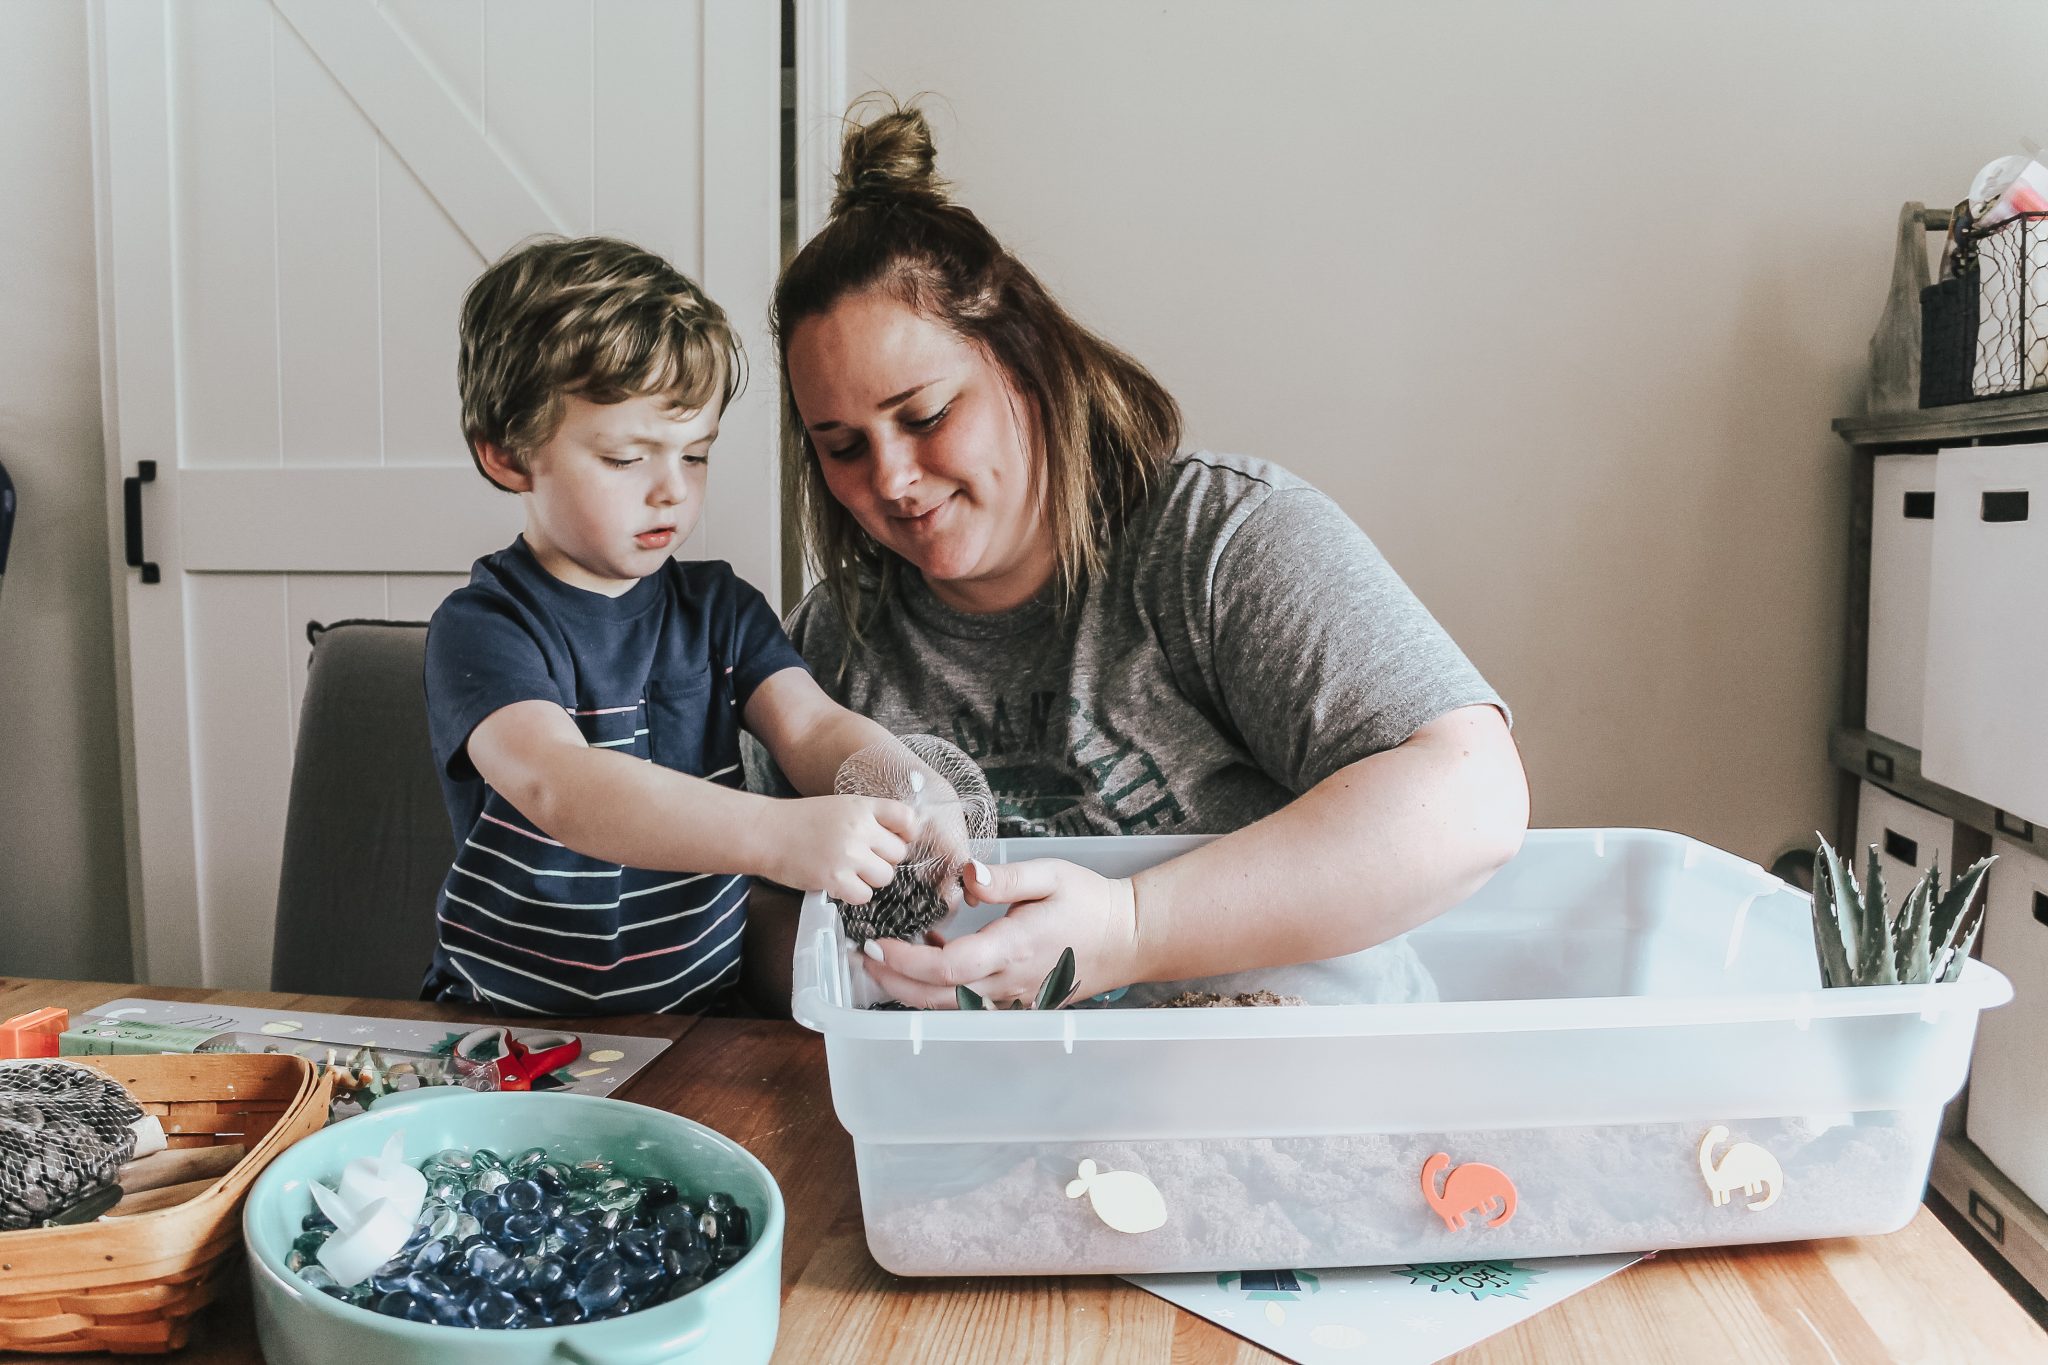
We are so excited to share today’s post with you because we’ll be creating a Dinosaur Island Sensory Bin! We’ve made this bin before and shared it in our Instagram stories and the response was crazy so we wanted to also provide a step-by-step guide to creating your own! Ready?
Step One: Kinetic Sand
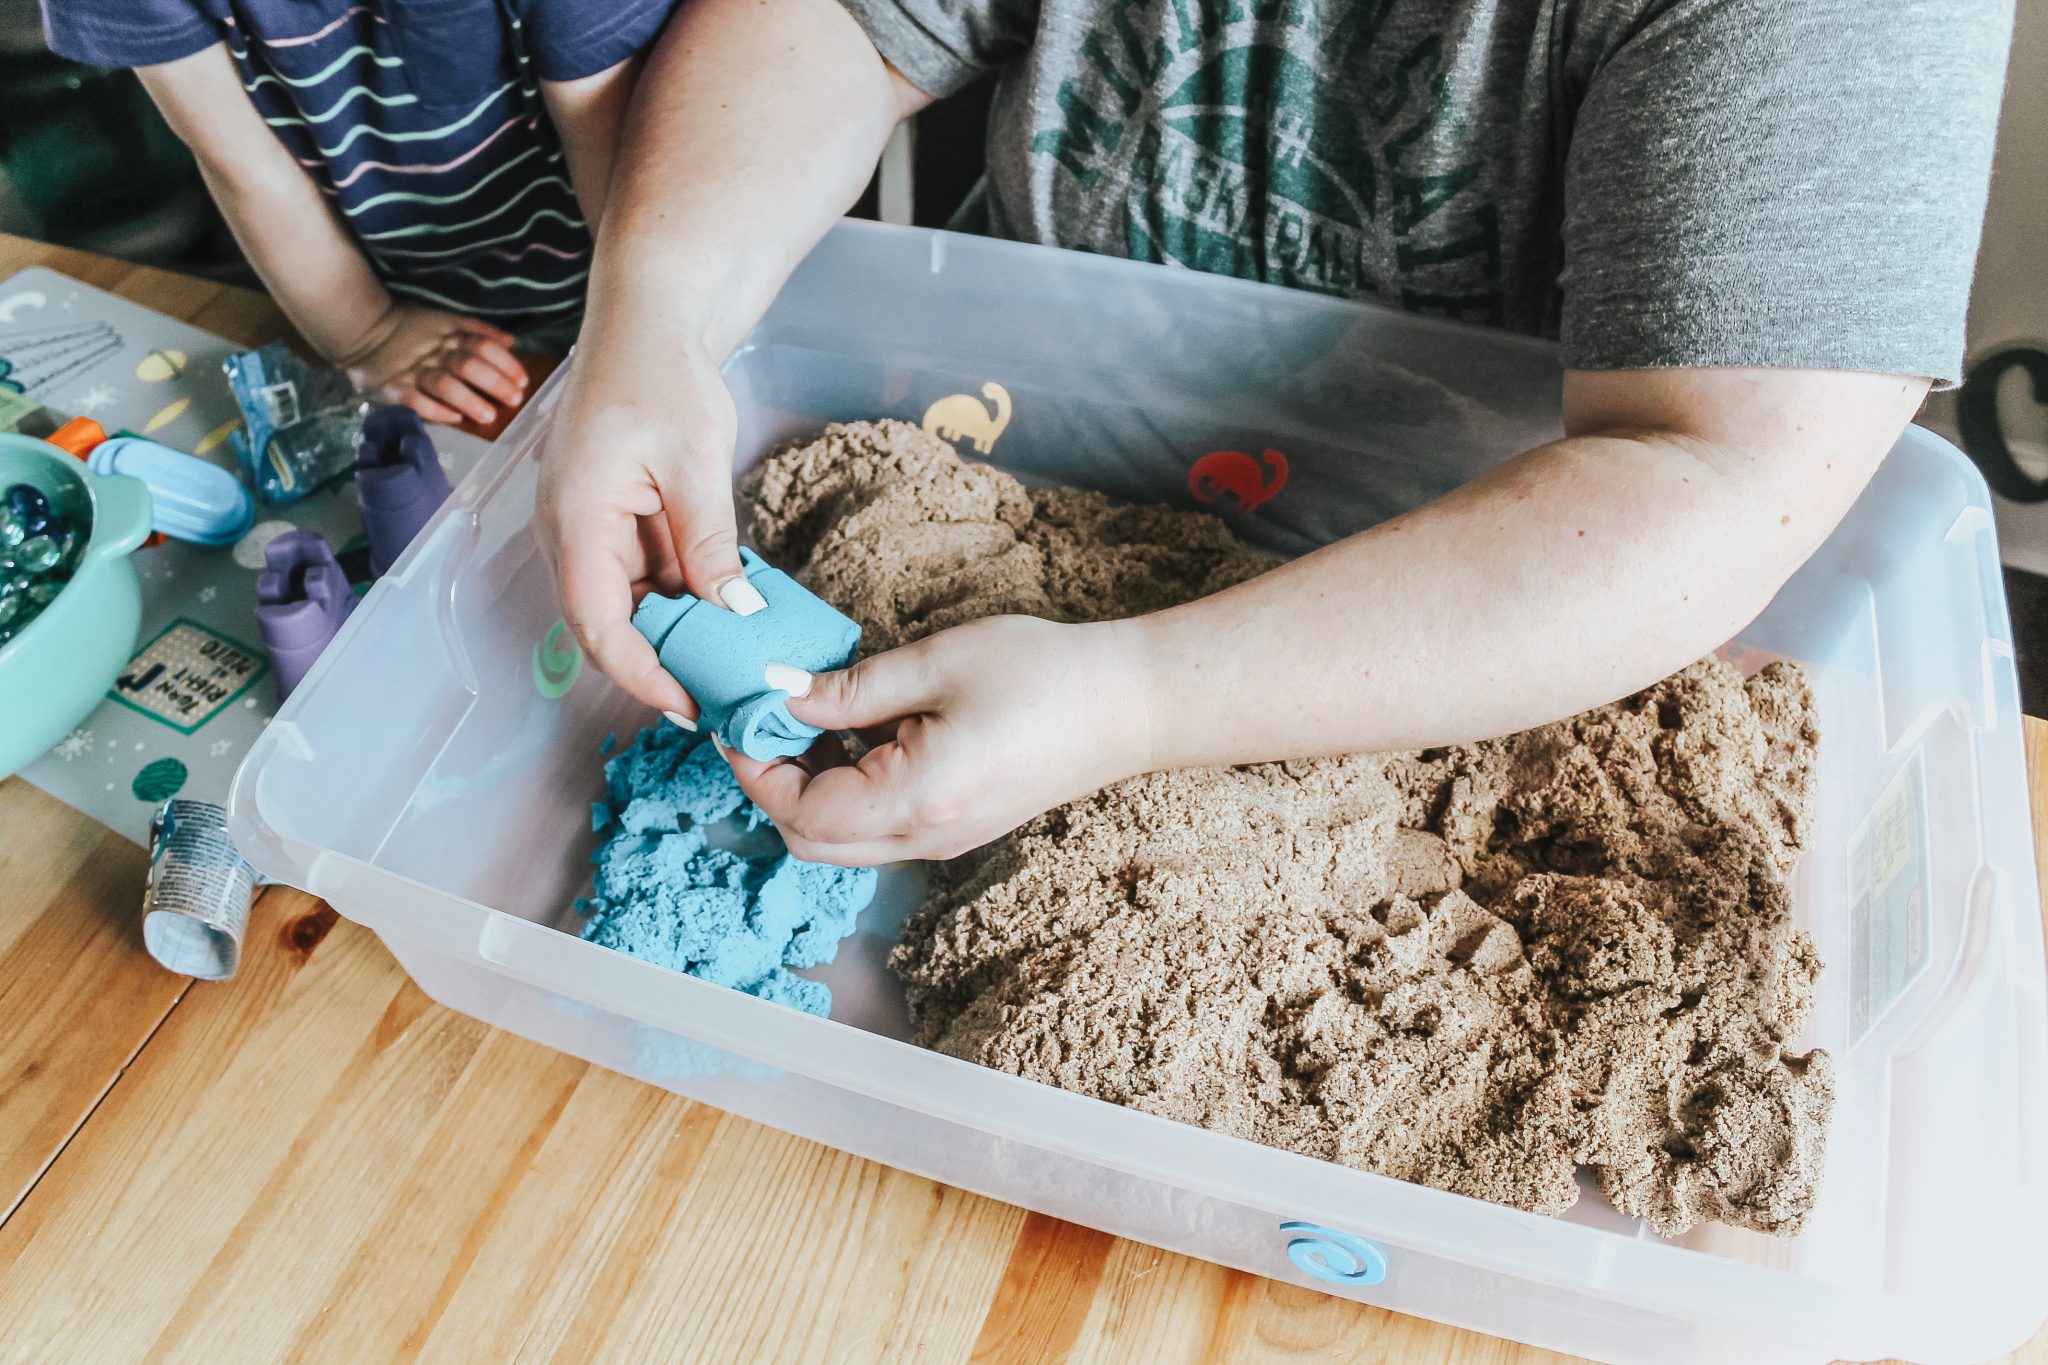
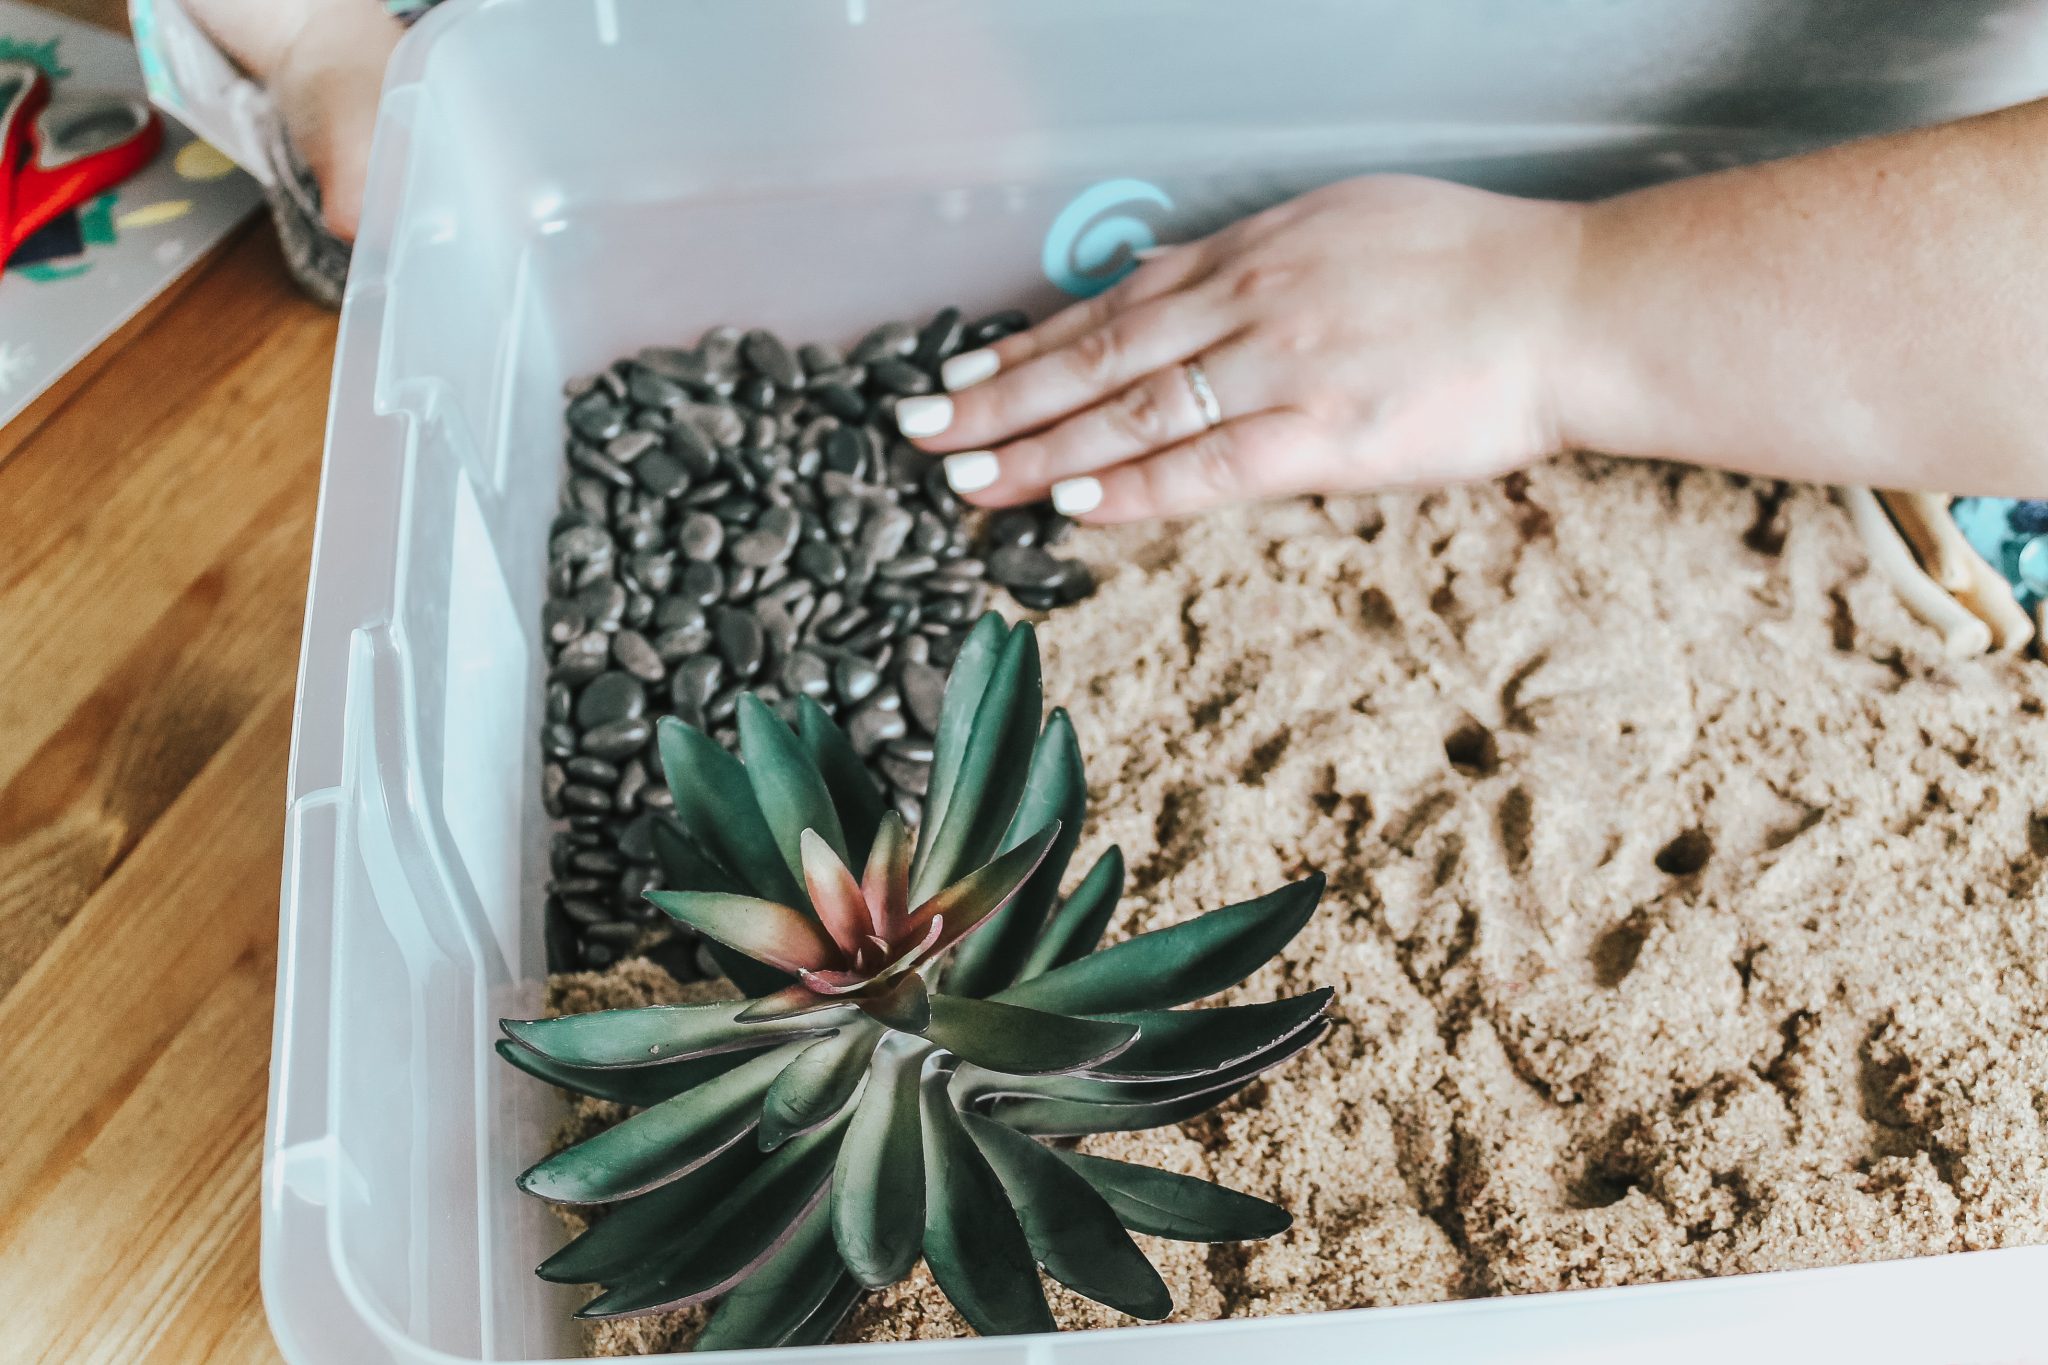
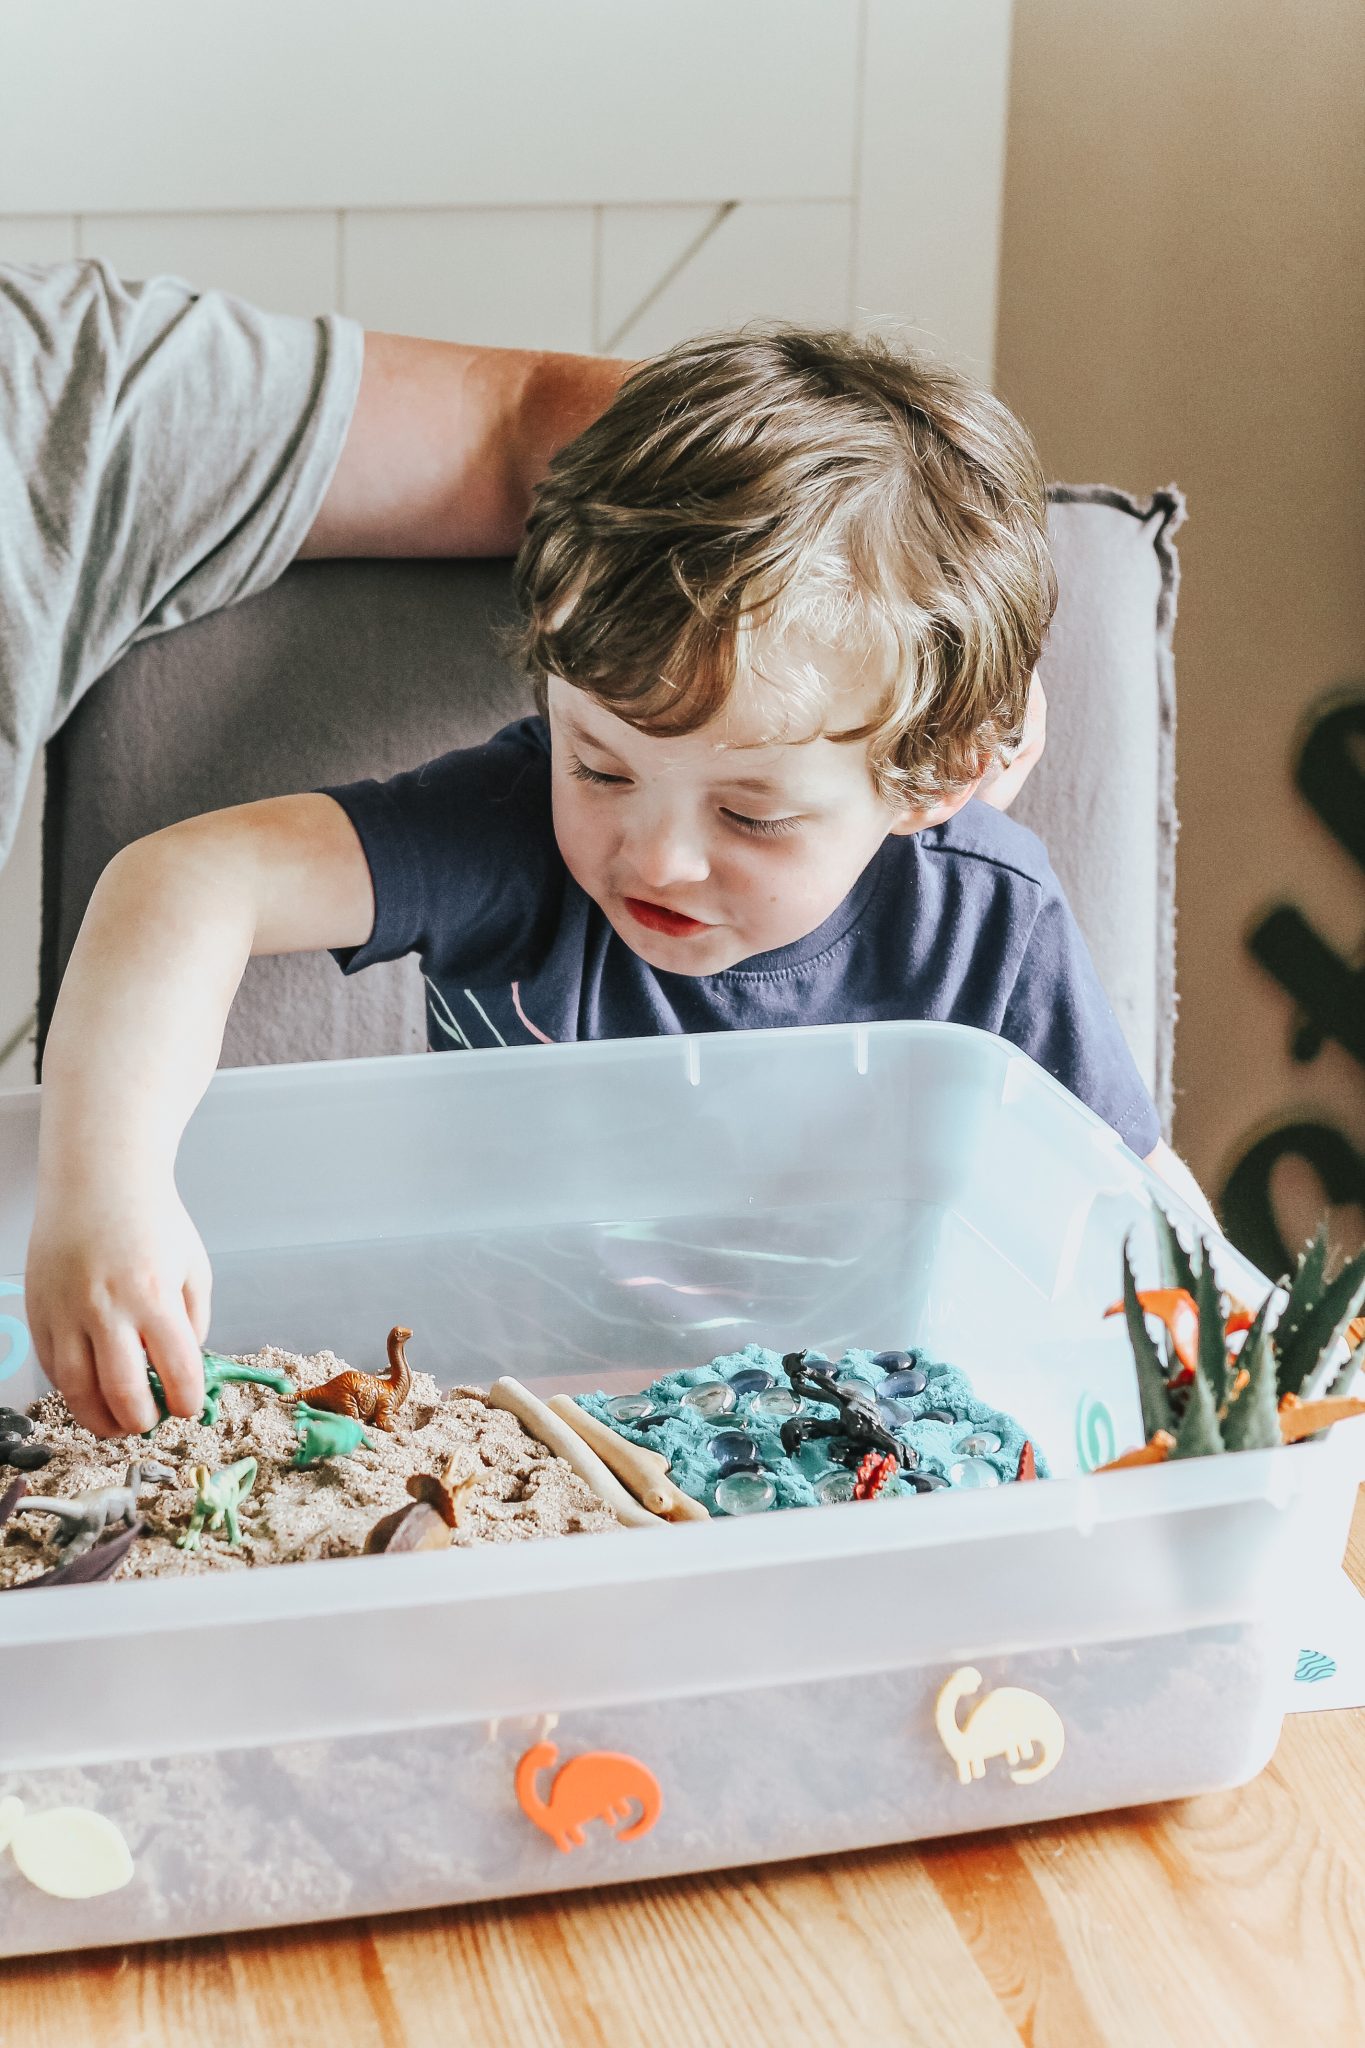
The first thing you’ll want to do is pick up some Kinetic Sand to use as the base of your bin. We used three 3lb bags of the Beach Sand variety and added it into one of our bins. We use the plastic under-bed boxes (it measures: 23 1/2 x 16 7/8 x 5 7/8). I love using these for our sensory bins because they’re large, have a lid, and are really durable. And if you saw our last post with Kinetic Sand you probably know all of the reasons why we love it.
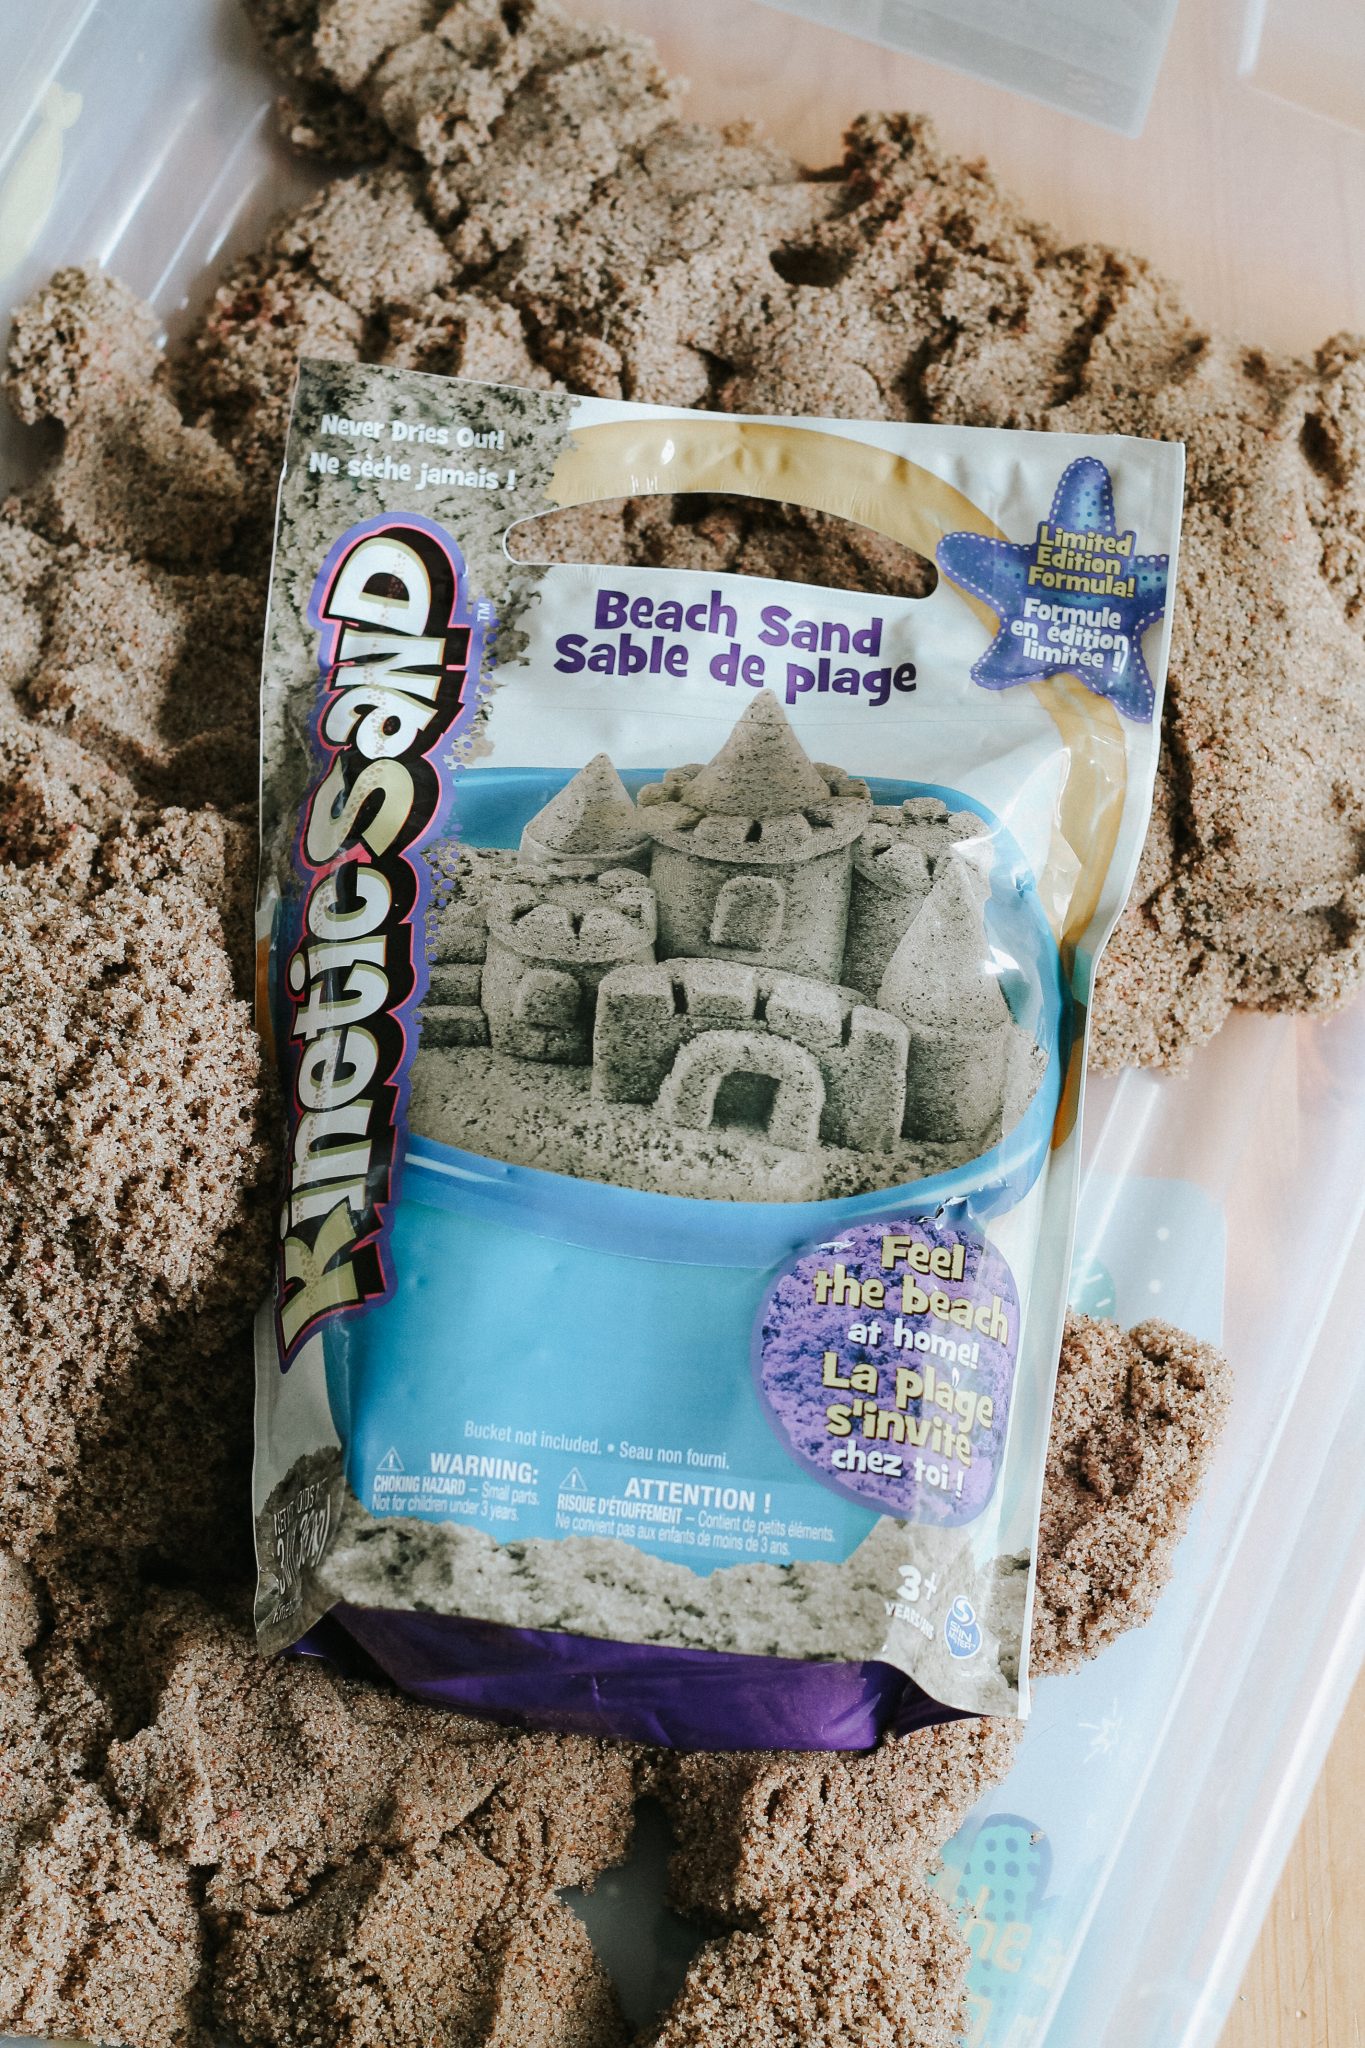
Kinetic Sand moves and melts right in your hands and feels like real sand, but leaves hands clean and dry. It’s easy to mold, non-transferrable to clothes and simple to clean up (which moms everywhere love) because it sticks to itself and nothing else. It’s great for stimulating the creative skills of your kiddos, giving them the freedom to create with an array of colors from bright neon to shimmering metallic sand that sparkles and shines. Regular sand just doesn’t compare, you’ve just got to feel the difference of Kinetic Sand!
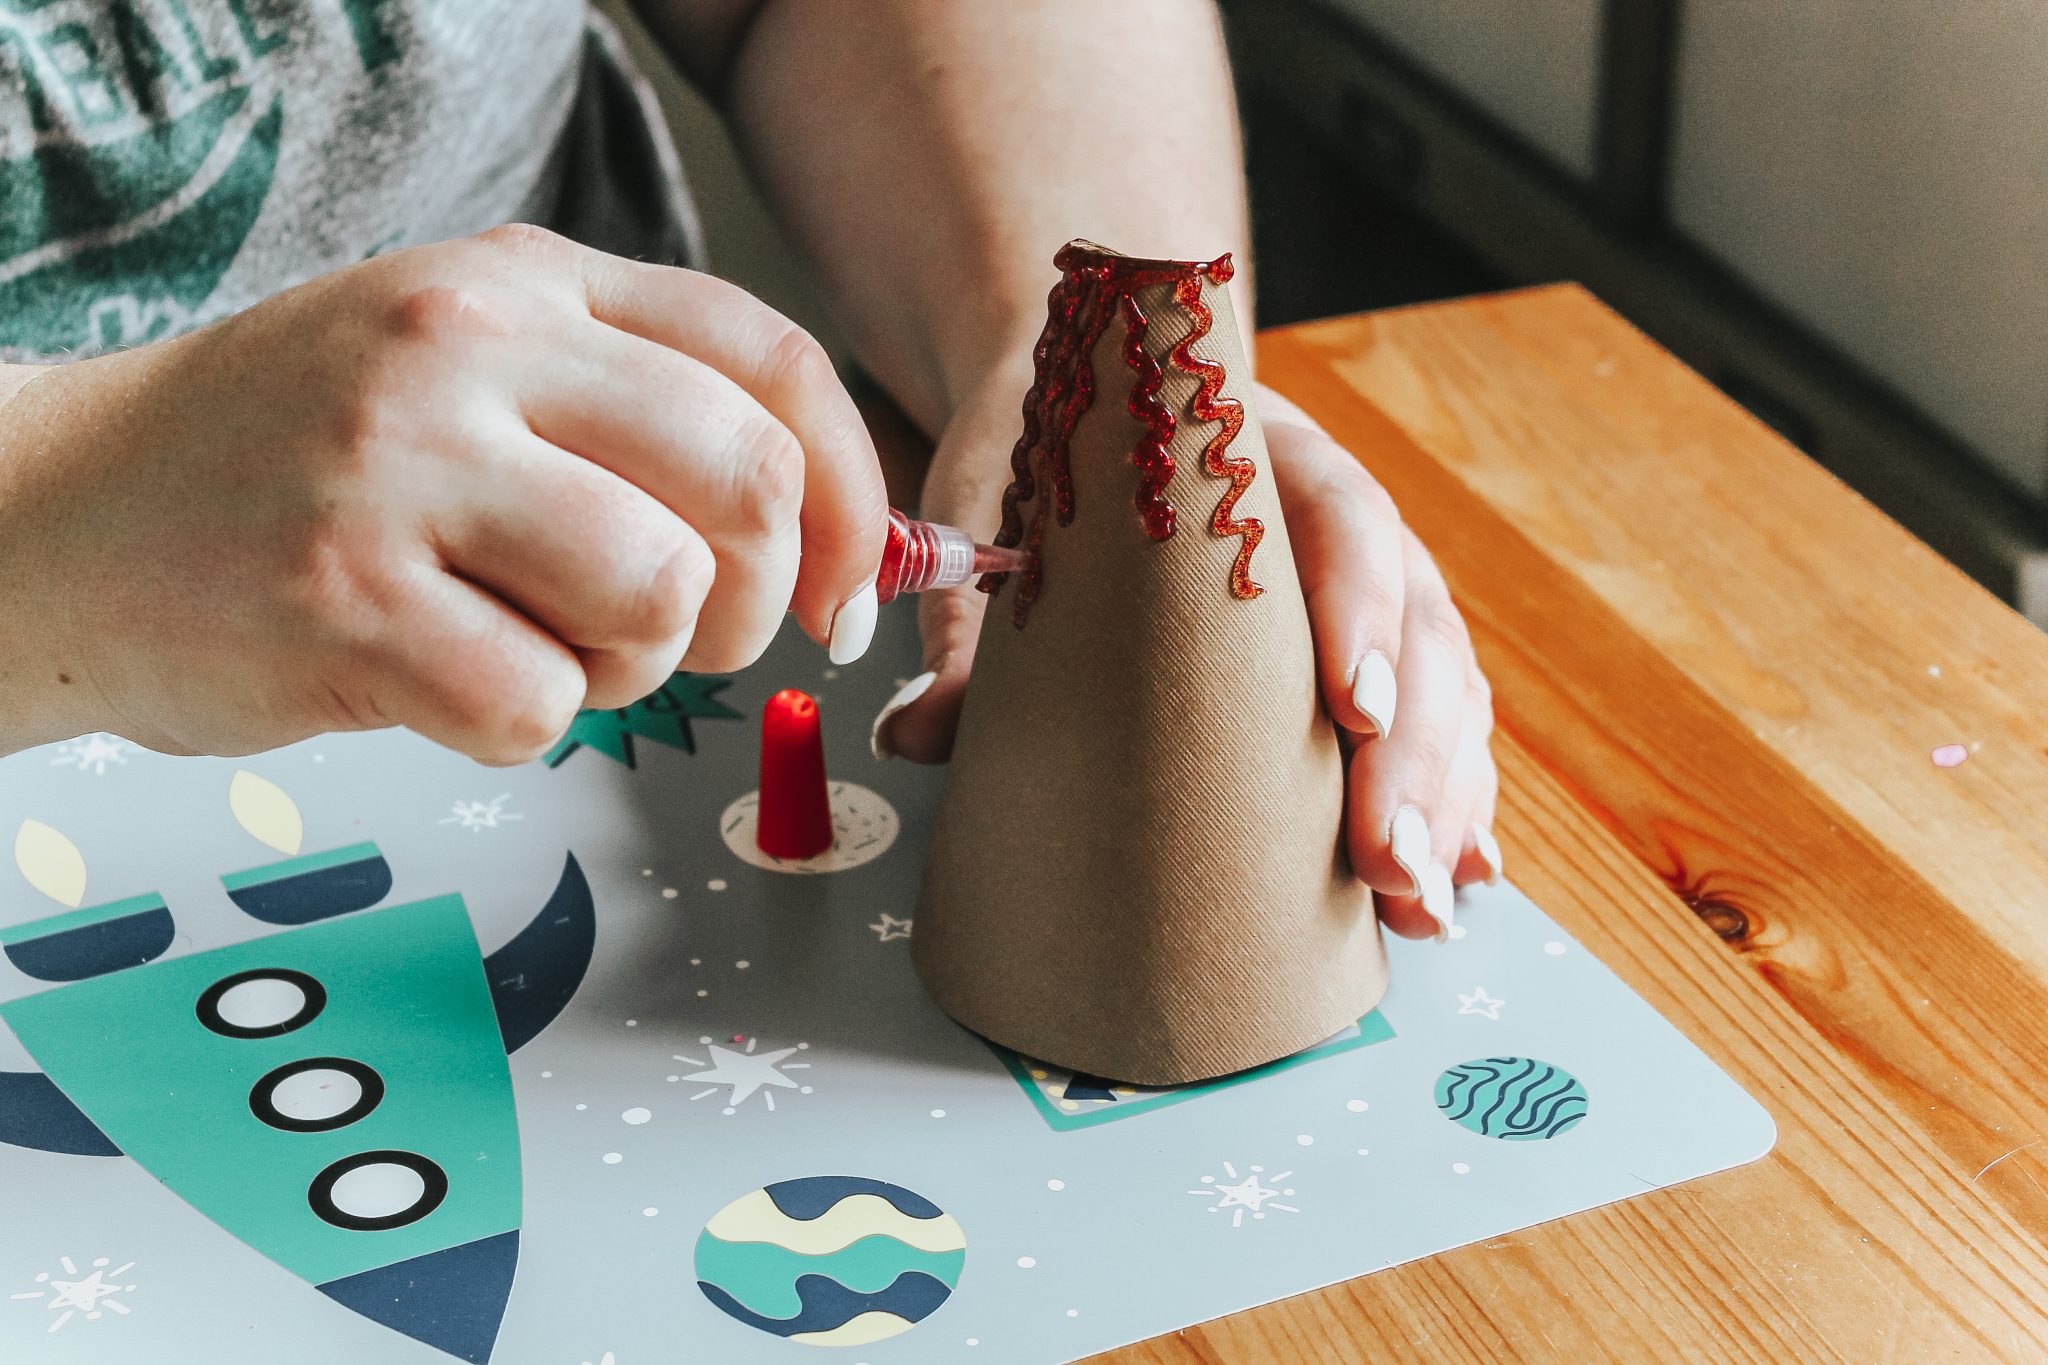
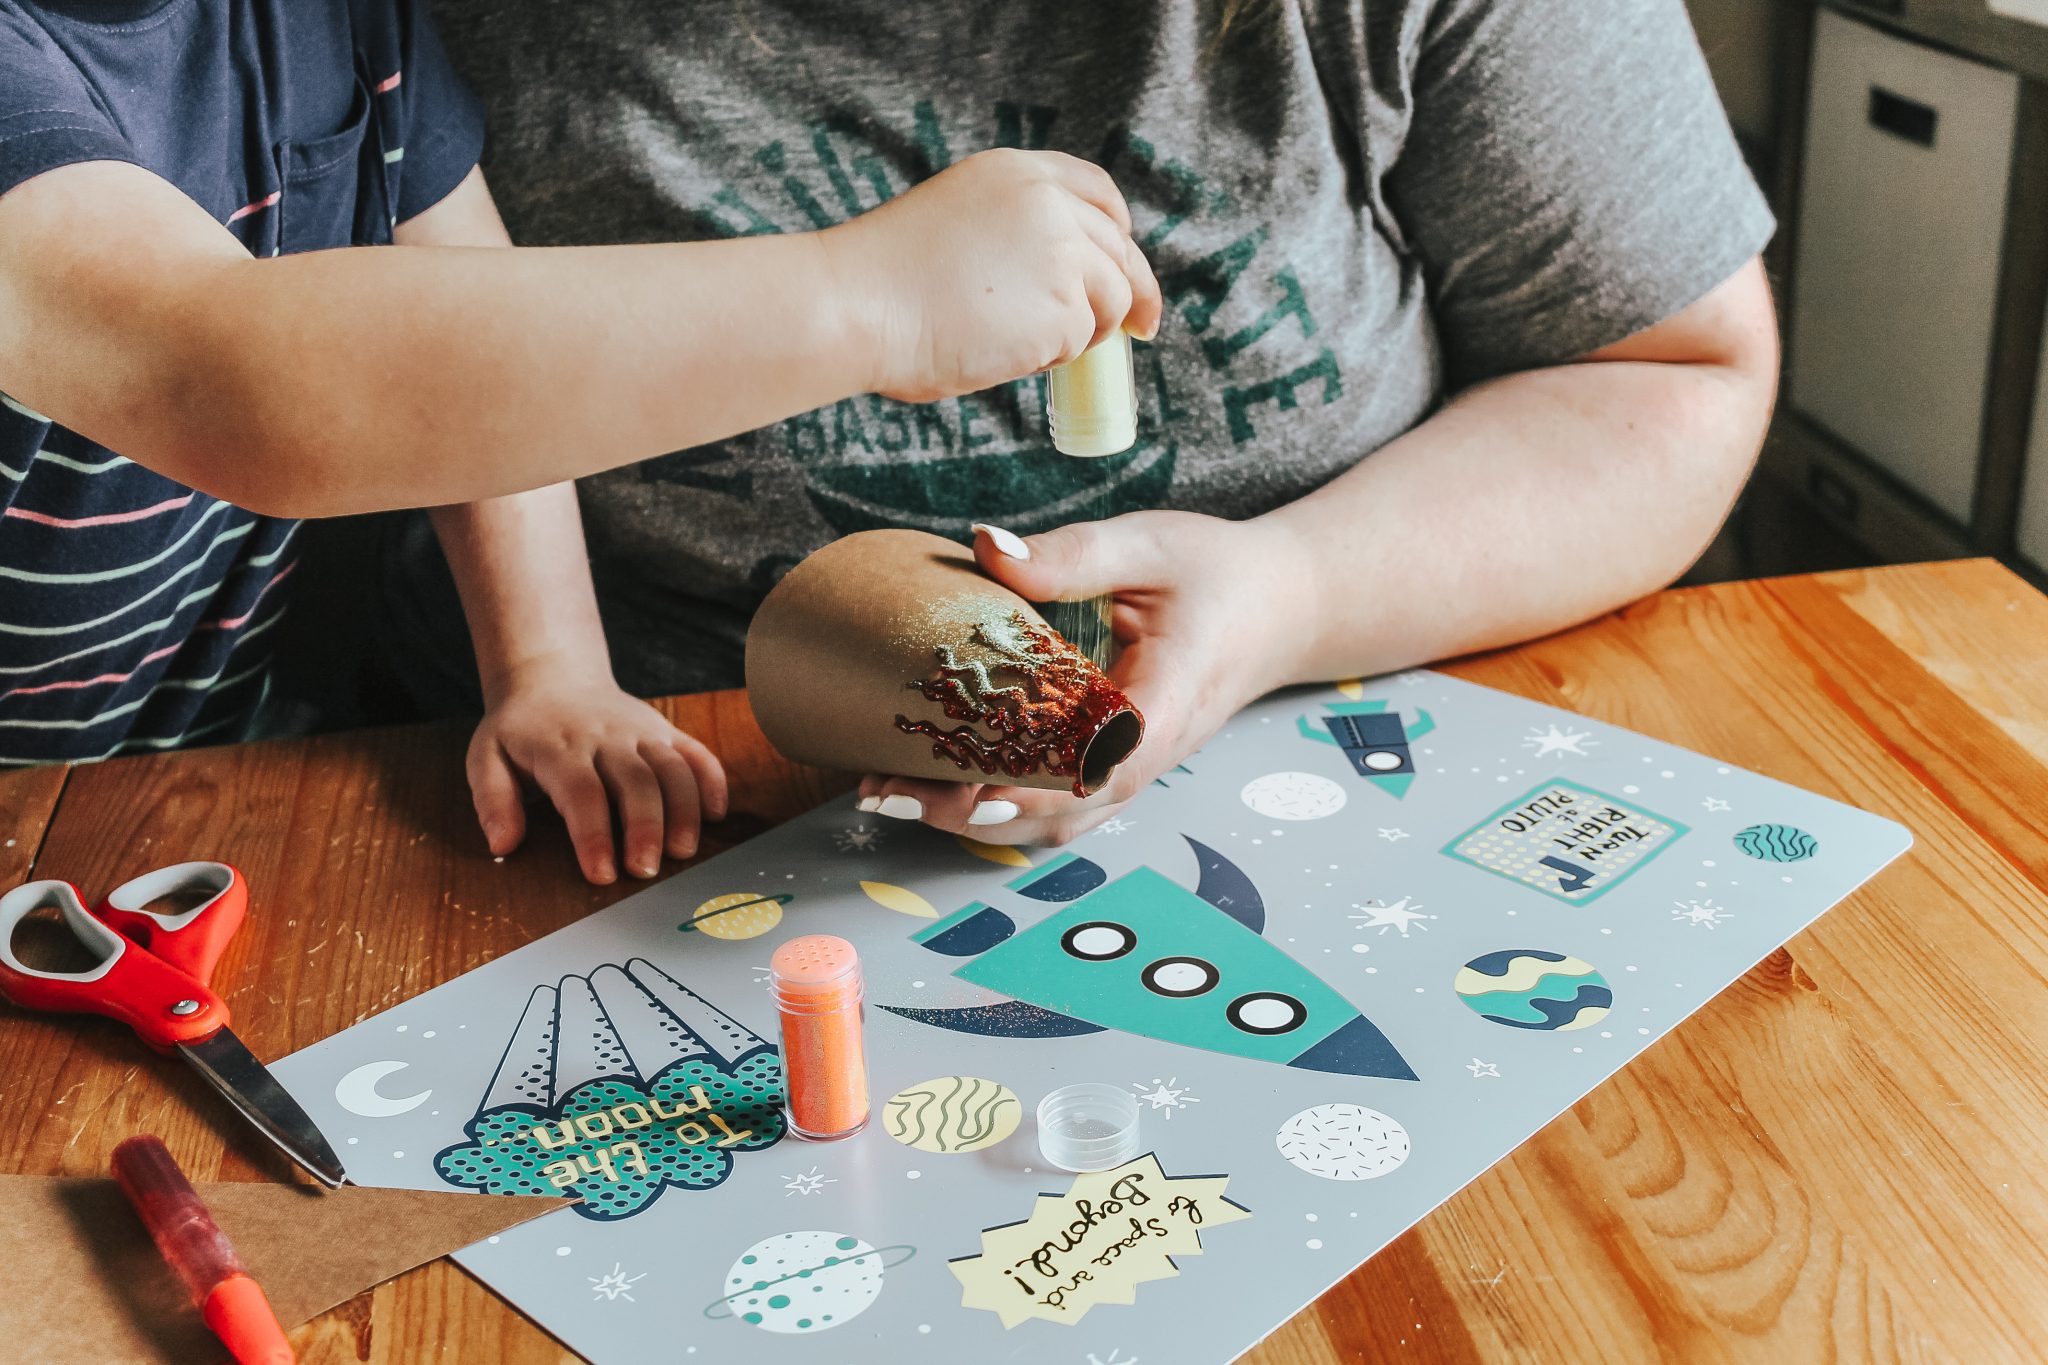
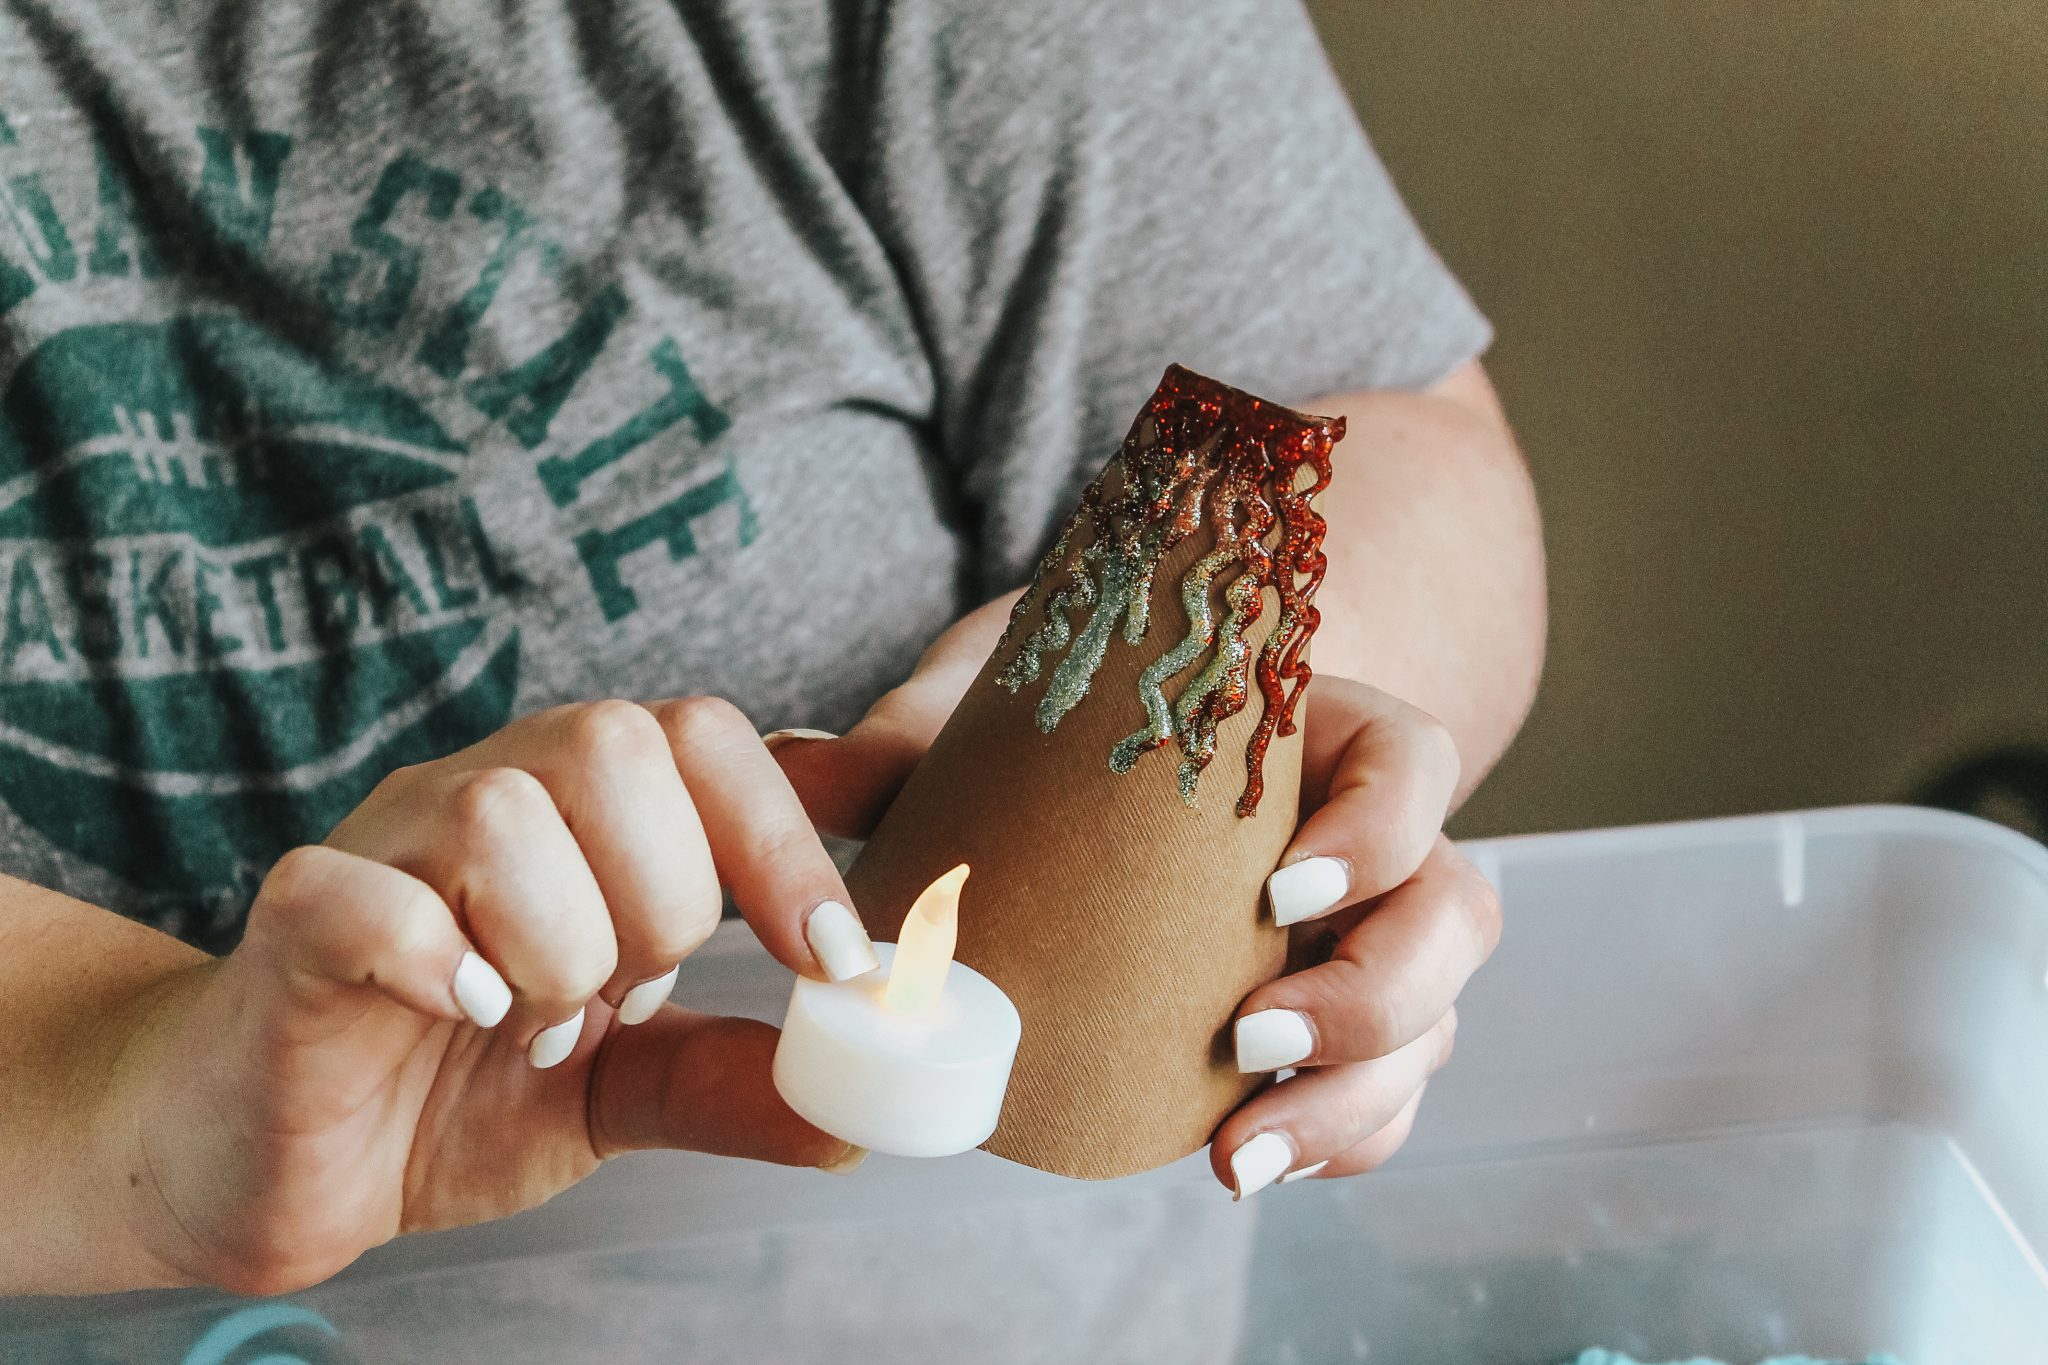
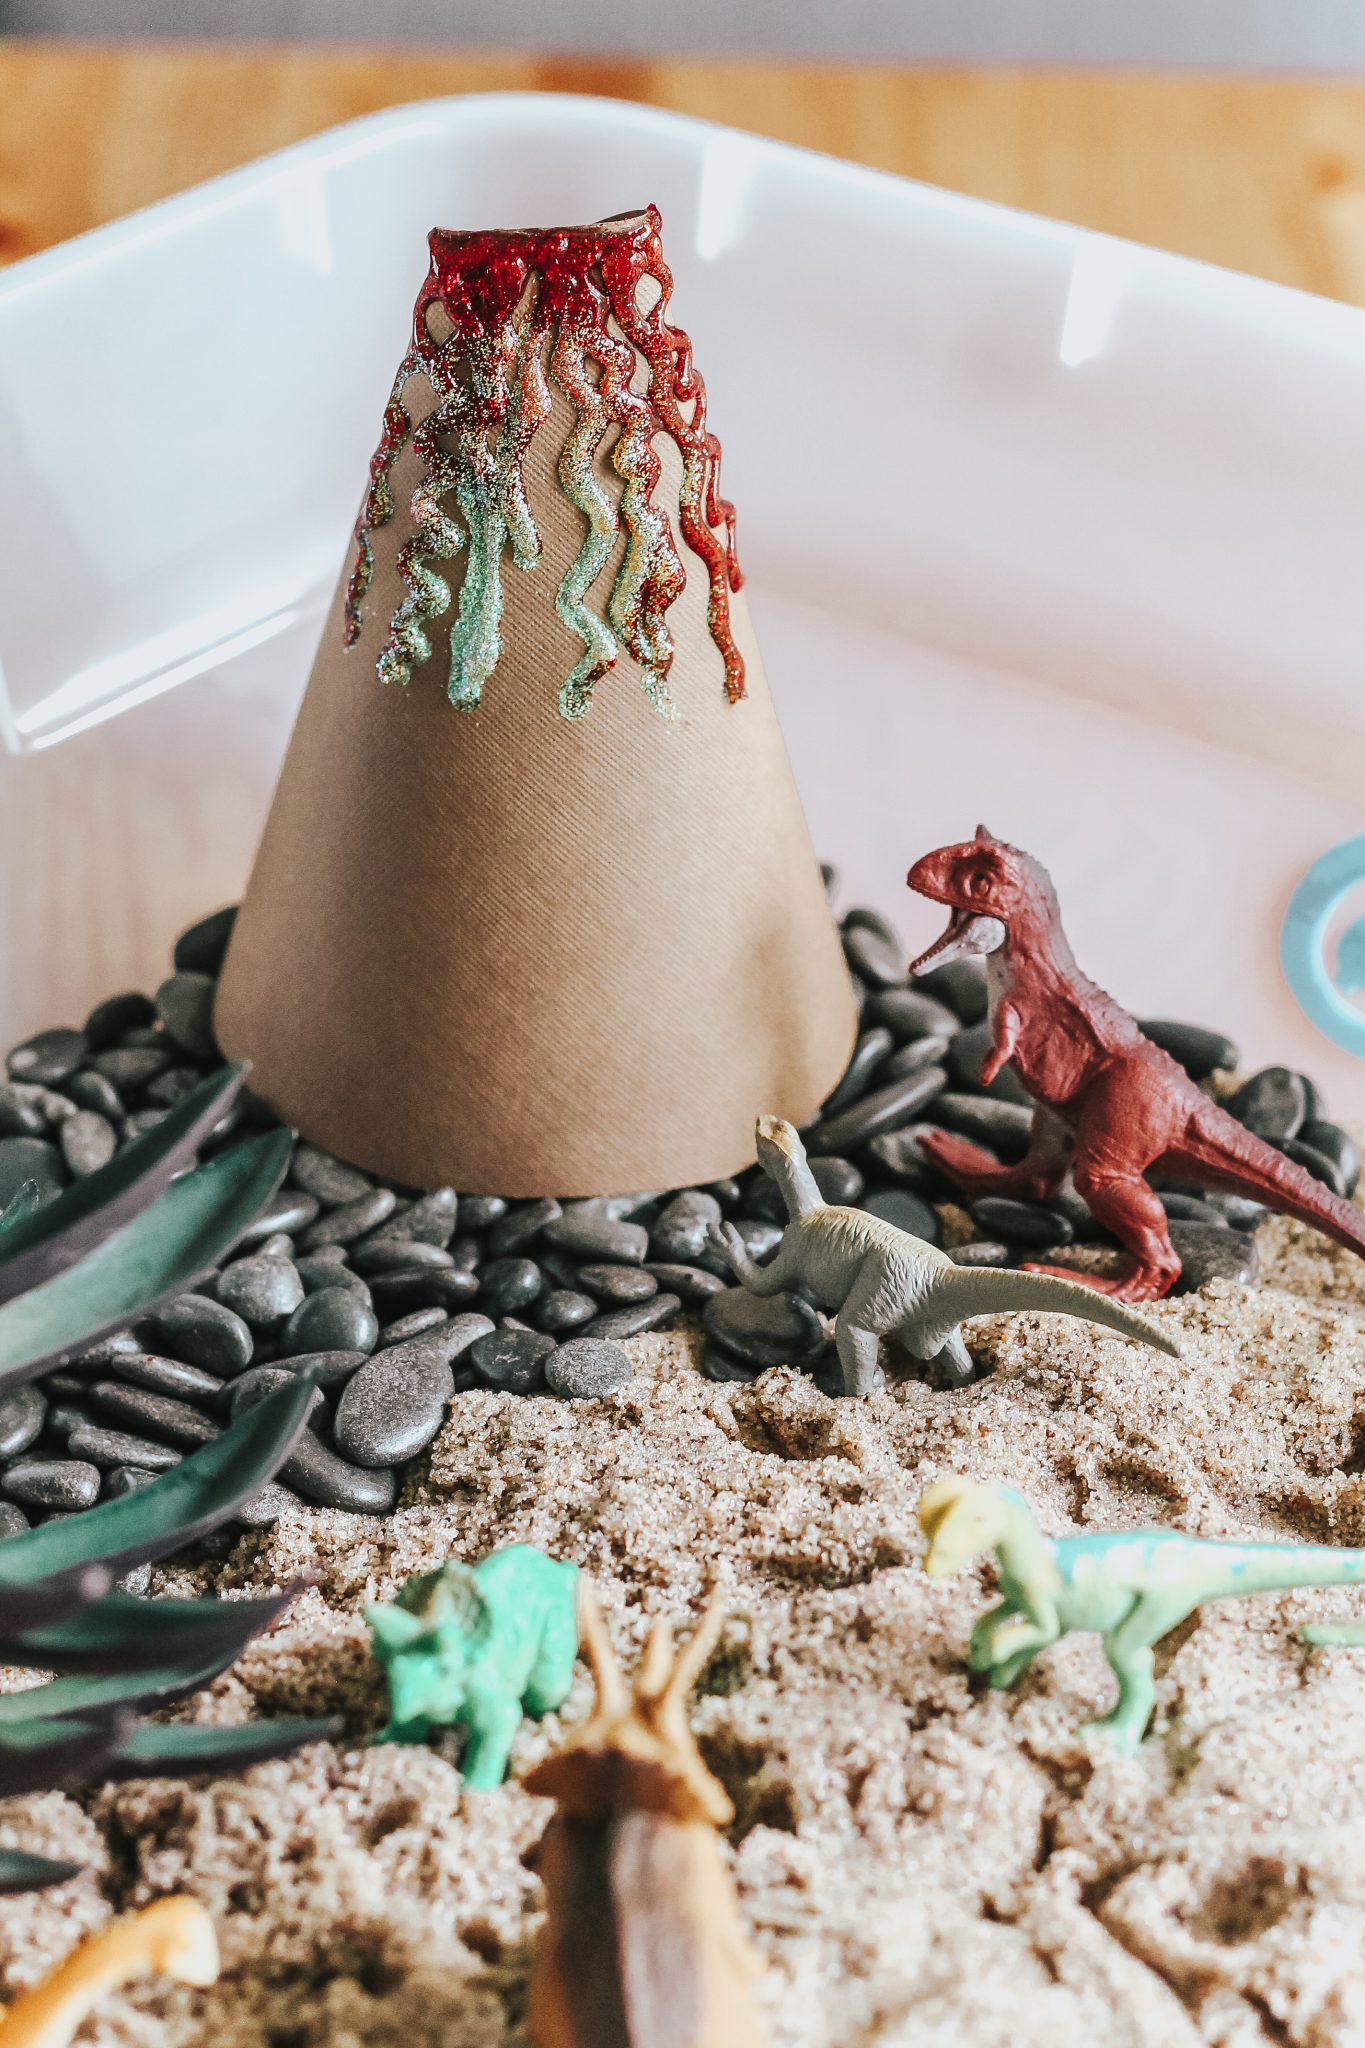
Step Two: Make Your Volcano
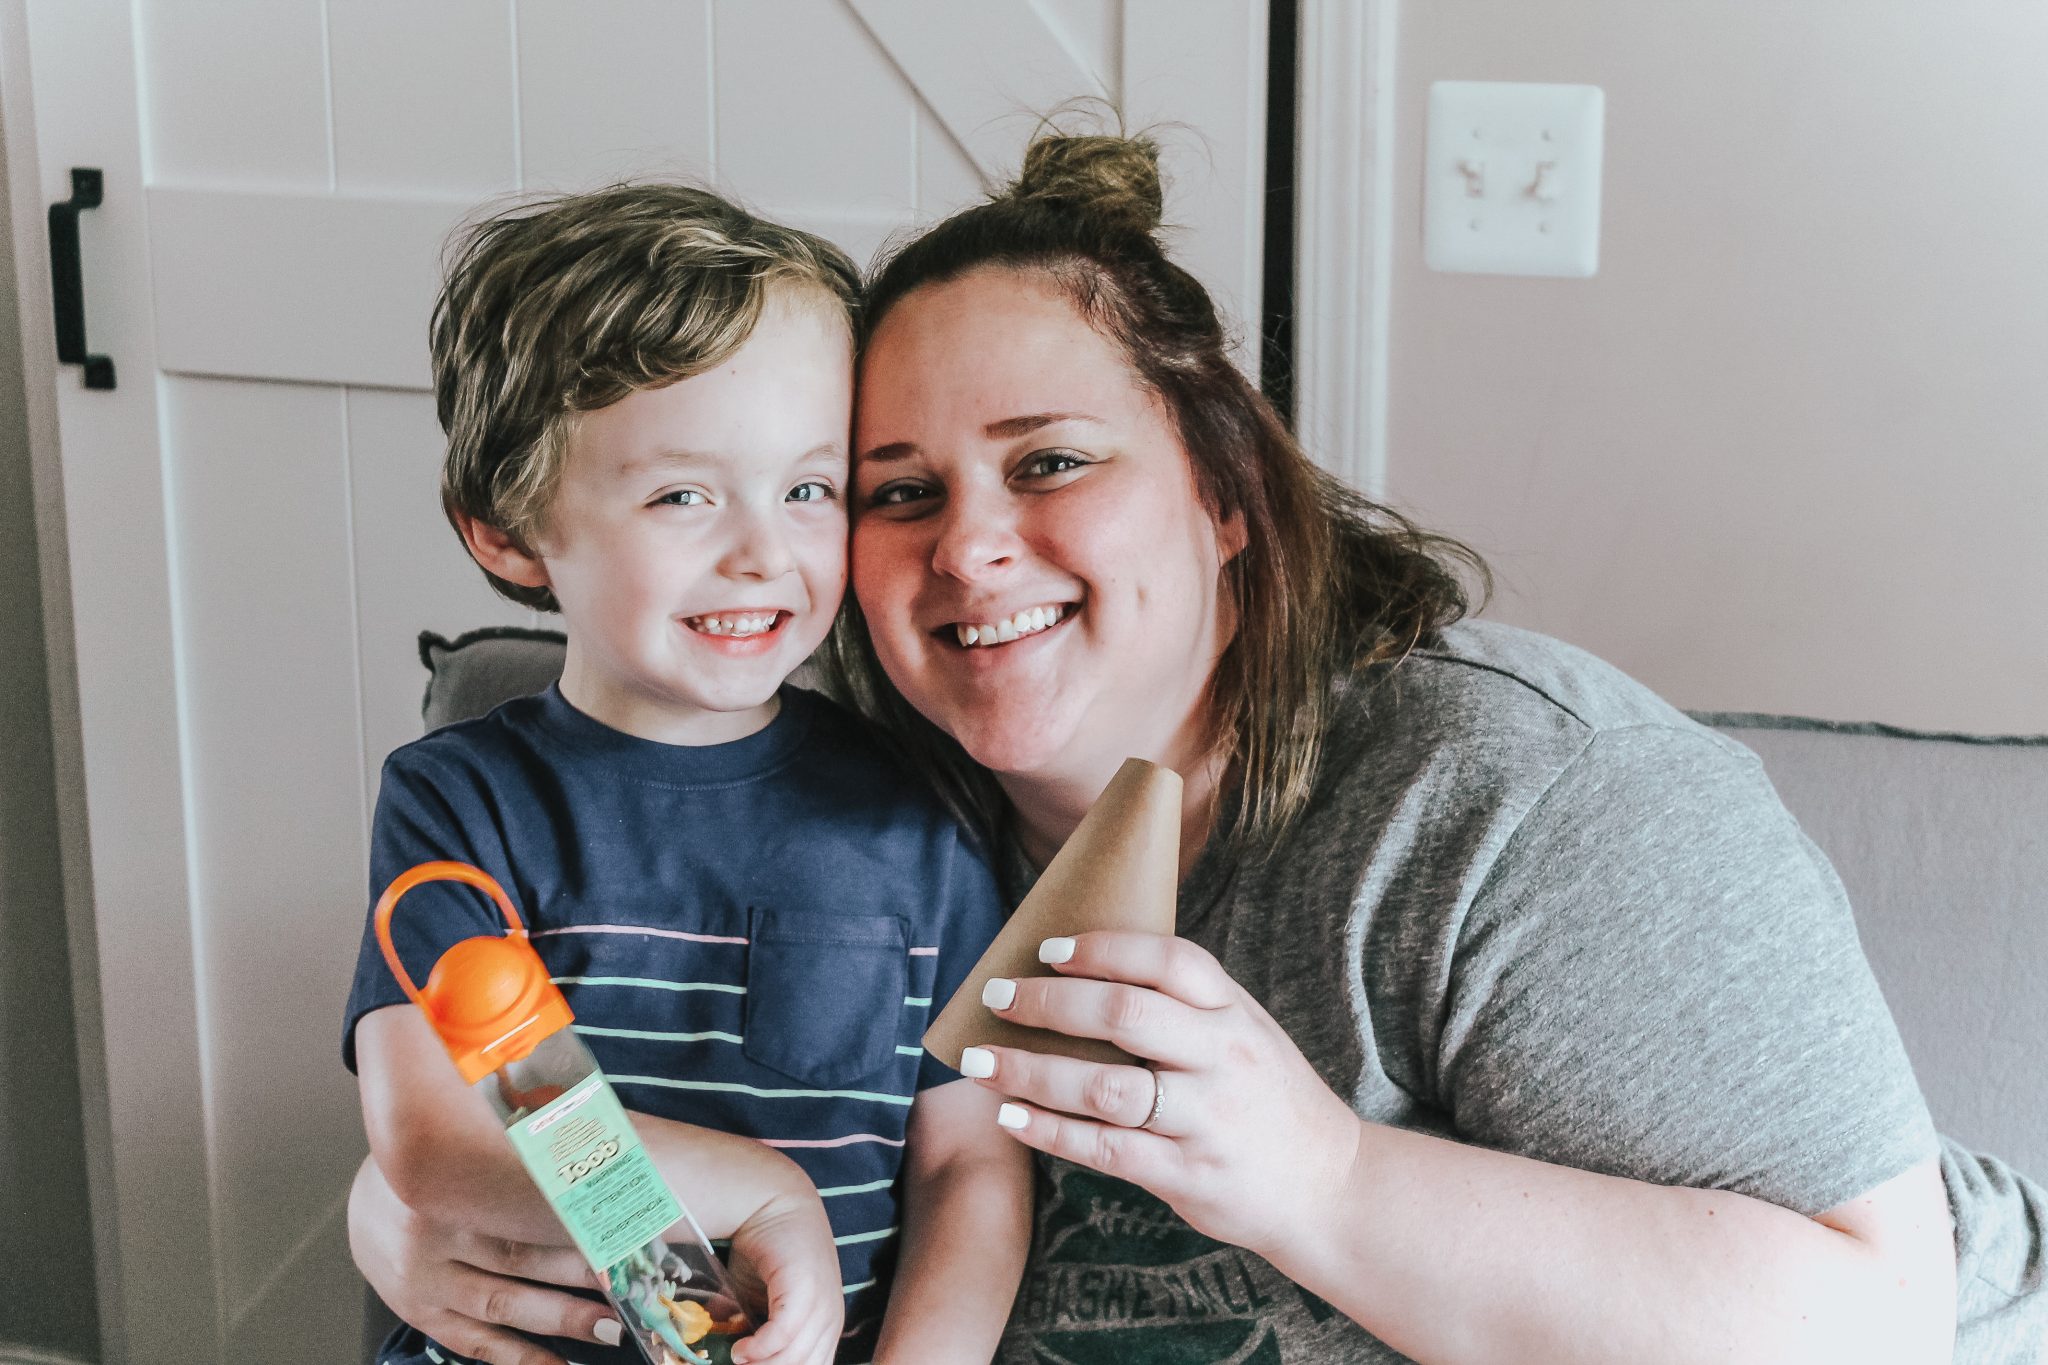
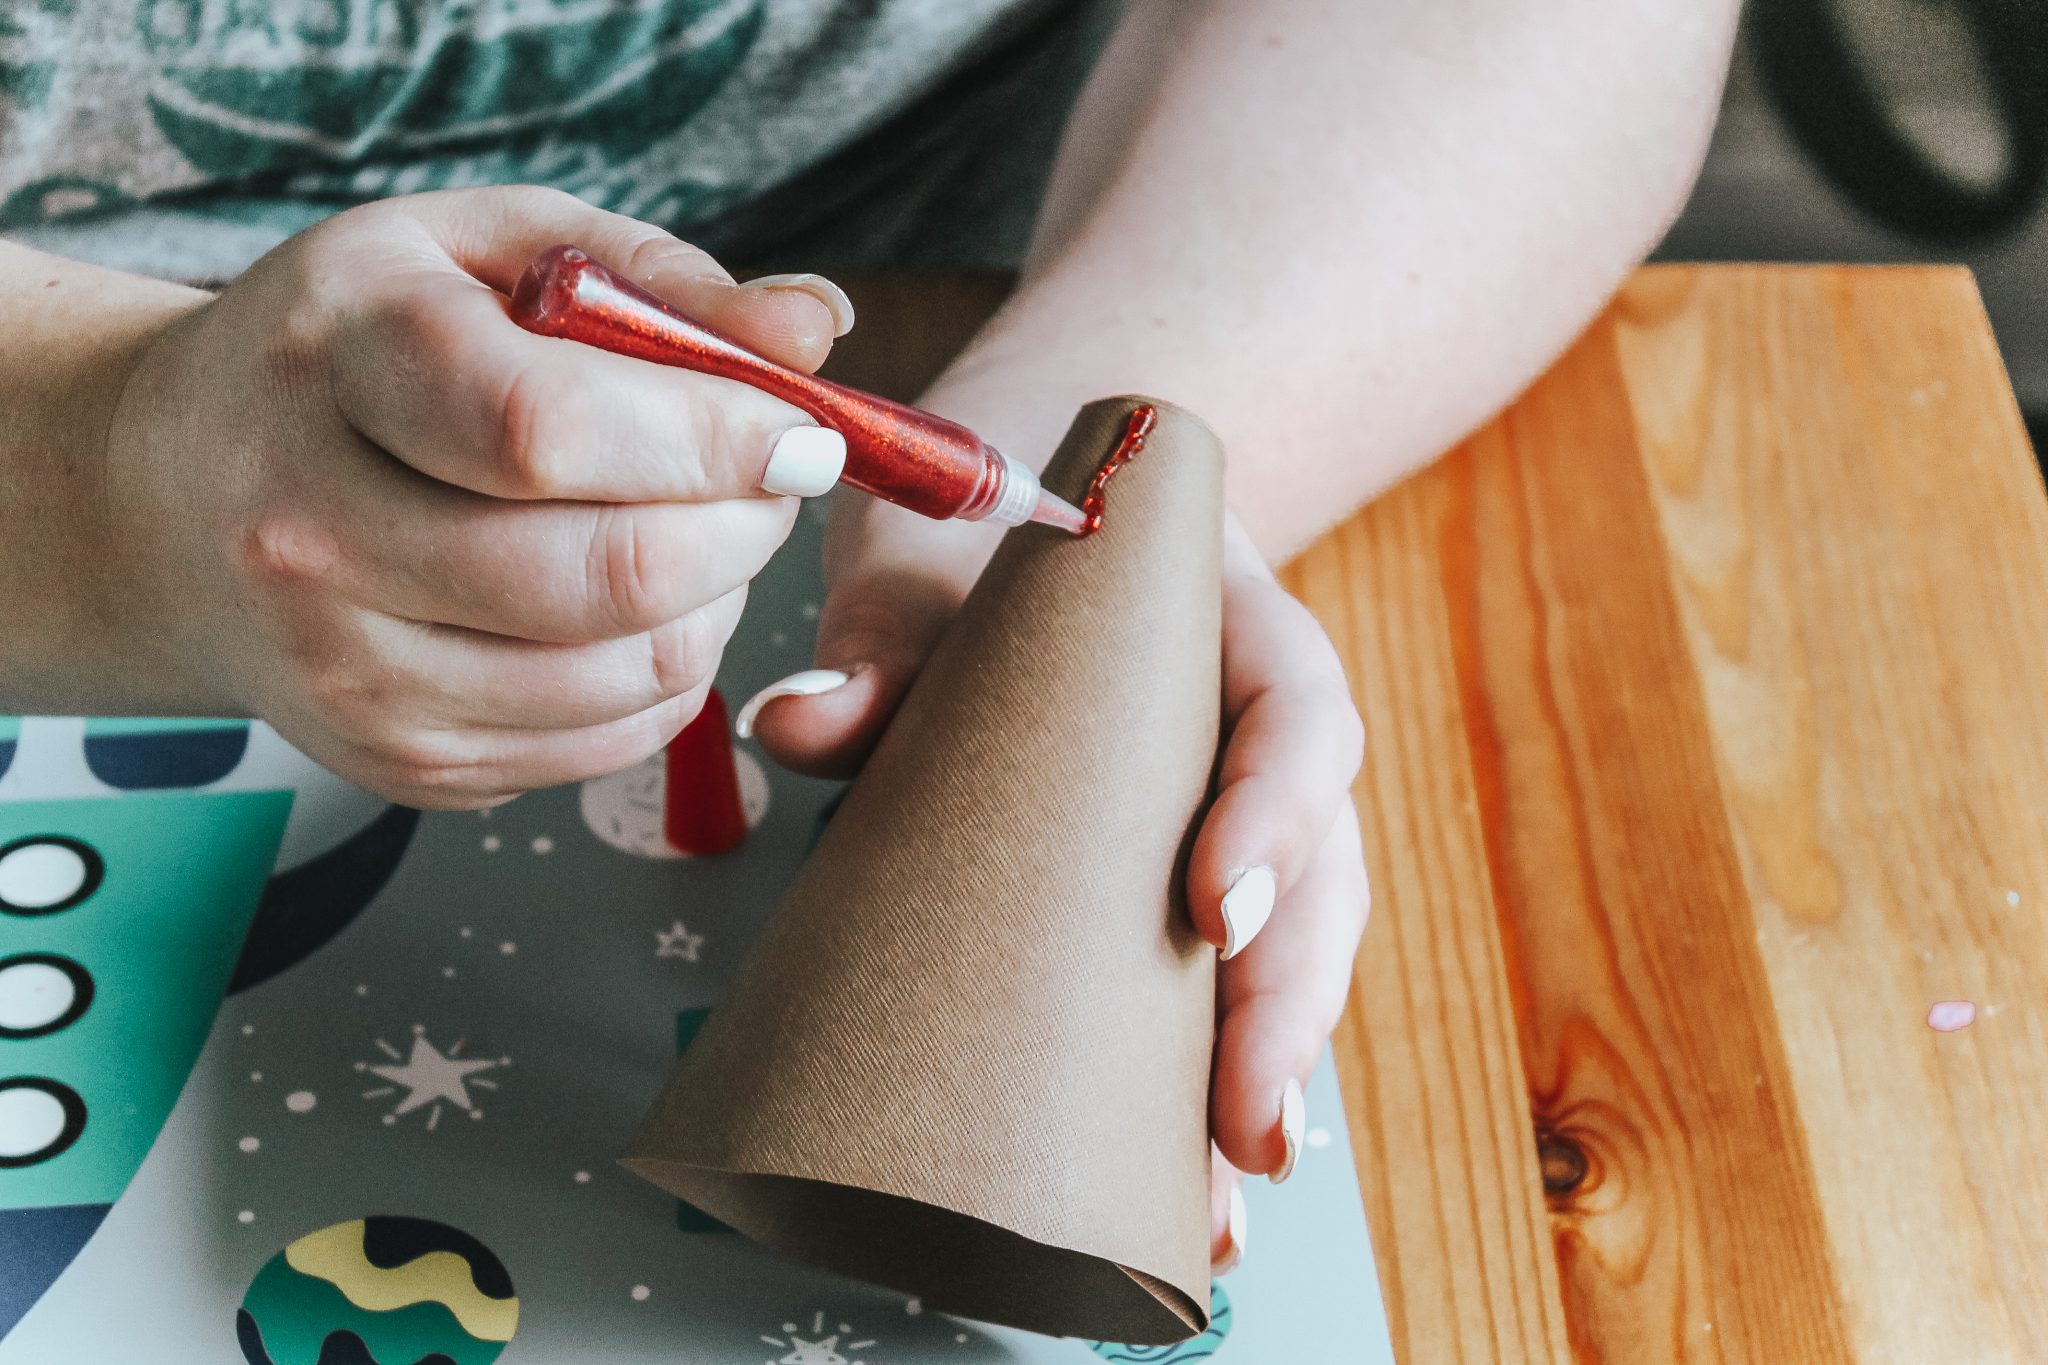
A volcano was a must for our dinosaur island according to our son Levi, so we grabbed some brown craft paper, tape, scissors, glitter glue, and glitter to create one! Just cut your paper, roll, and secure with tape. Then, use your glitter glue to make lava coming down from the center and for even more fun, add additional glitter to the wet glue and allow to dry.

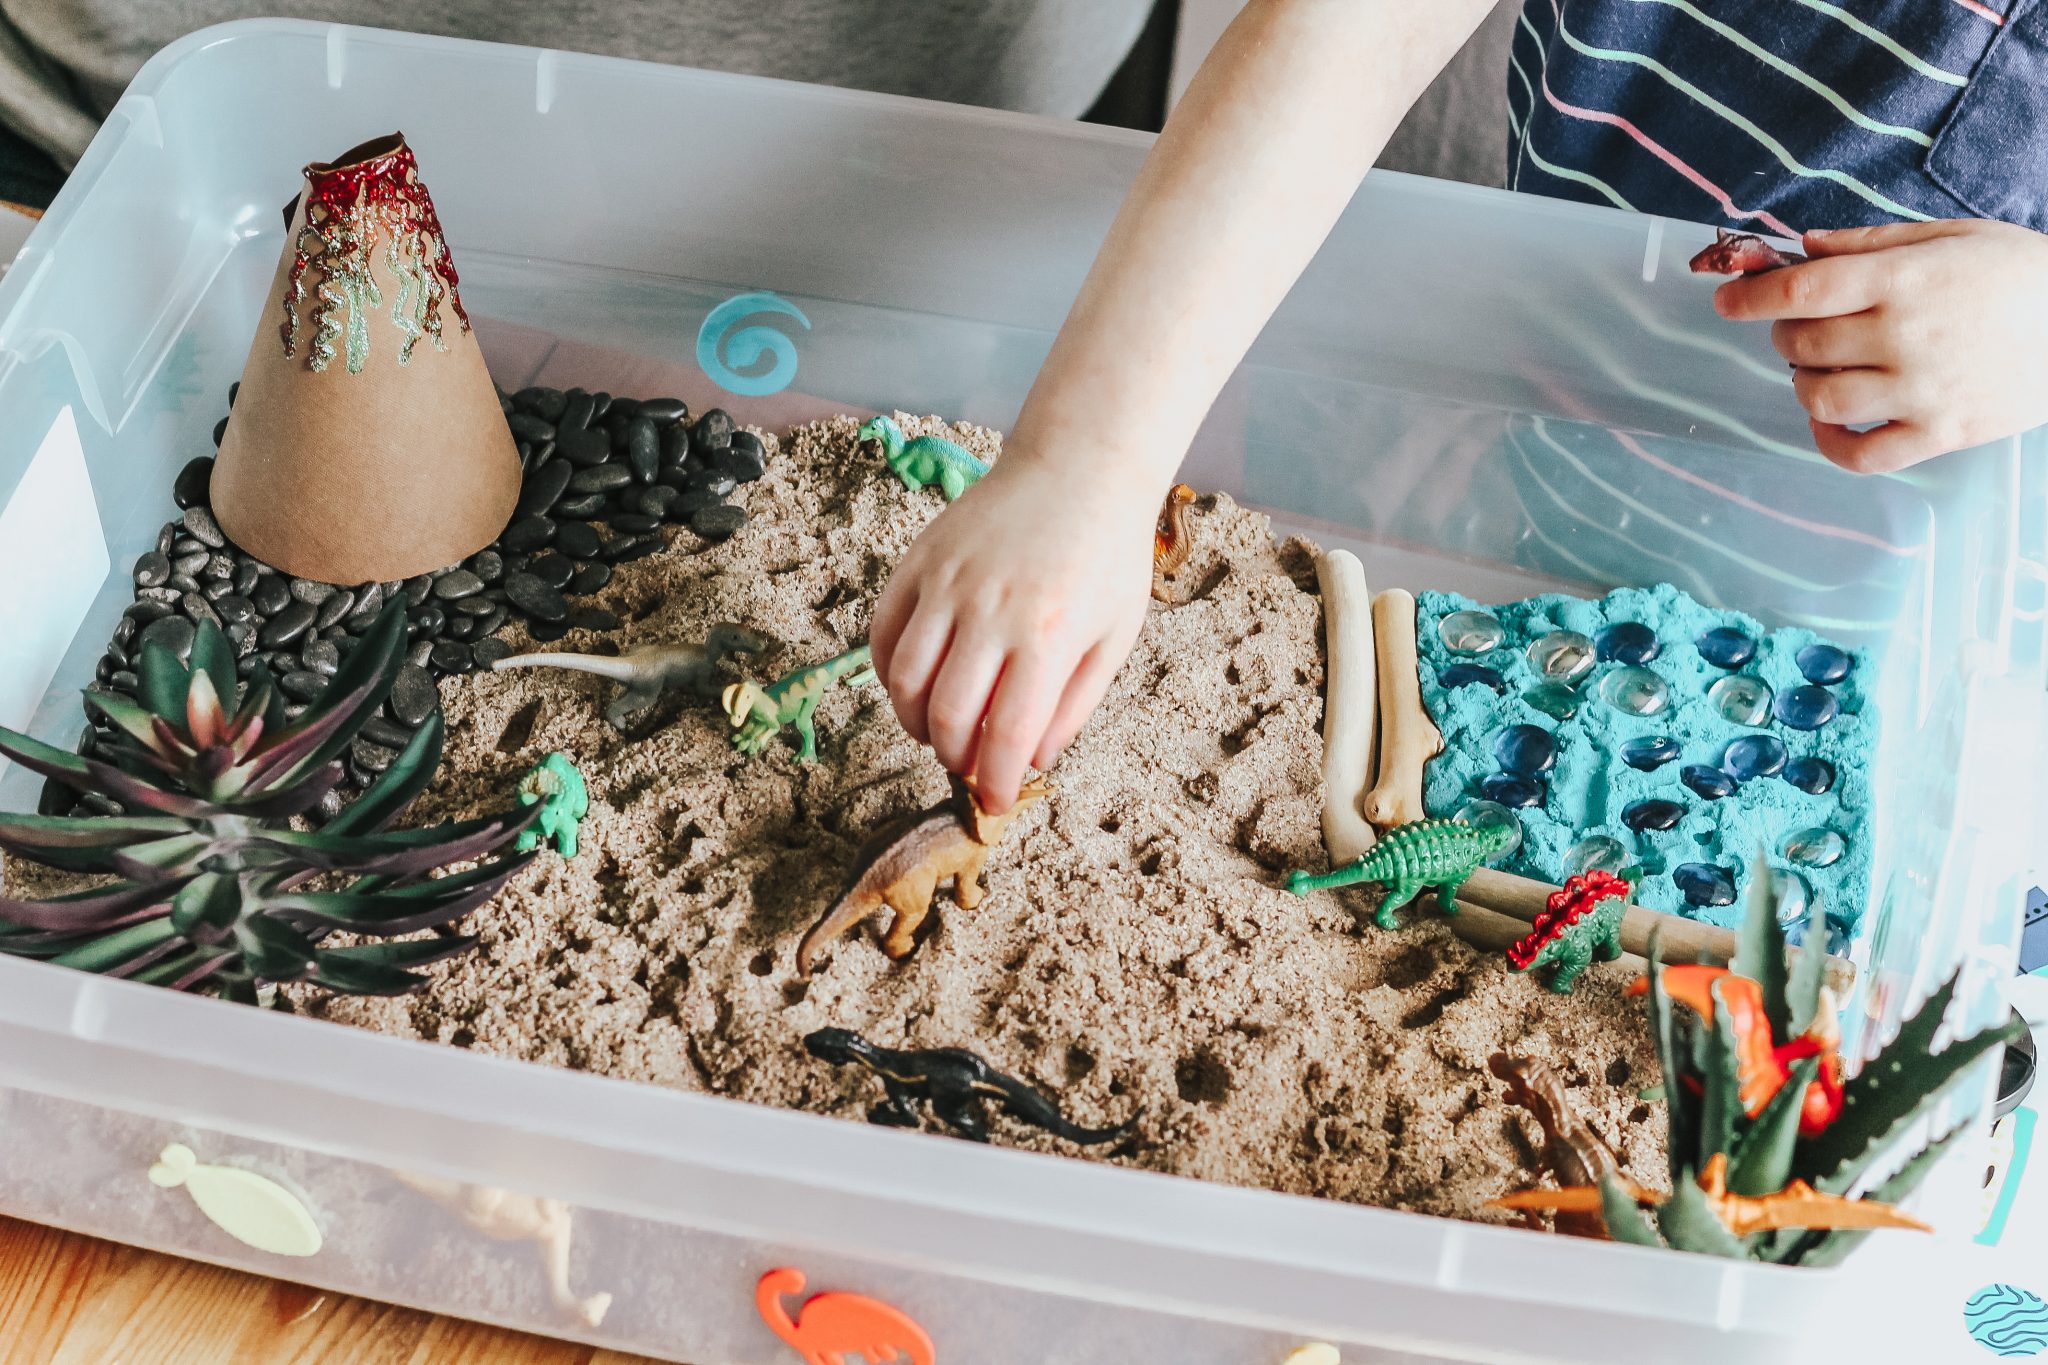
Step Three: Creating Water
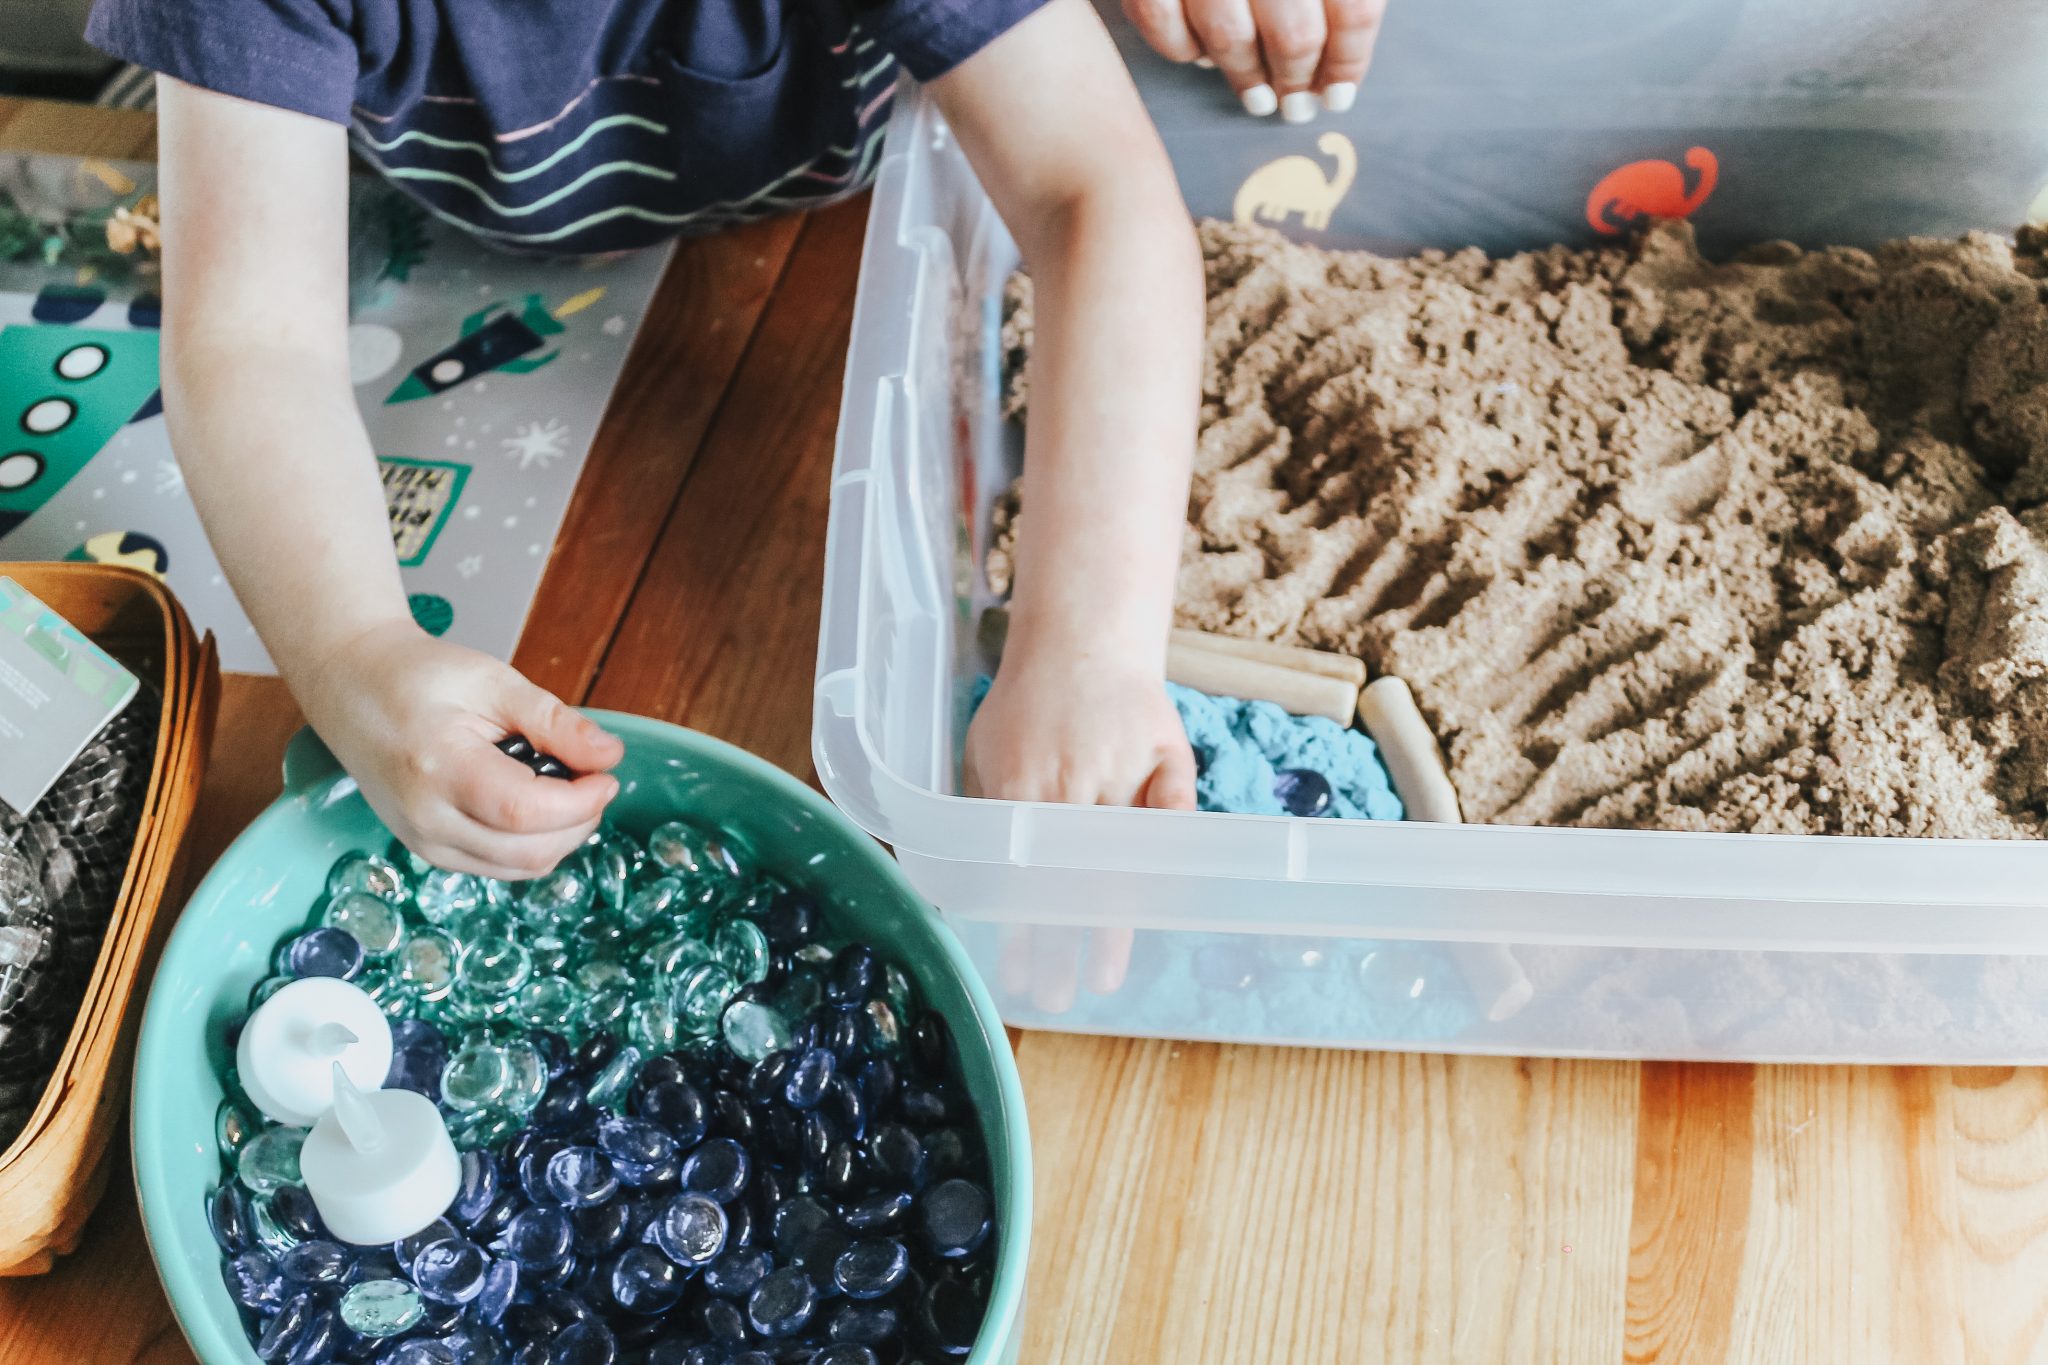
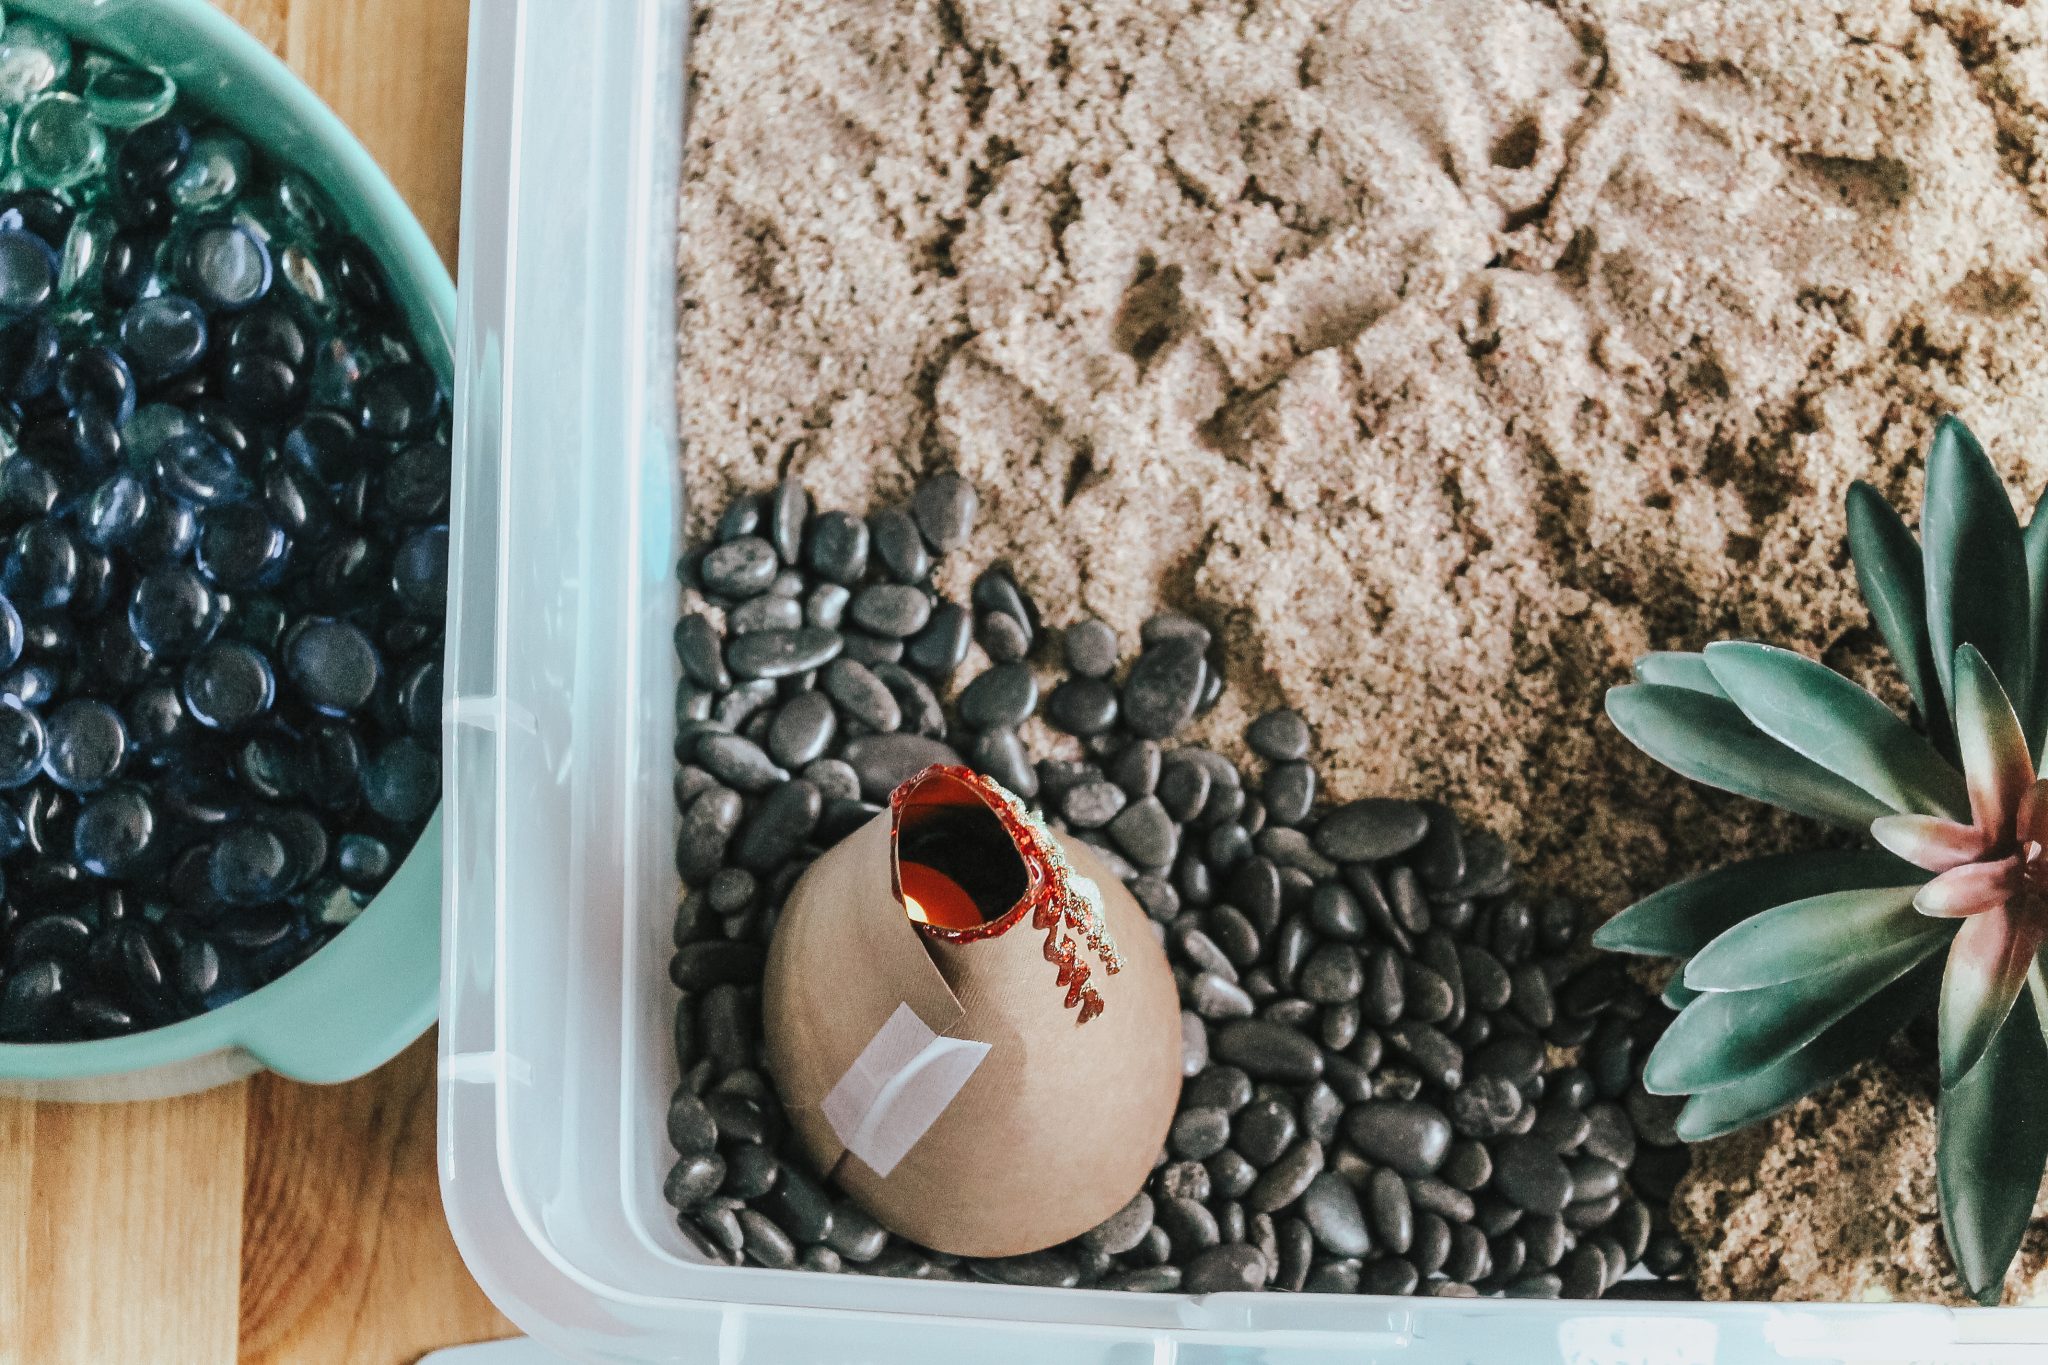
We picked up a lot of really fun things from the craft store to help bring our dinosaur island to life. Things like faux plants, stones, driftwood, glass beads, tea lights, and even mini dinos that we found!
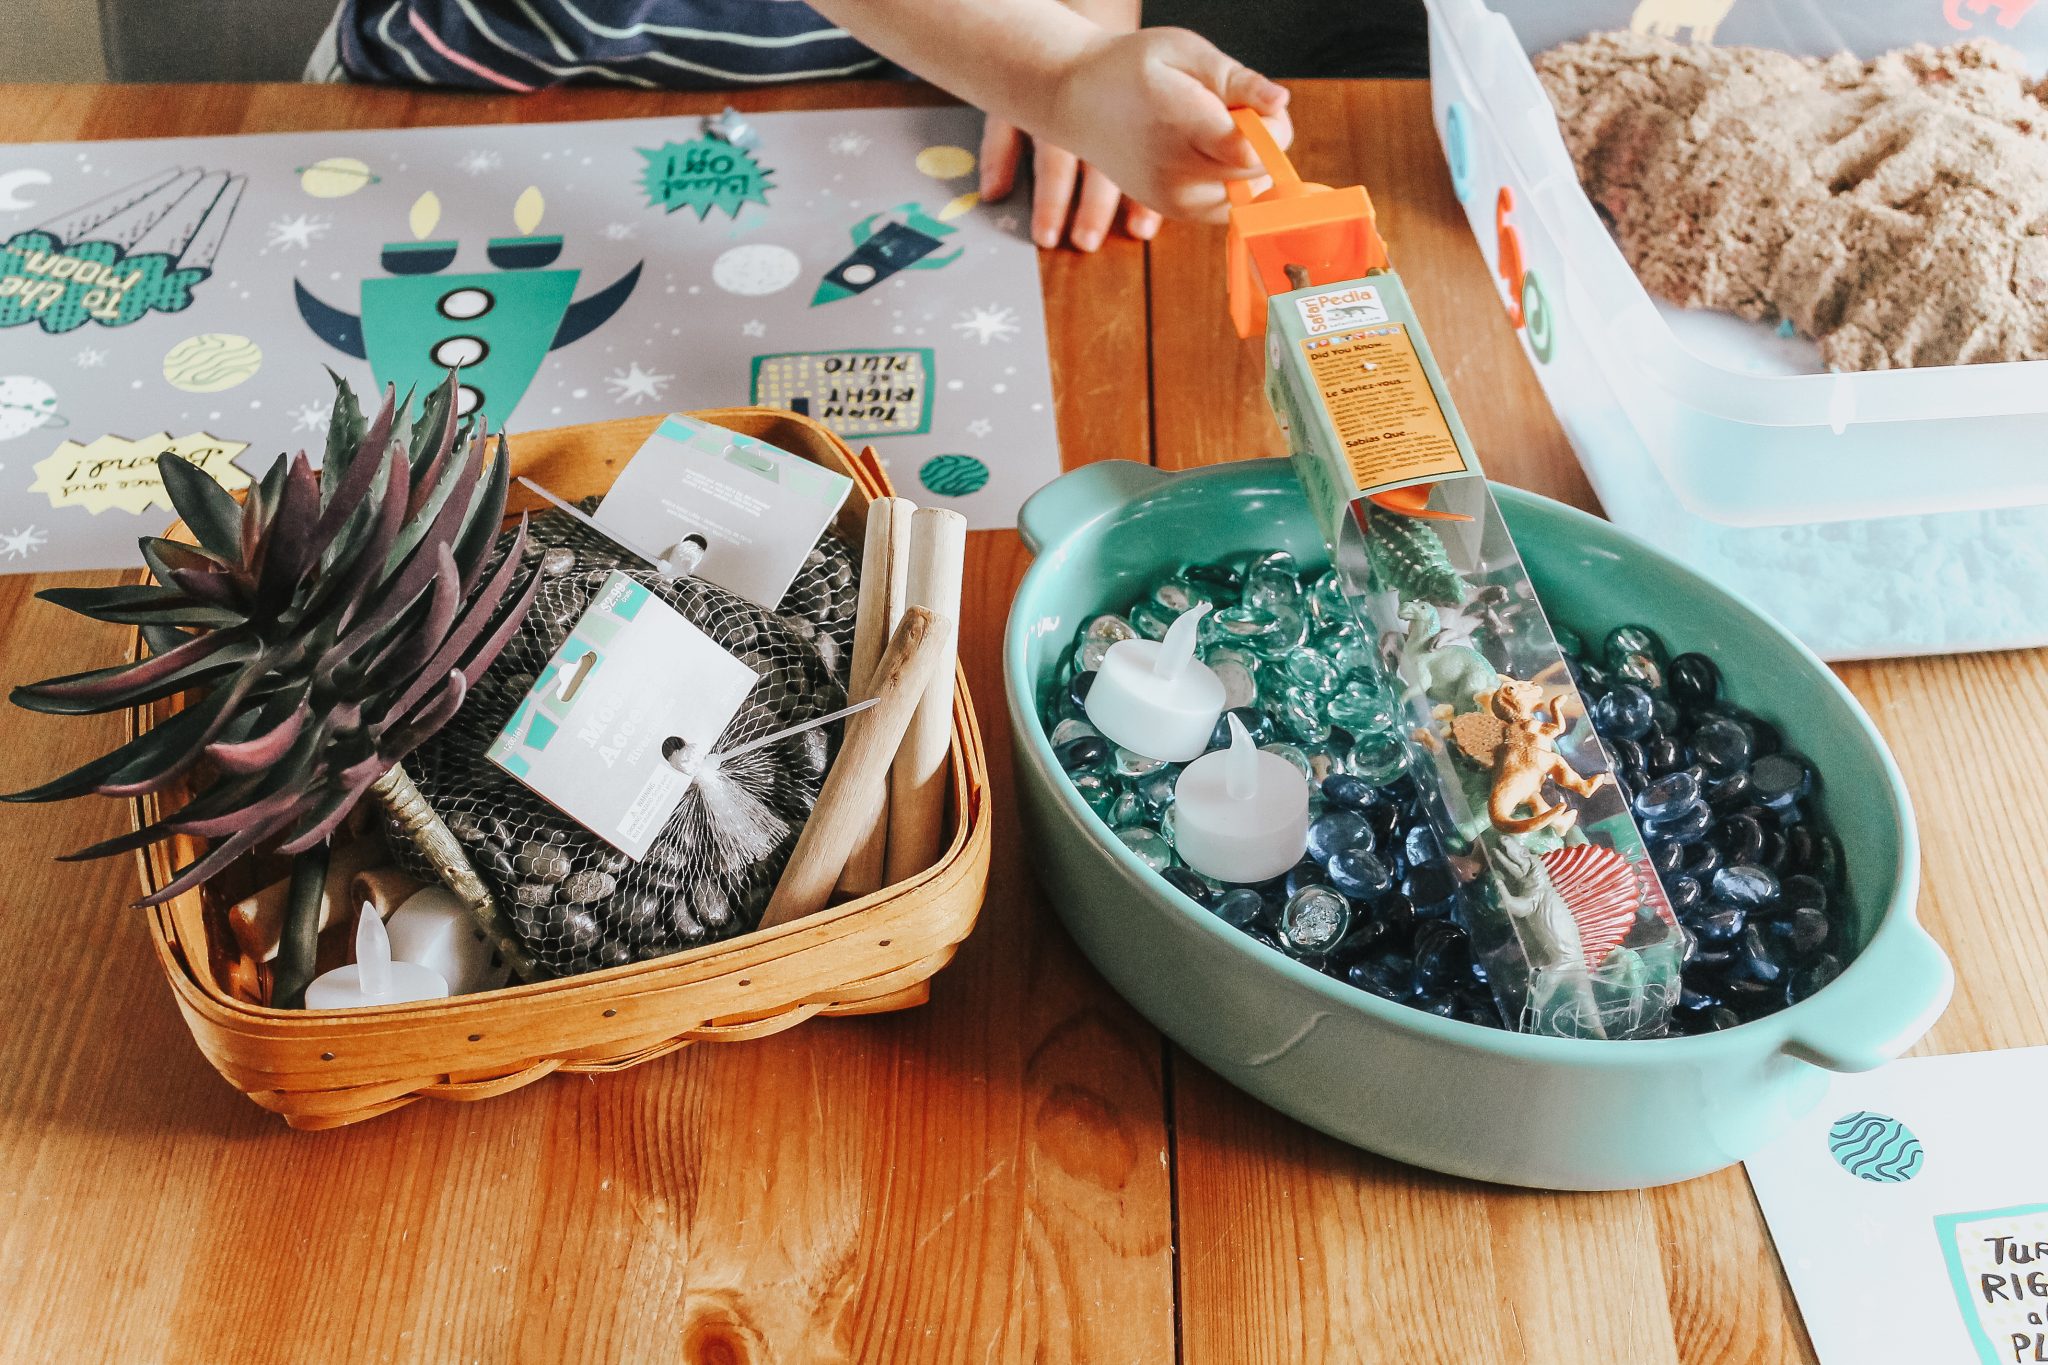
When setting up your island, be sure to include the “water“! For this, we used blue Kinetic Sand and some of the blue and teal glass stones. The stones are nice and smooth and can easily be pressed into and layered in the Kinetic Sand, plus they really give off that glistening water effect. We used some of our driftwood pieces to create a barrier between the water area and sand to keep them separated.
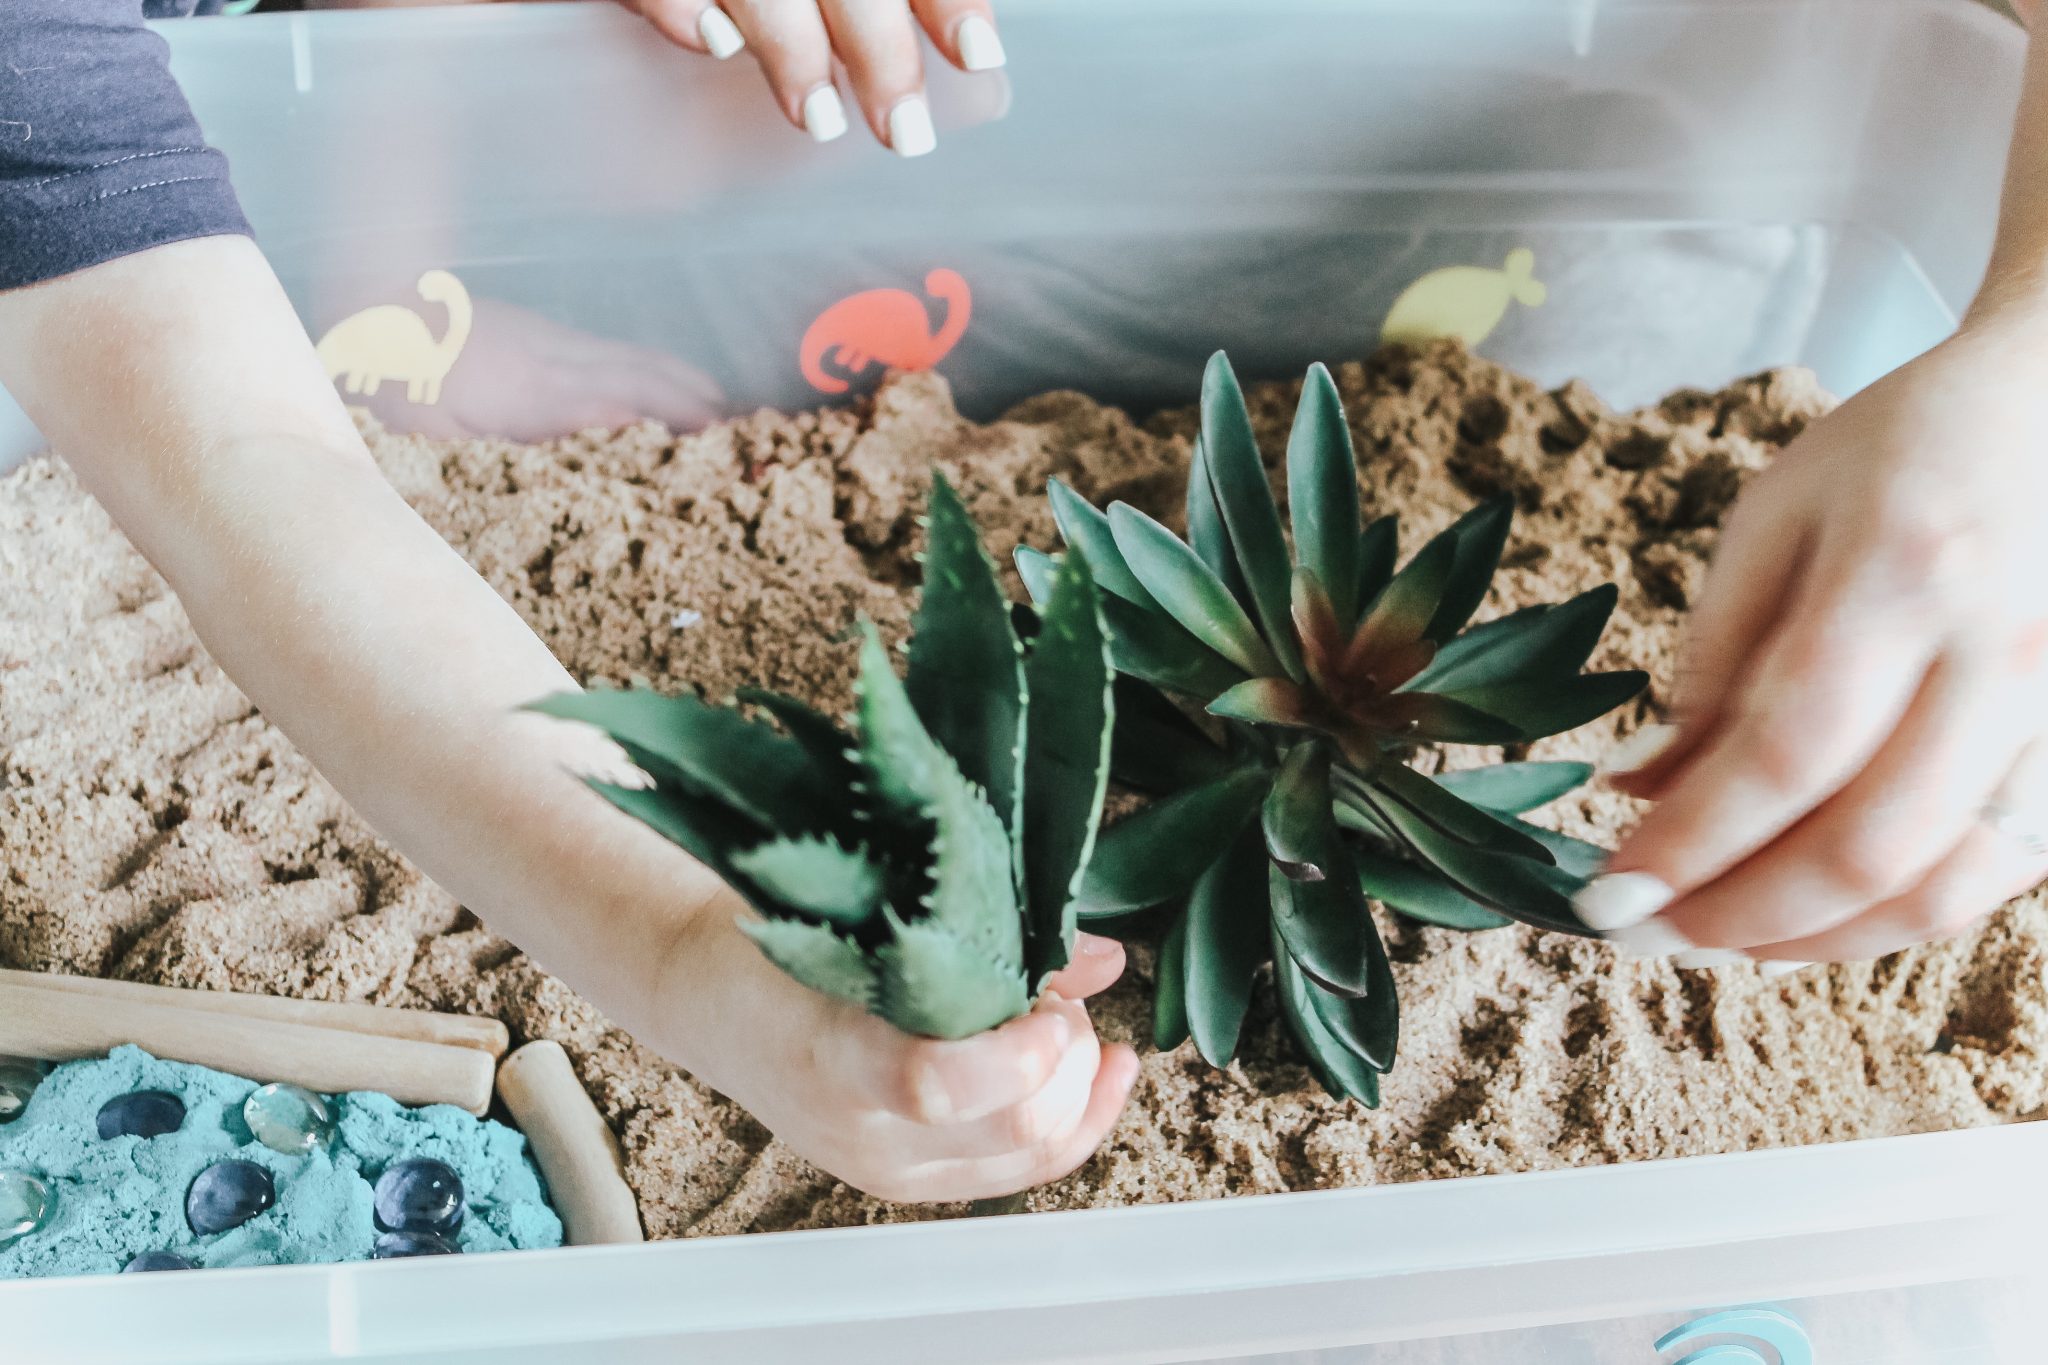
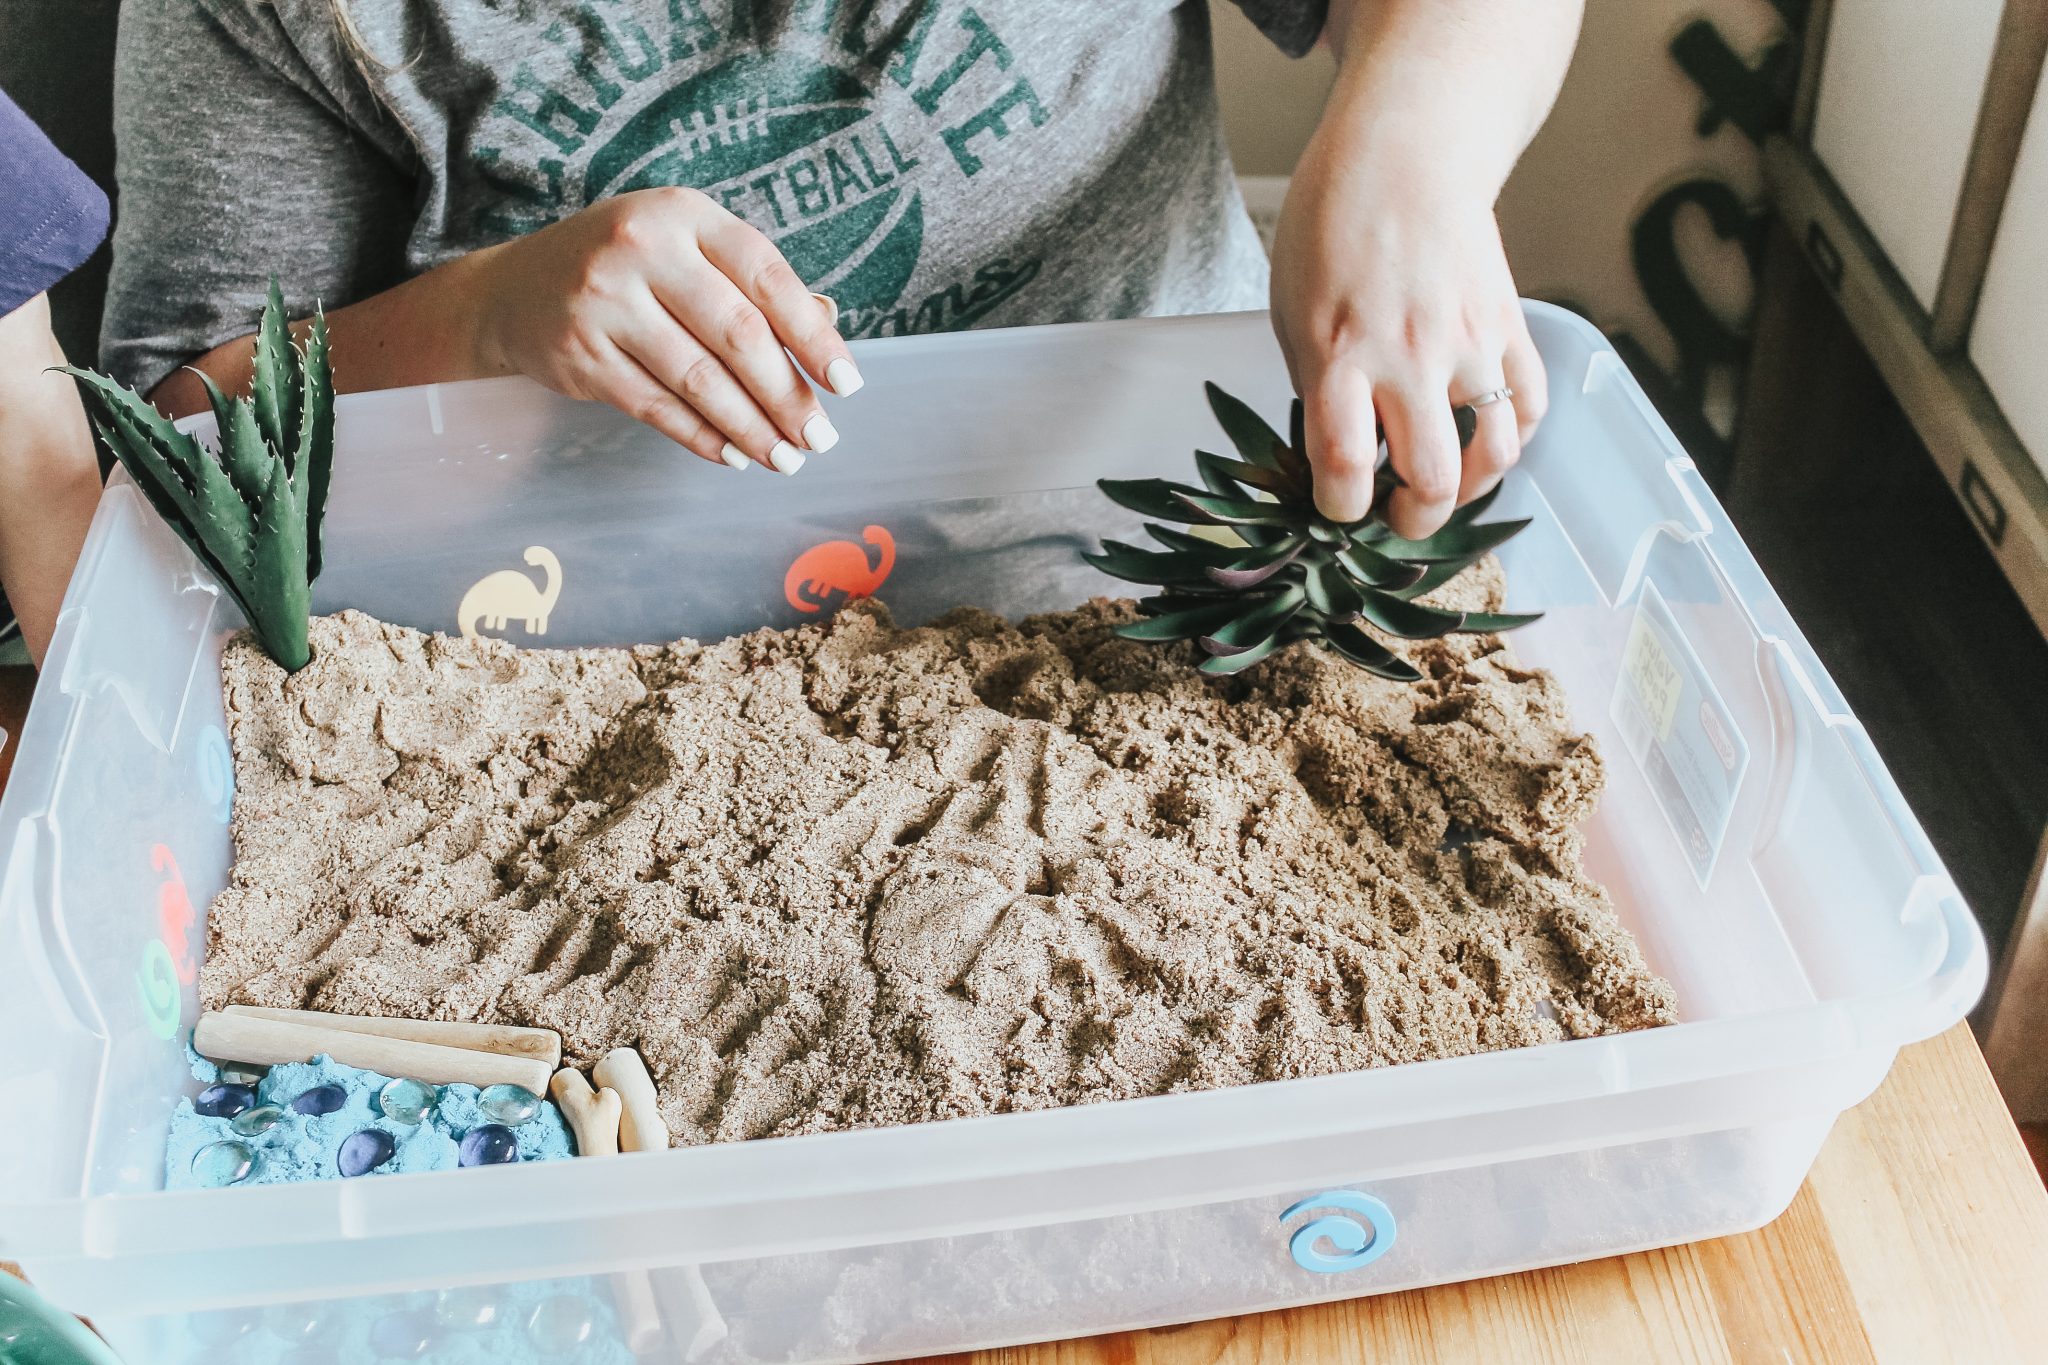
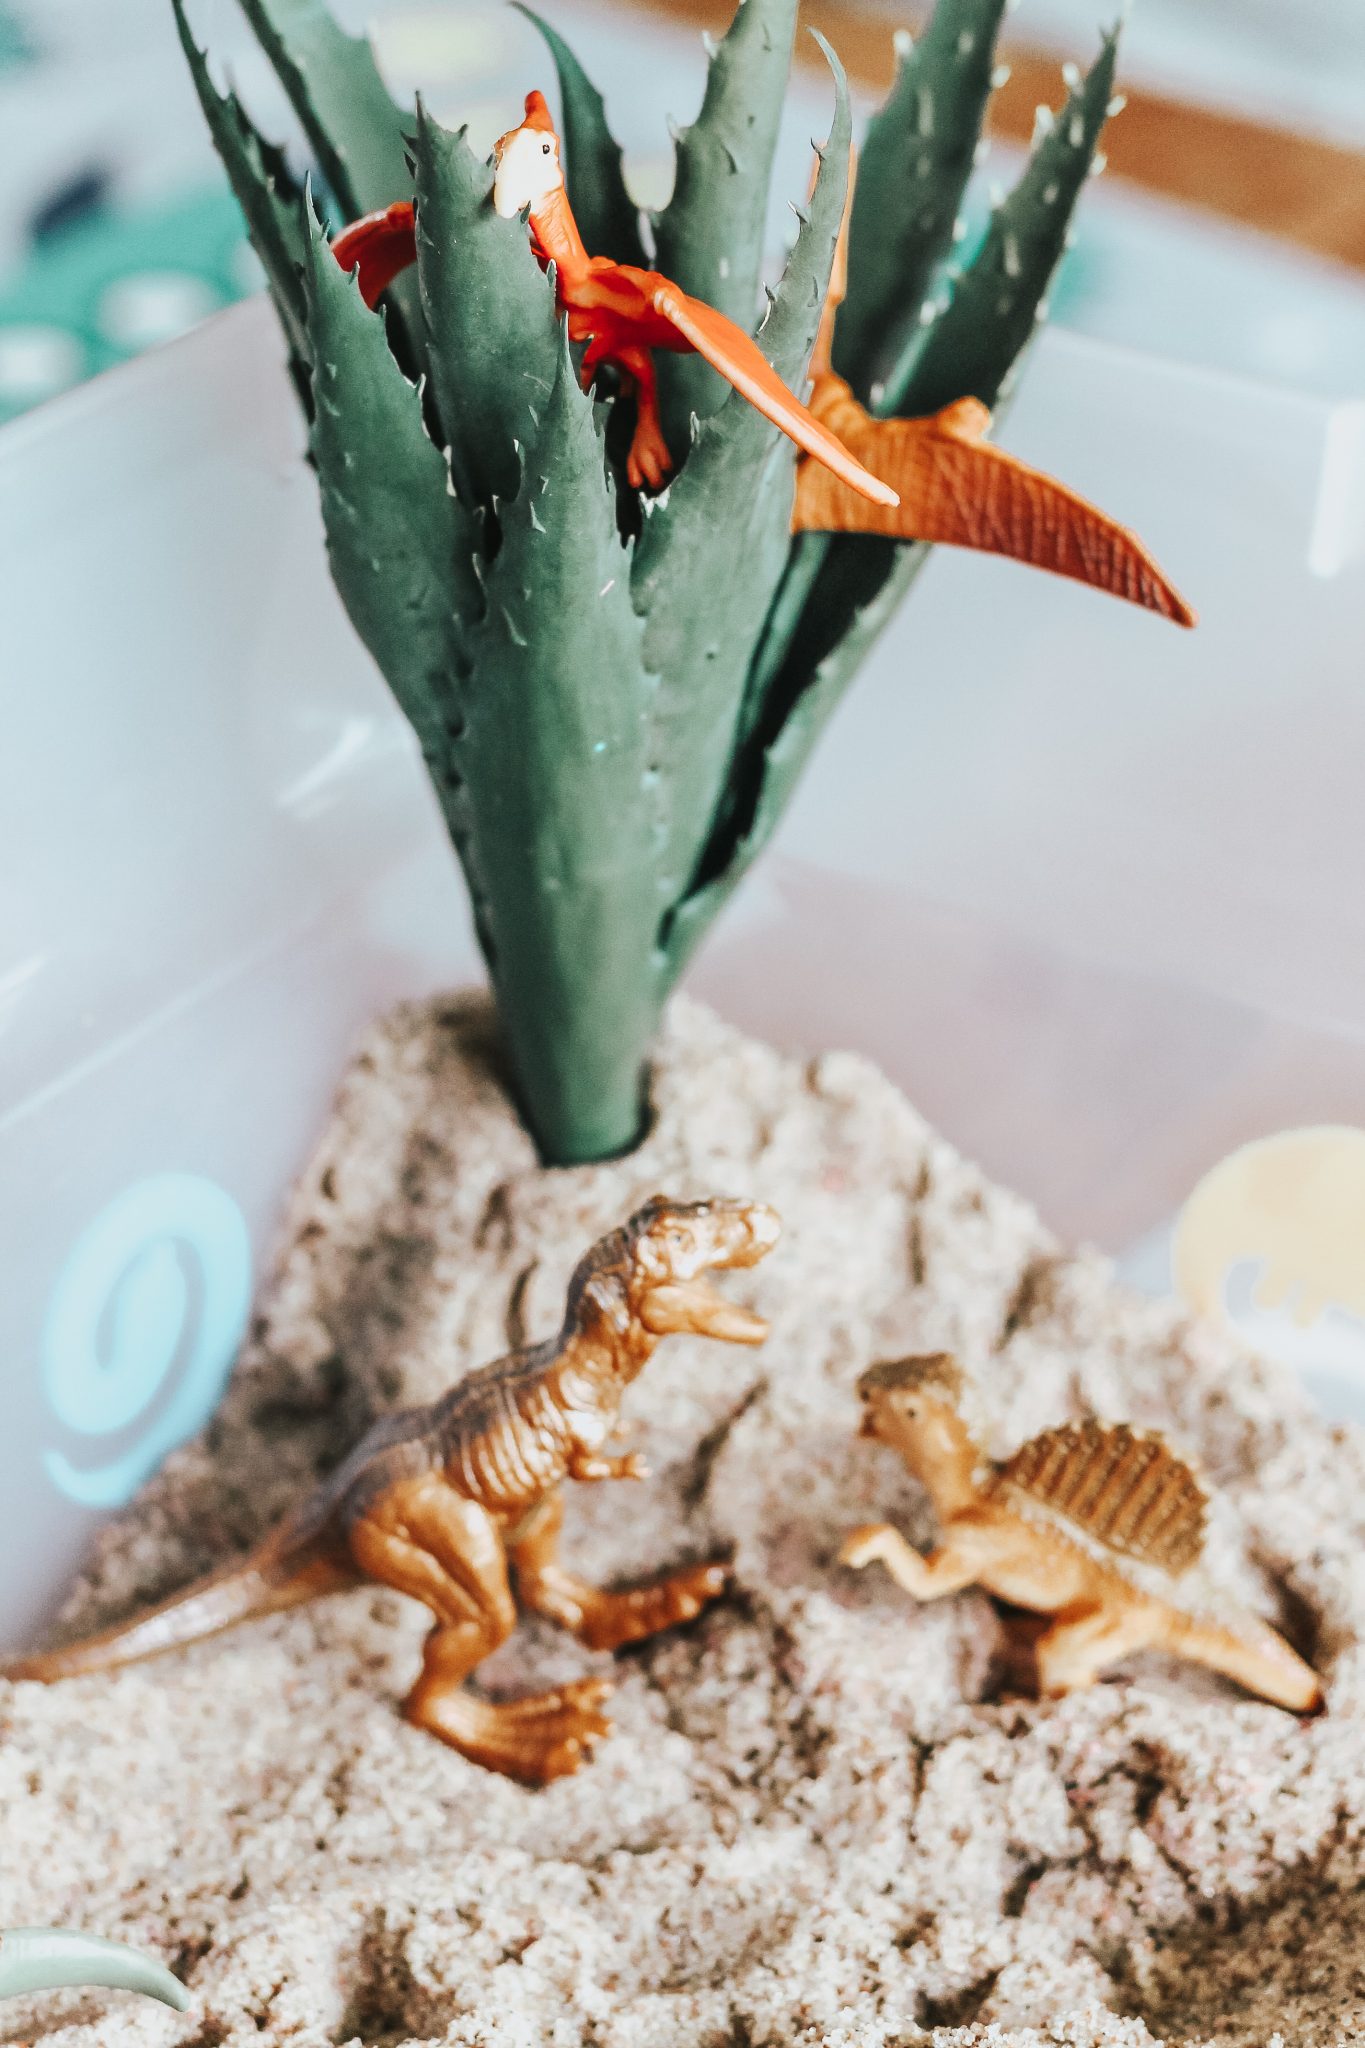
Step Four: Add the Plants
Dino island truly isn’t a dino island without trees! We picked up a few faux plants to put in our bin to add some color and shade for the dinosaurs. I let Levi pick out the plants he wanted, and he loved being able to choose the small details in this project to incorporate along the way.
Step Five: Add the Rocks
To give the dinos another area to roam and play, we added some smooth river rocks. Levi loved dumping them in the corner and arranging them! We pressed them into the sand so they were secure and ready for the dinos to play on.
Step Six: Add In Your Volcano
Using the tea lights and your finished volcano, find a good spot to put down your battery-operated tea light candle (don’t forget to turn it on) and place your volcano on top. You won’t believe how beautiful the glow from the top is. This is one of the touches that truly make this bin magical.
Step Seven: Add in the Dinos
Levi gathered some of his dinos from around the house and used the dinos we picked up at the craft store to add to his bin. He had so much fun arranging them in all of the different areas. Some were placed by the water, some by the volcano, some in the plants, and some just walking around in the sand.
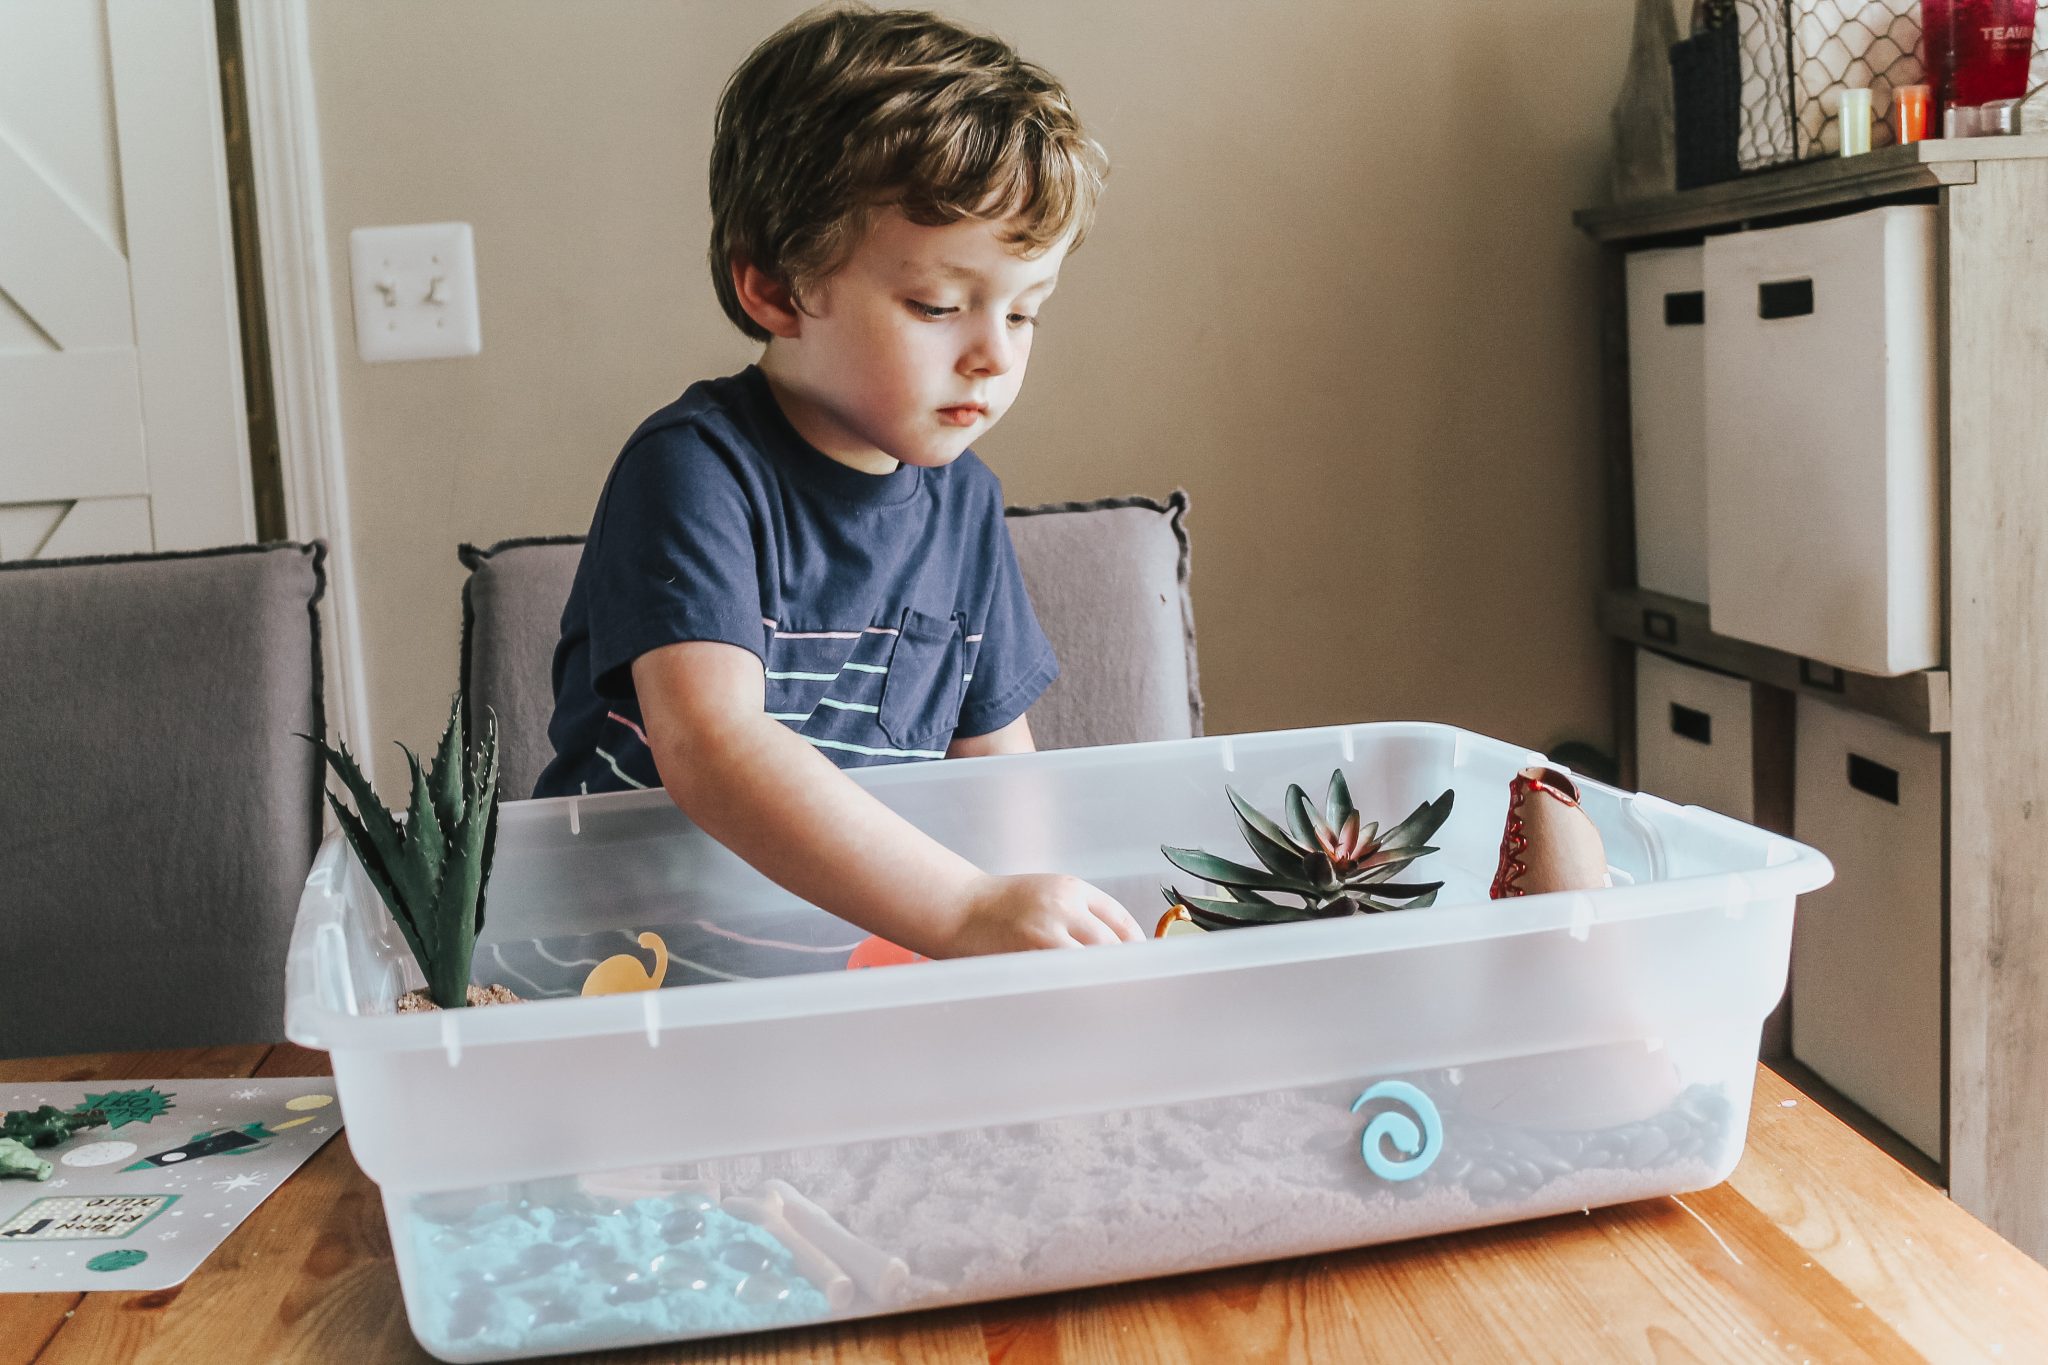

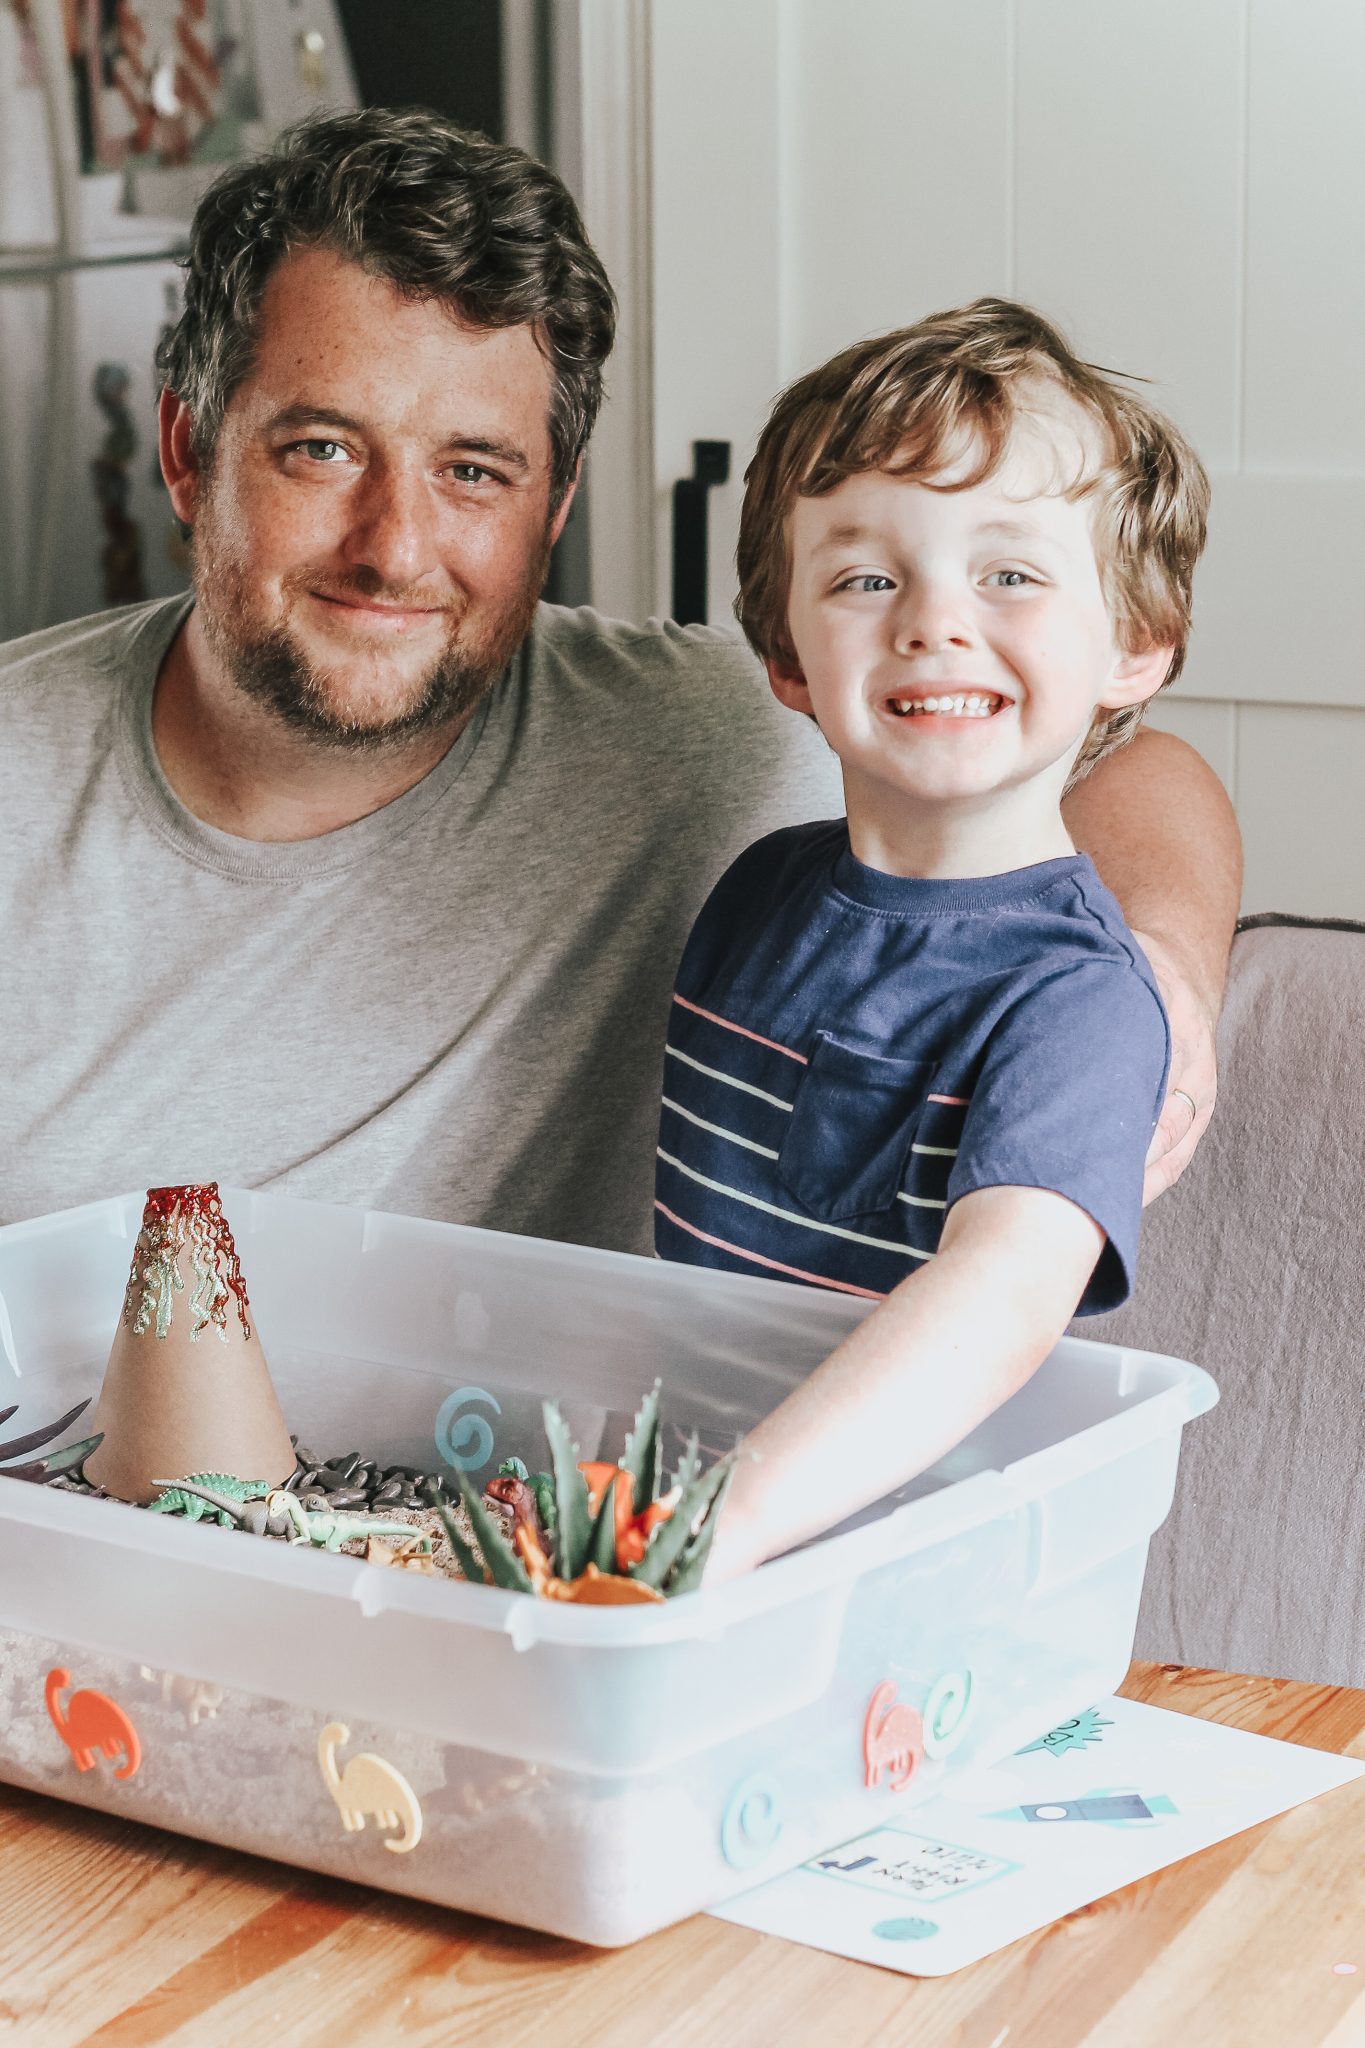
Step Eight: Enjoy
Could YOU play with a dinosaur island sensory bin like this? Levi played for HOURS with his! Kinetic Sand truly stimulates your kiddo’s creativity, all Levi needed for this sensory bin was Kinetic Sand and his imagination which transported him into the world of his favorite dinos. He formed other volcanoes out of the kinetic sand, molded it into mountains that the dinos walked over, and so much more! I love that Kinetic Sand gives him so much creativity while playing! He was so proud that he helped to make this sensory bin and couldn’t wait for us to work on the post so we could share it with you all! So if you try making it, be sure to snap a photo to send us so we can see!
Do you make sensory bins at home with your kiddos?
Be sure to check out Kinetic Sand for your next project!
Love this post? Pin it for later here: