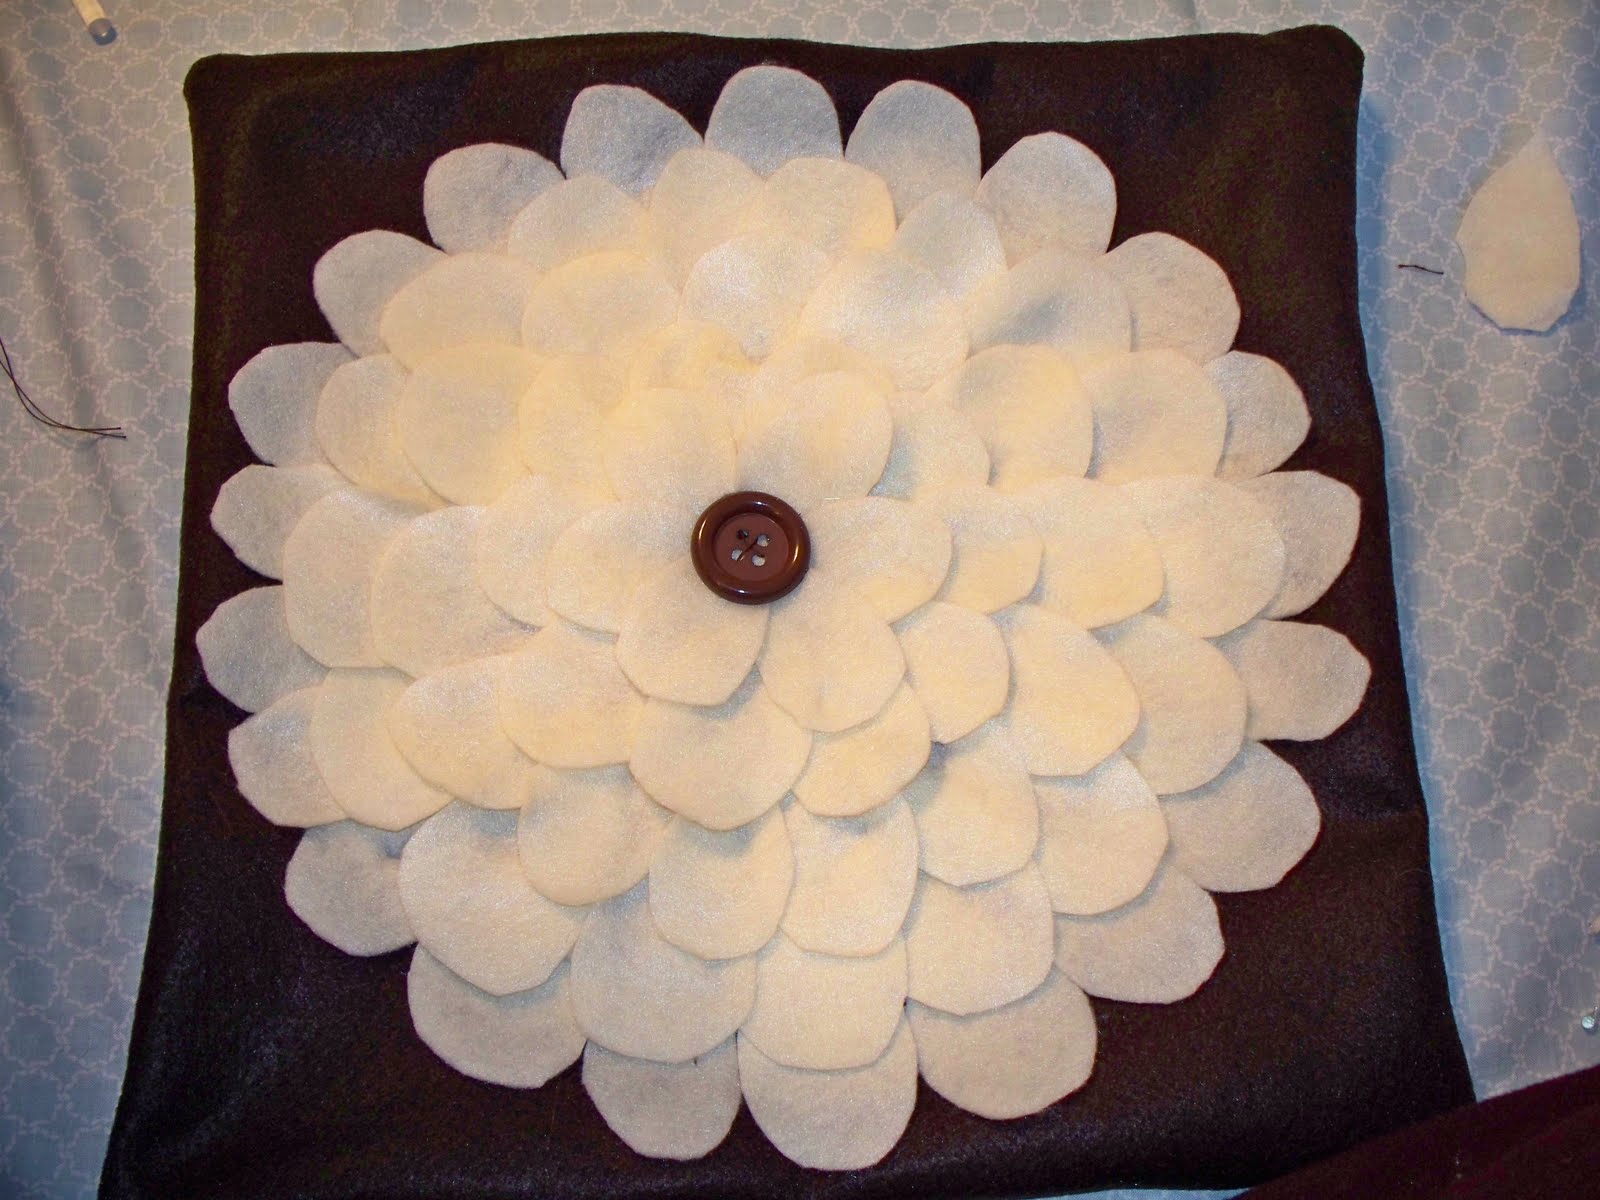
{Ain’t I just the cutest thang you ever did see?}
Today has been really crazy. School all morning- homework all afternoon- then some crafting- gotta make dinner in about 45 minutes- then more crafting/blogging, etc. And although it whoops me day after day- I am LOVING it! I wanted to do a simple, yet adorable post for you guys- so here it is!!!
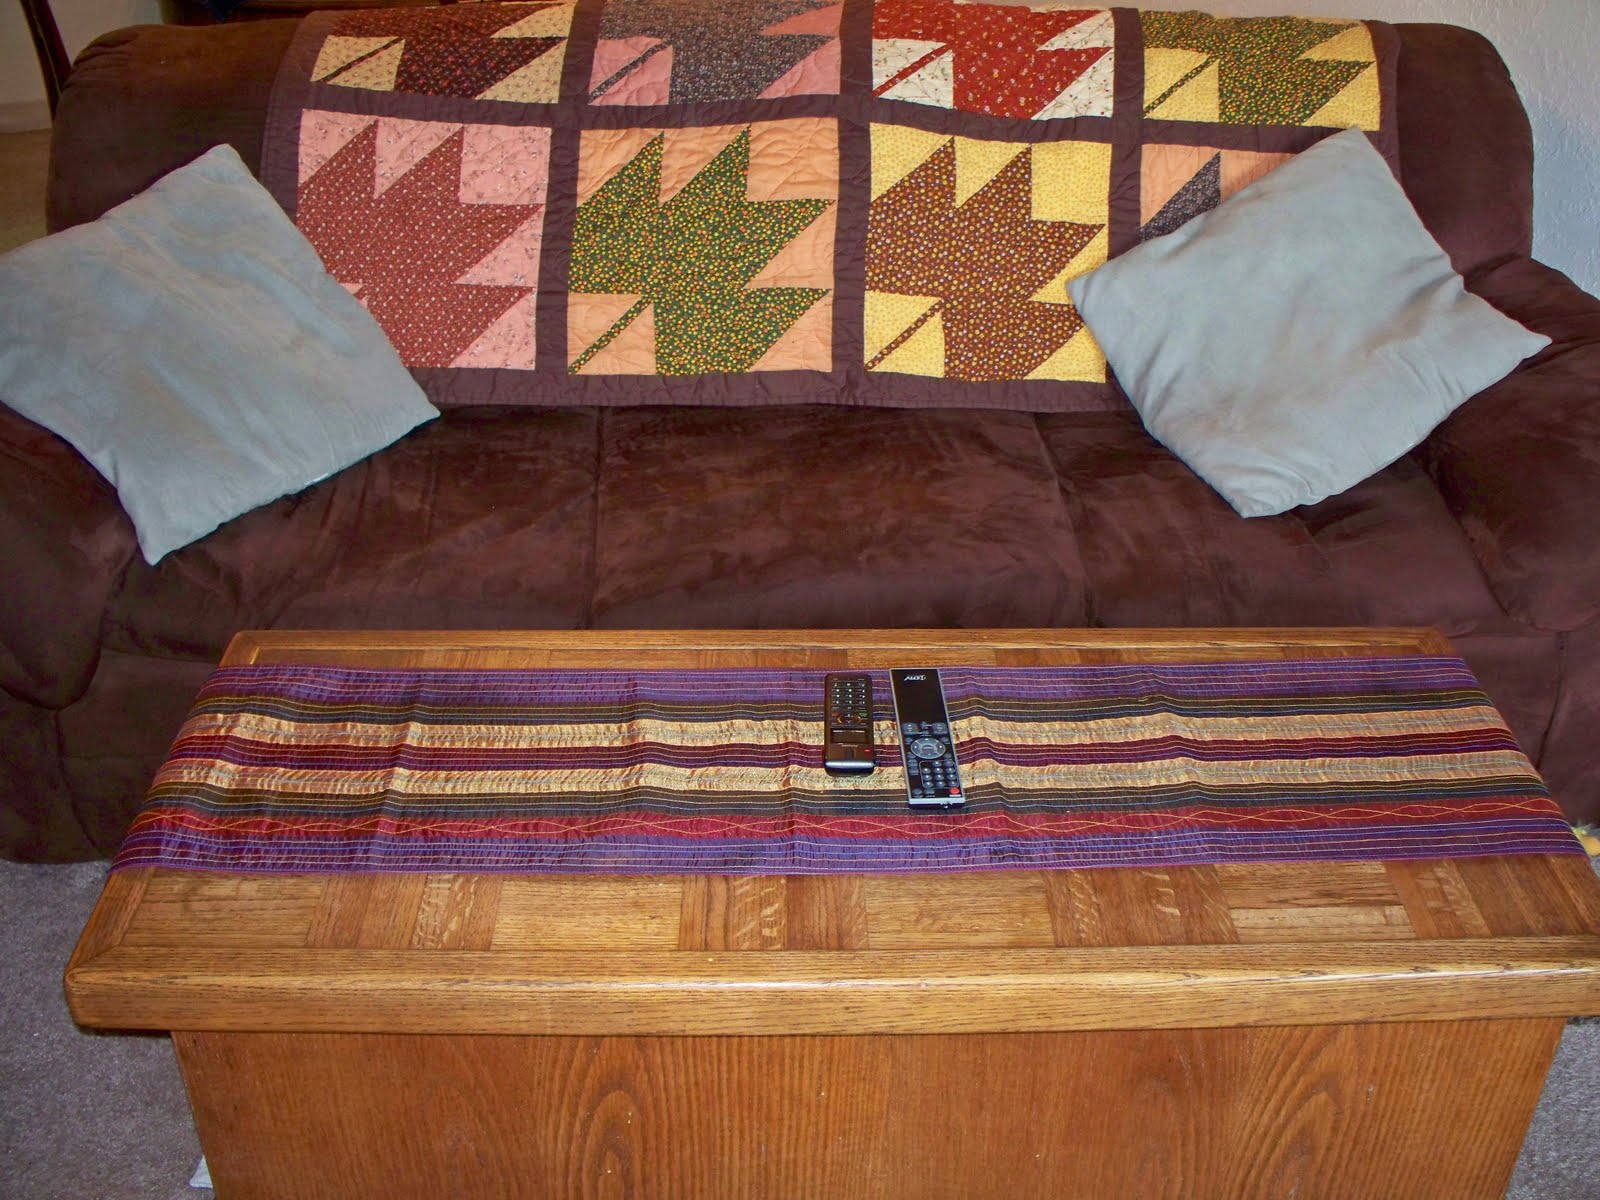
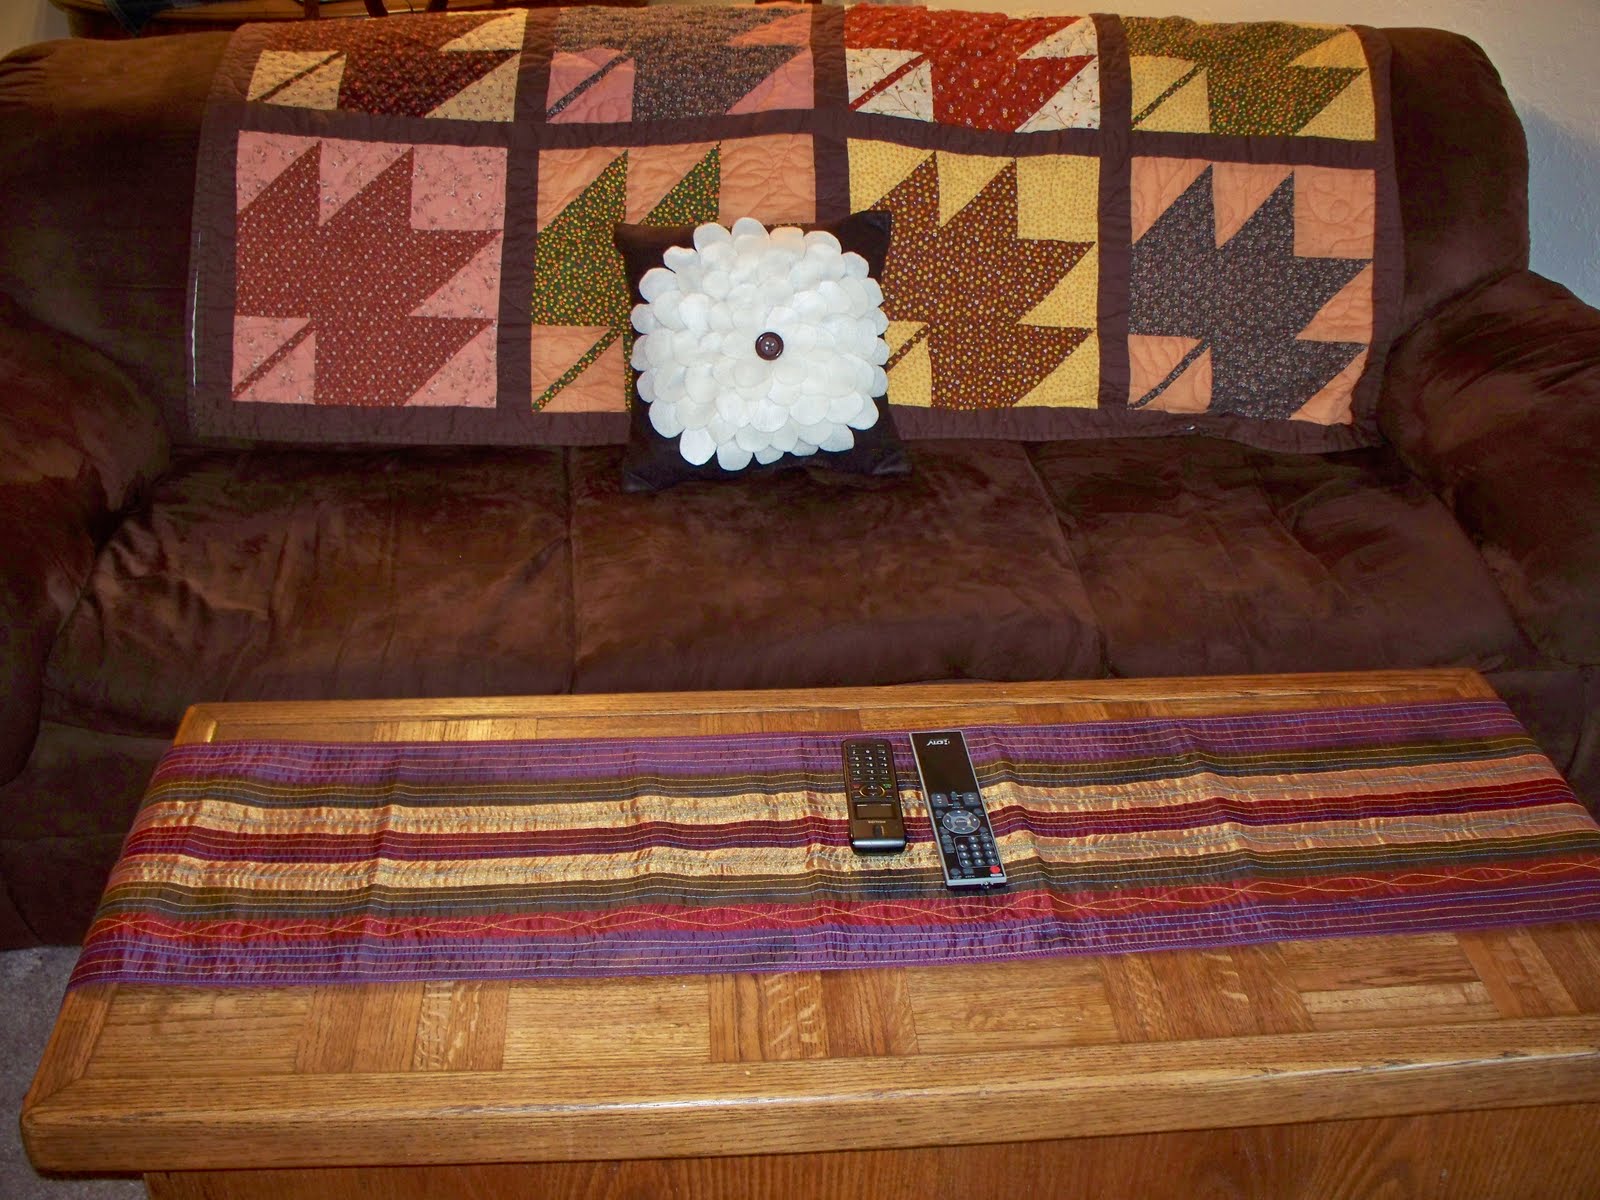
{My couch before- note the plain-jane pillows}
Something HAD to be done.
{Side Note: Mason did not help at all with this project}

Steps to making YOUR VERY OWN Cutesy Pillow:
1. Measure & Cut felt
2. Use a ruler to draw straight lines about half an inch away from the edge leaving an opening at the top of the pillow about 5 inches across.
{My pillow shown here is 15inches x 15inches}

3. Sew along the lines you drew
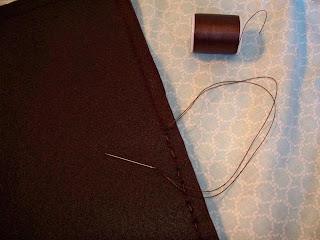
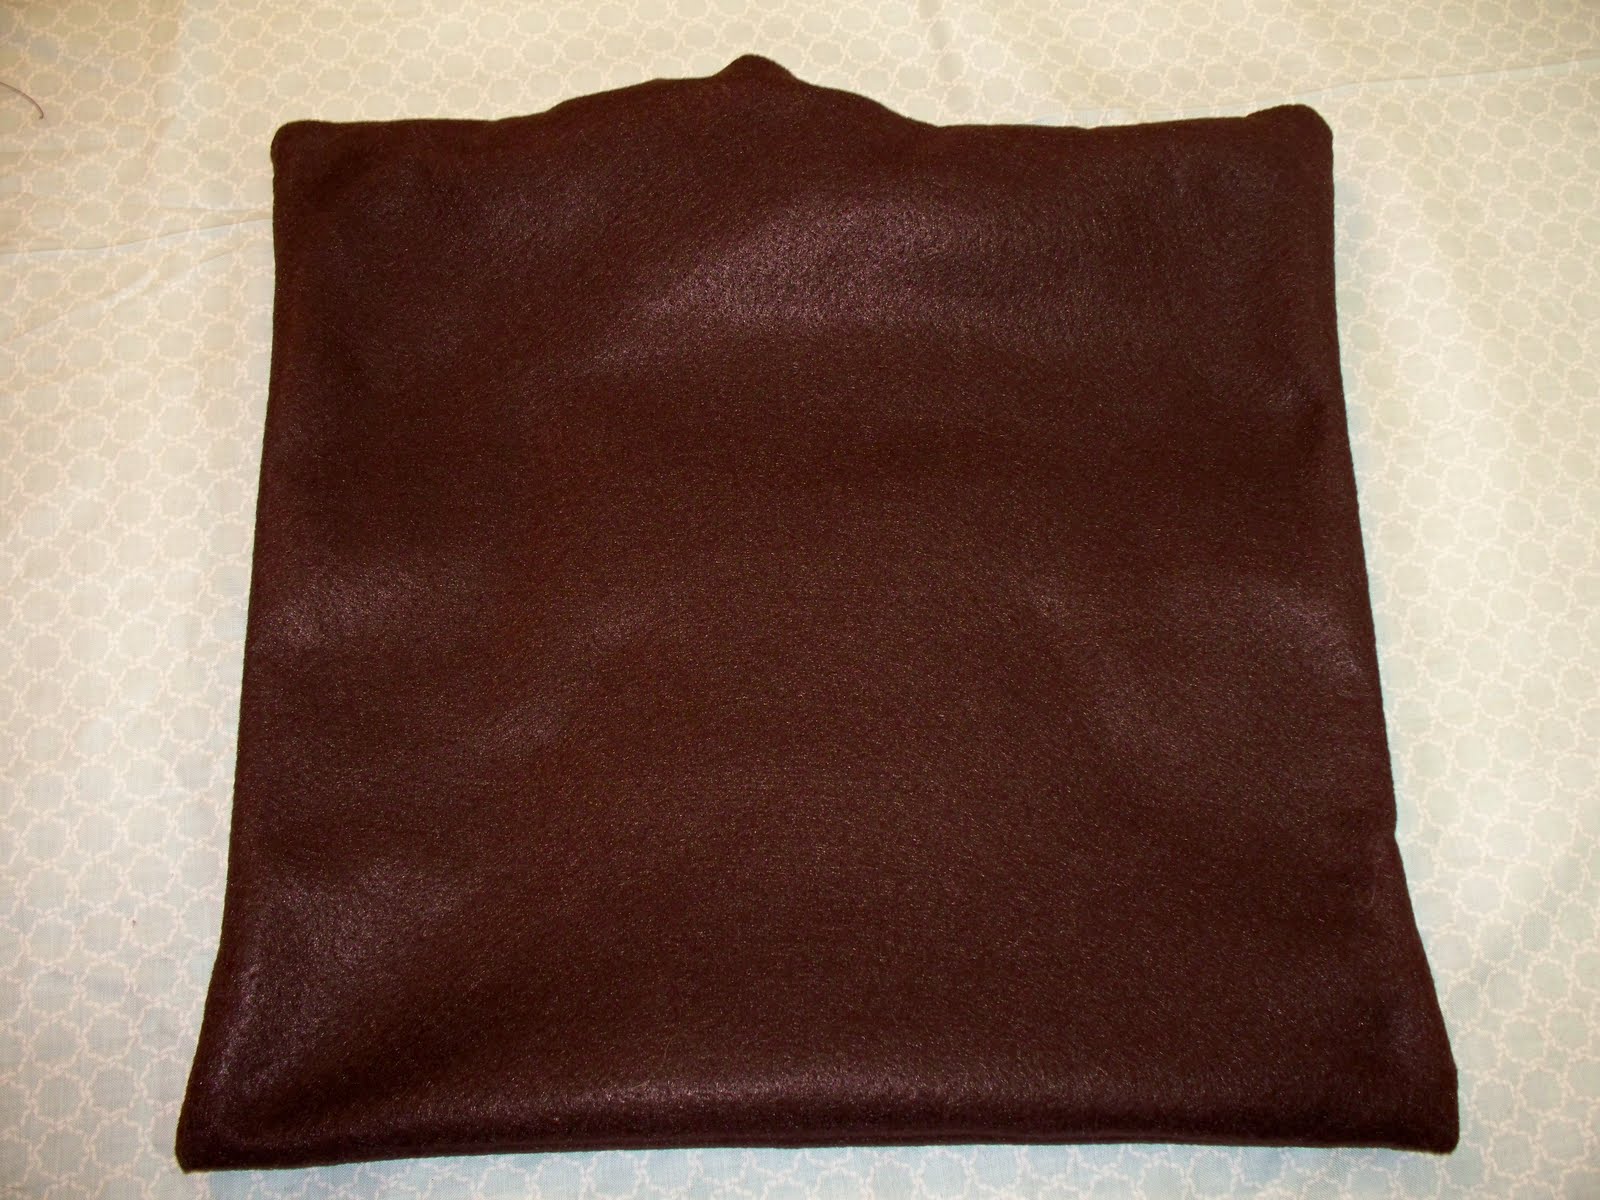
4. After you’re done sewing, turn the pillow case inside-out.
{It should look like this}
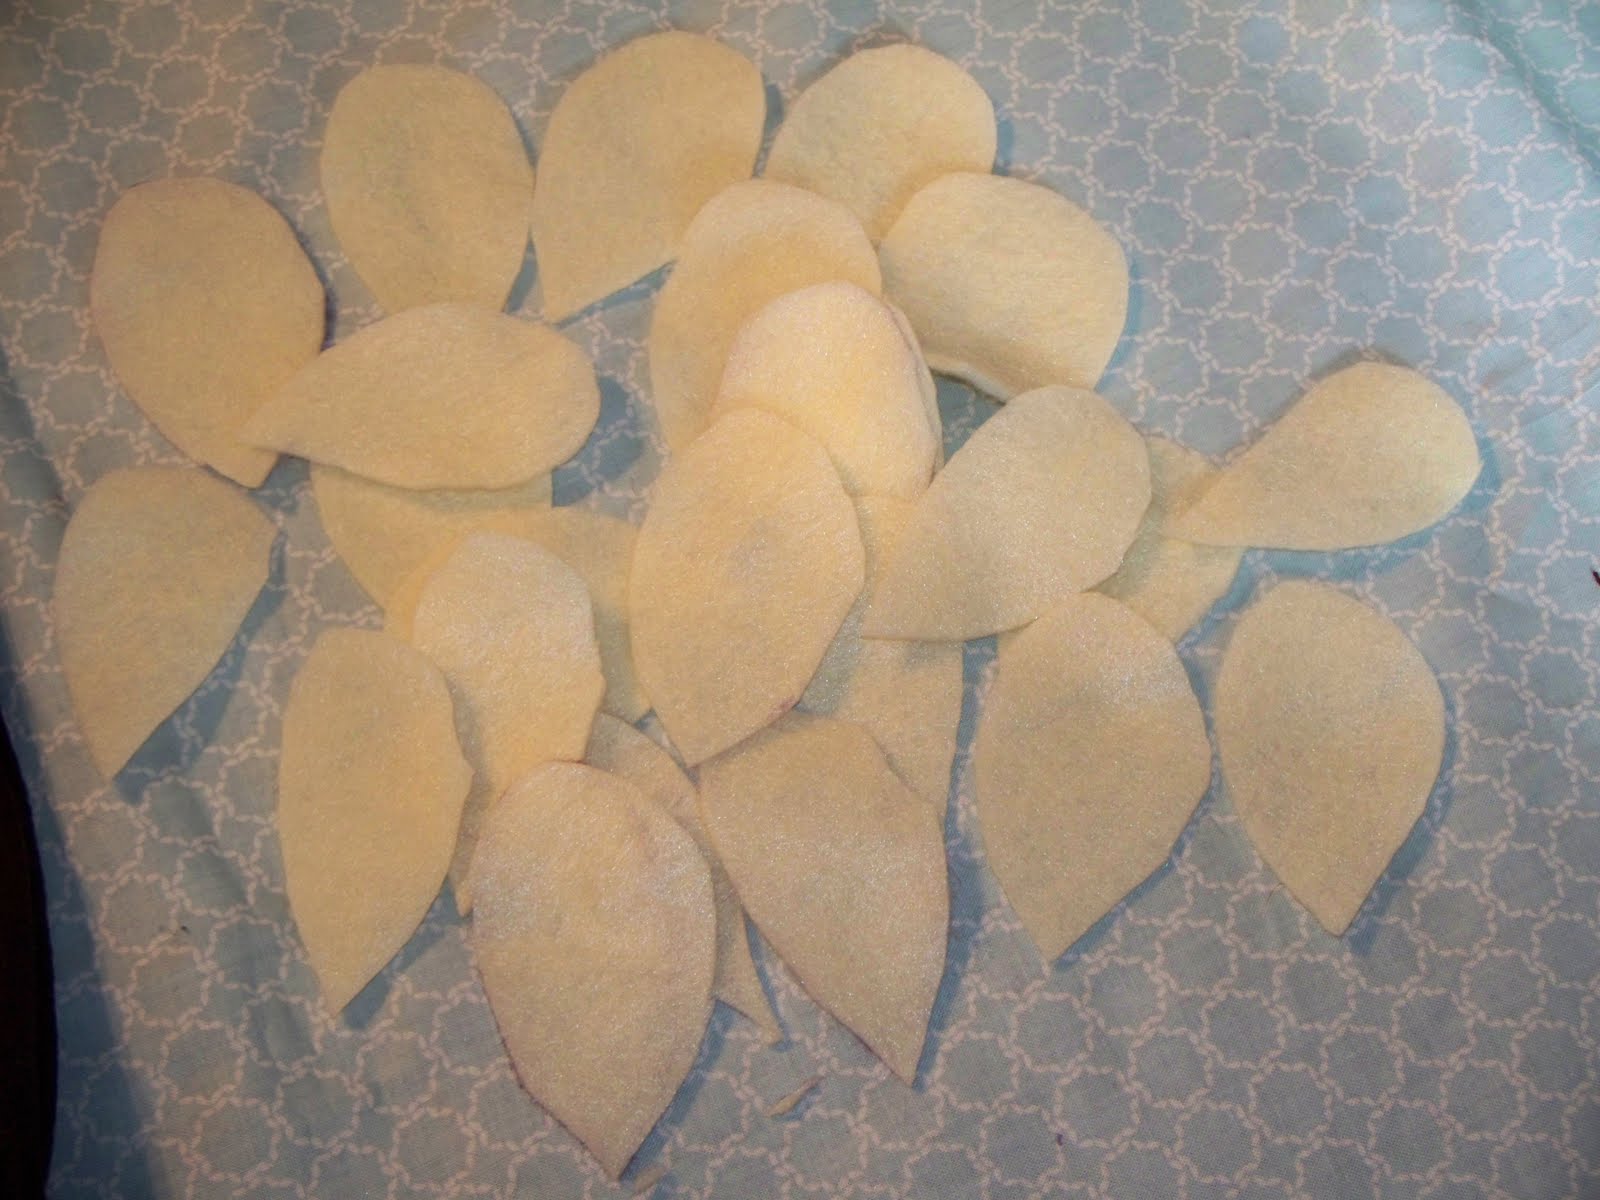
5. Cut out flower petals using opposite color felt and set aside.
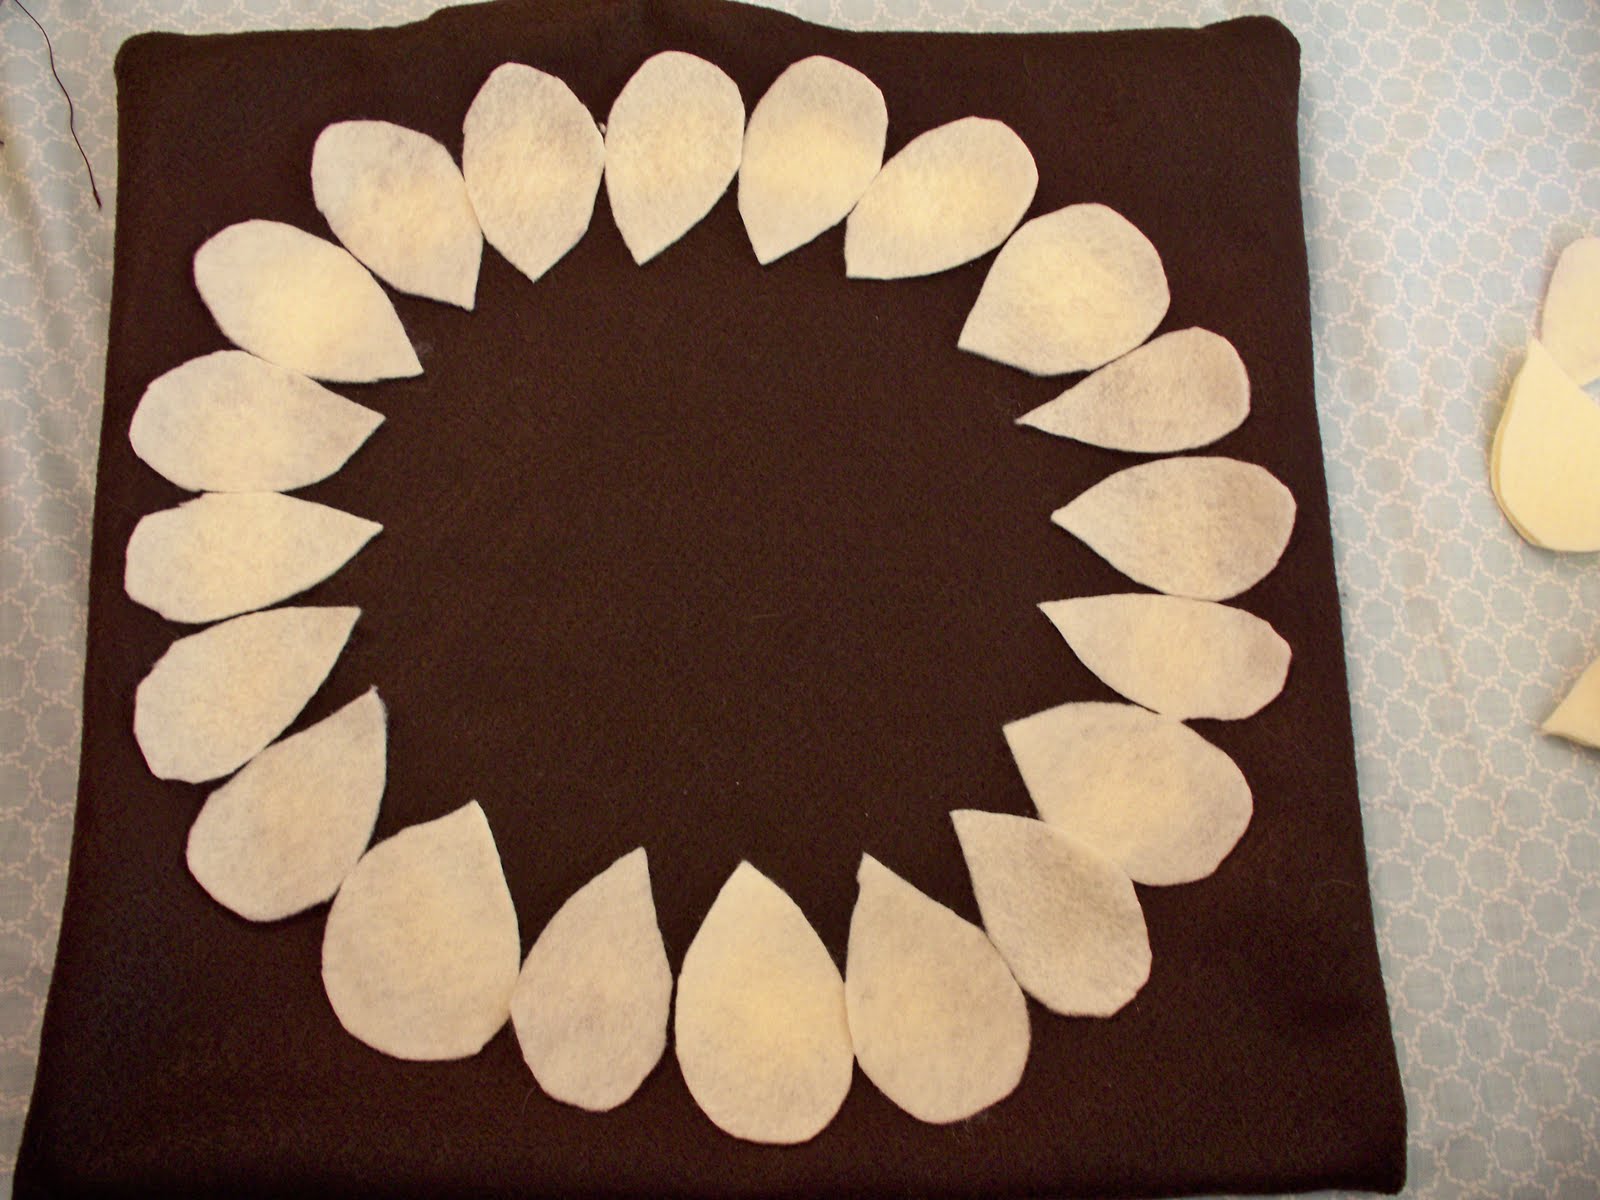
6. Use a dinner plate, or just free-hand a circle on the brown felt with marker (this will be how large your flower is.
7. Using hot glue, begin to glue your petals over the circle you drew. The middle of each petal should line up with the circle.
{Make sure the petals are touching each other}
 8. Move on to the next row, and overlap petals like this:
 9. Continue gluing on your petals:
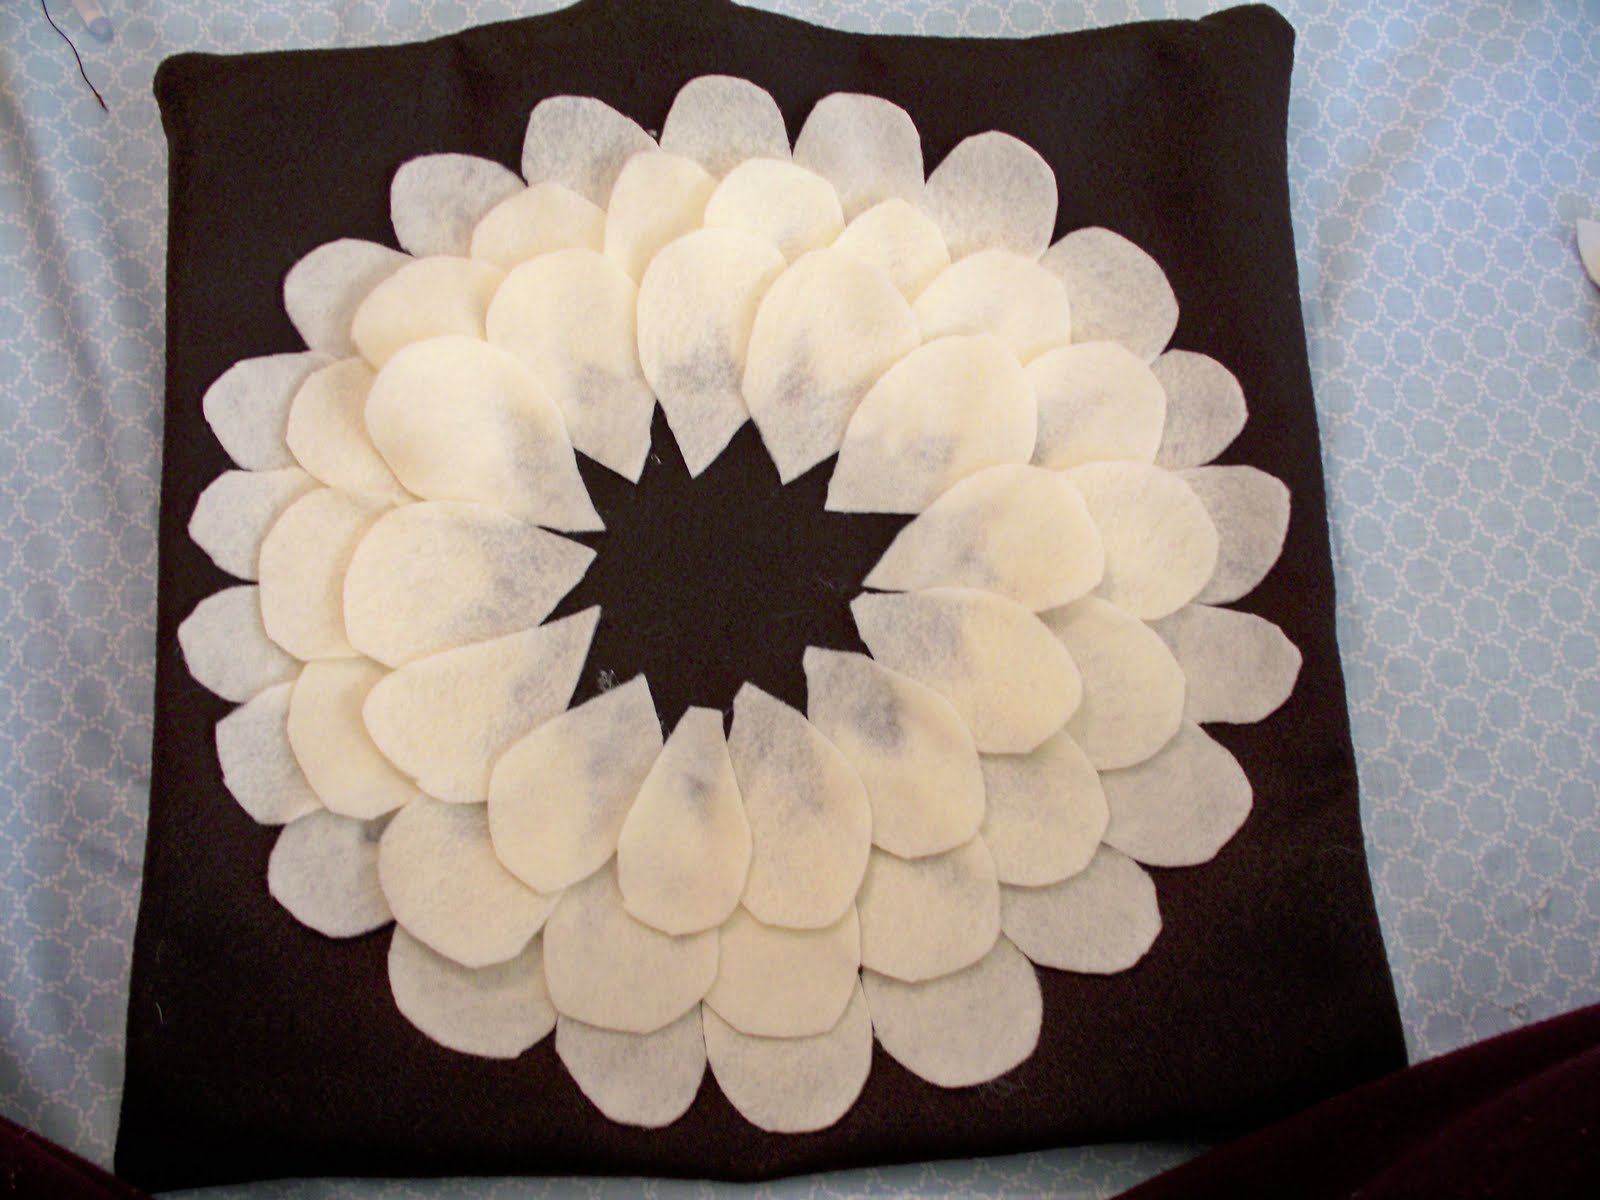 10. Keep going- almost done!
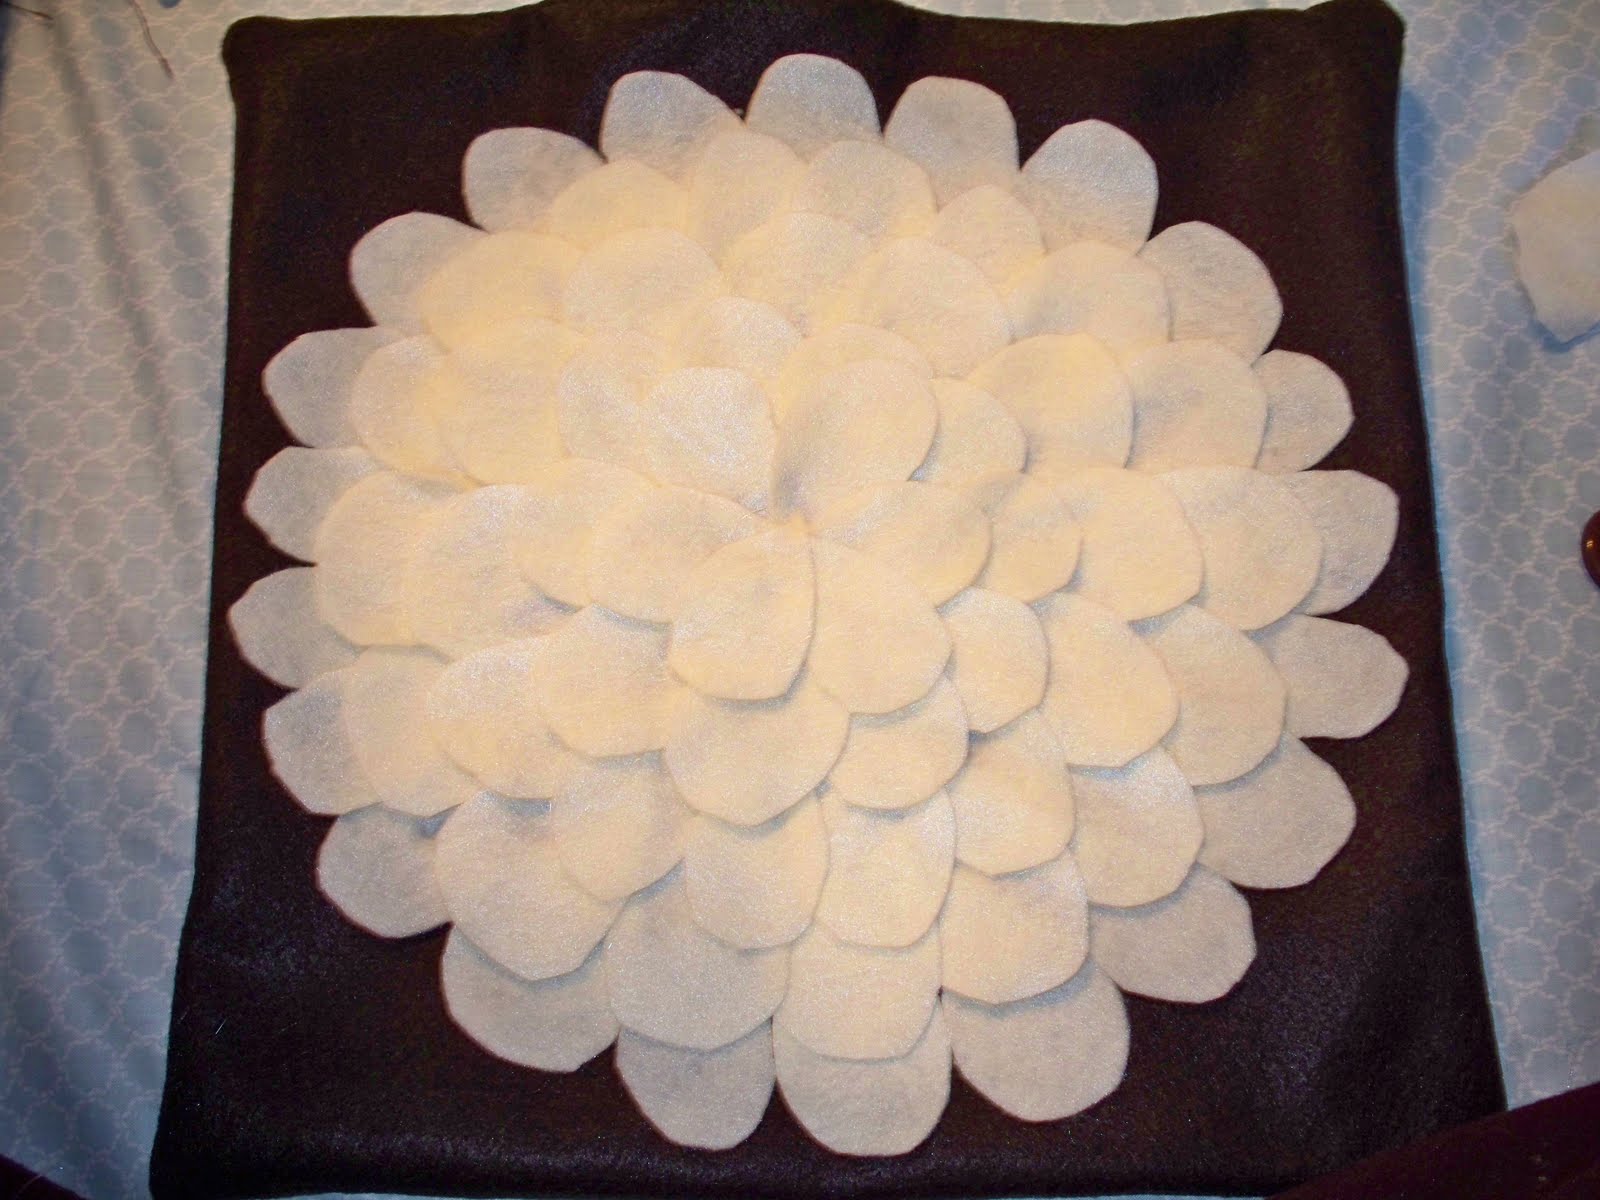 11. Add a button to the middle by either sewing it on-or gluing it on.
 {I did both just to make sure it would be extra-secure}

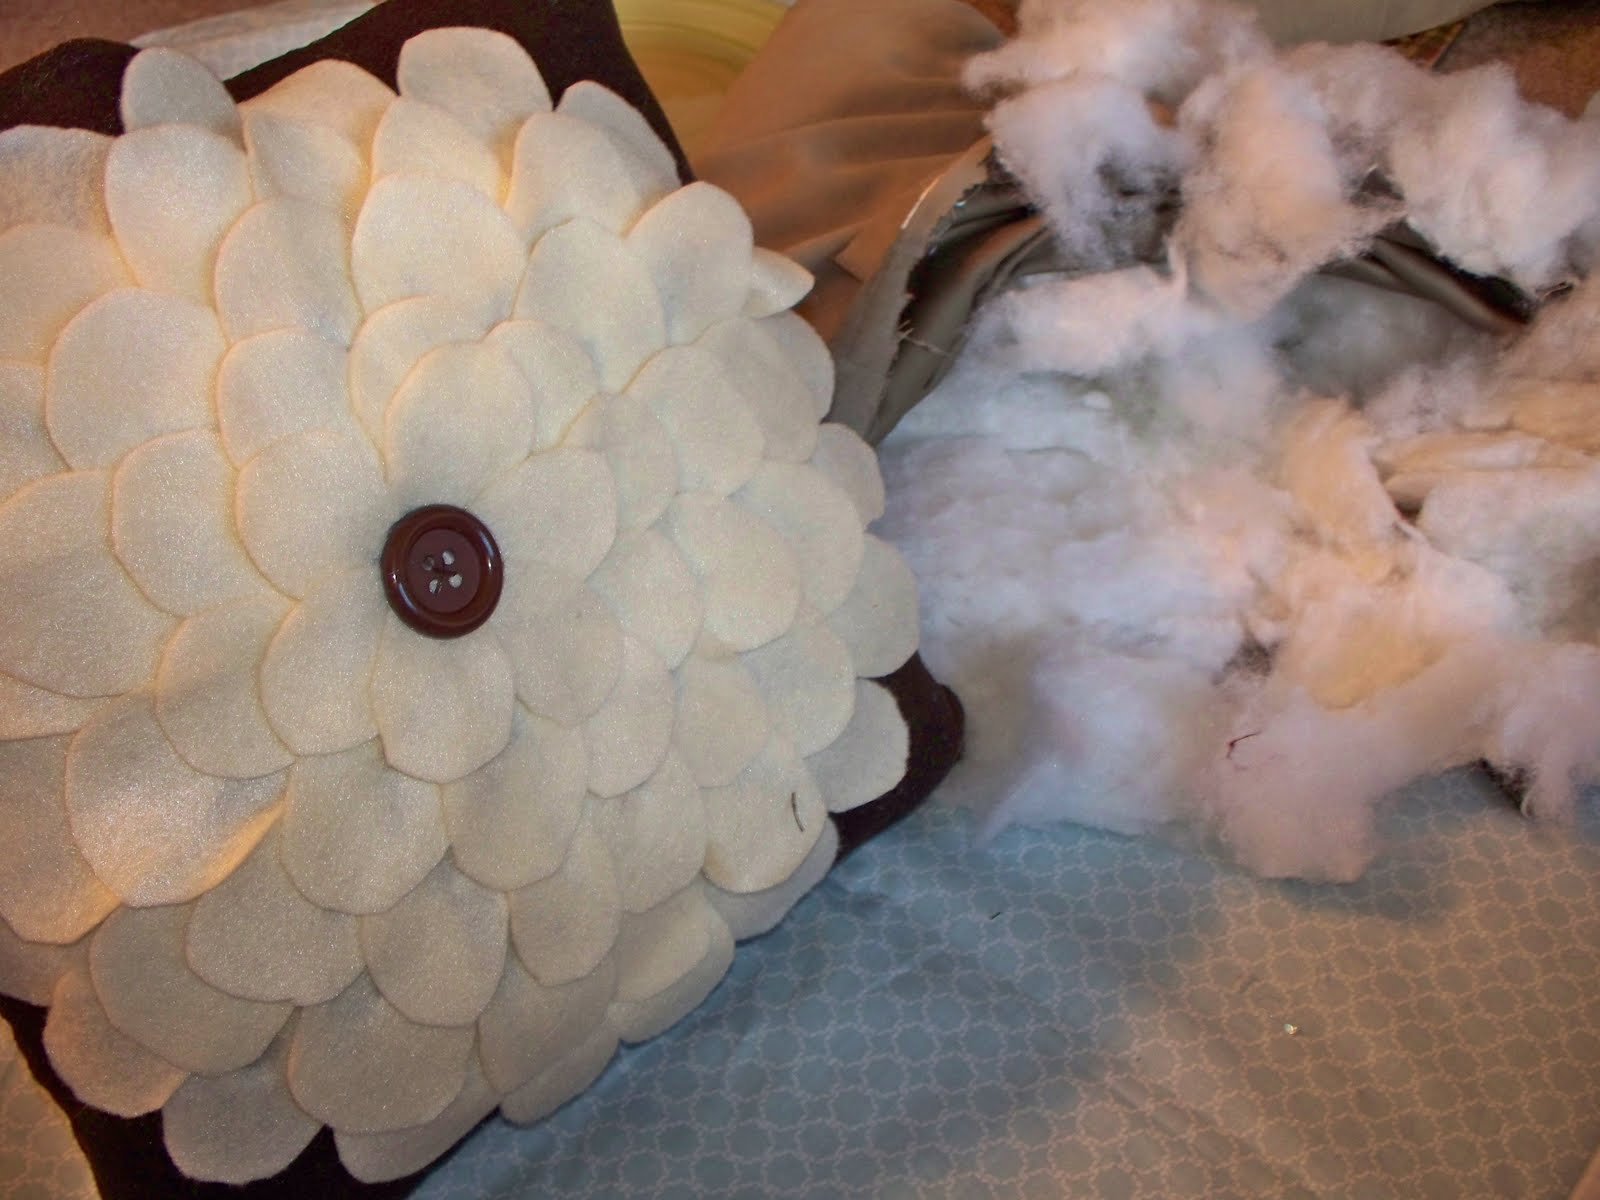
12. Stuff pillow with filler.
{ I destroyed an older pillow to fill mine, very messy idea, I would not recommend this.}
 13. Sew up the top of your pillow & YOUR DONE!!
{Now, that’s better}
Run-down of materials:
1 yard dark brown felt
1 yard antique white felt
1 spool of brown thread
1 needle
1 glue gun
1 bag glue sticks
1 marker
1 ruler
1 pair of scissors
1 adorable button of your choice
&
About 2 hours.
Hope this added a bit of cuteness to your day!
-Kendall


Your pillow is so freaking adorable, I love it! I love the flower and the button, it’s so perfect together!
Great job!
So cute, and the button was a nice touch! Awesome.
Really fun, I hope to find time to try something inspired by your project – thanks!
Thanks everyone- I’m actually already planning to make a few more as holiday gifts this year!
this is fabulous! have you tried it with other fabric? i think i might have to attempt this myself! if i do, i will def link to your tutorial 🙂
Found your blog through links! Love your blog!
If you ever need new recipes or want to be featured..than please come become a follower to see daily updates and email us if you would like us to feature you!!!
That is a seriously adorable pillow! So cute and girly! I think I need one or two at my house:)
Thanks, and it’s really easy! I haven’t tried it with any other fabrics- this was my first go at it! Thanks for your comments!
Very cute! This would be a great no sew project for someone that has an old plain pillow they want to spruce up. I think a couple of these would look great on my girls’ beds.
Thanks Amy- I completely agree! I’m making more today for my couch & guest bedroom!!
Visiting via the weekend wrap up, your pillow is gorgeous. The technique is very interesting, thanks for posting the how-to.
Oh no problem! It turned out so good I had to share! Thanks for your comment!
Stopping by from this weeks Under the Table and Dreaming link party. Cute pillow. I am dying to try one myself. Thanks for the easy tutorial.
Always-in-wonder.blogspot.com
This is seriously darling!!! Way to go girly!! I’m so happy to be your newest follower of your sweet blog! I’d love to have you as a friend at FrouFrou Decor! Be sure to link up your fun creations at my weekly Friday party! Hope to see you there!!
Hugs,
~Terrell @ FrouFrou Decor~
Jennifer- No problem! I hope you try it! 😉
Terrel- Thanks for following :)I’ll check you out right now!
Very cute pillow! It’s giving me ideas for the pillows I want to make once I’m done with the rest of the living room makeover! (via the Under The Table And Dreaming link party)
Thanks so much Birgit Kerr! 😉
THANK YOU for telling me that this came from your blog…I was going crazy!! I edited it right away and gave you a shout out 🙂 Thanks for the inspiration!!!