Hey all! Hope you’re having a lovely Tuesday! As you know I’ve been on kind of a “kick” trying to find things to do with Wyatt during the day. Activities that would be fun for the both of us and also help him fill his brain to eventually be a child prodigy. ha! Well, here is Katlyn to share with you an activity that is DIY and that would be great to do on a boring week day (because we all know there are times when you’re just flat out bored!). Enjoy!
—————————————————————————
Hey S&B readers! I am totally stoked to be sharing this tutorial with you today! I mean come on, who doesn’t love GIANT CHALK!? But first let me introduce myself to you. My name is Katlyn and I am the gal behind The Dreamy Meadow. My blog is about my life. The good, the bad, and the cute. I hope that you will come stop by and say hello to me. Not yet though, because you have to see this tutorial! 🙂 I have never realized how much I love to make fun things for my son to play with. I have always loved crafting and making things from scratch if I can. Being able to share that with Bentley brings a huge smile to my face.
You may have seen my other tutorial for Homemade Finger Paints, but if not go check it out! We love to make and play with that as well..
Today though, I’m going to share with you how to make GIANT sidewalk chalk.. Did you know you can make this? I was pretty stoked when I found this project! It’s a little tedious at times, but once you get the hang of it it’s super fun! I do recommend that you only involve your children in this if they are old enough to take direction! But the chalk is perfect for any age!
Here’s what you’re going to need.
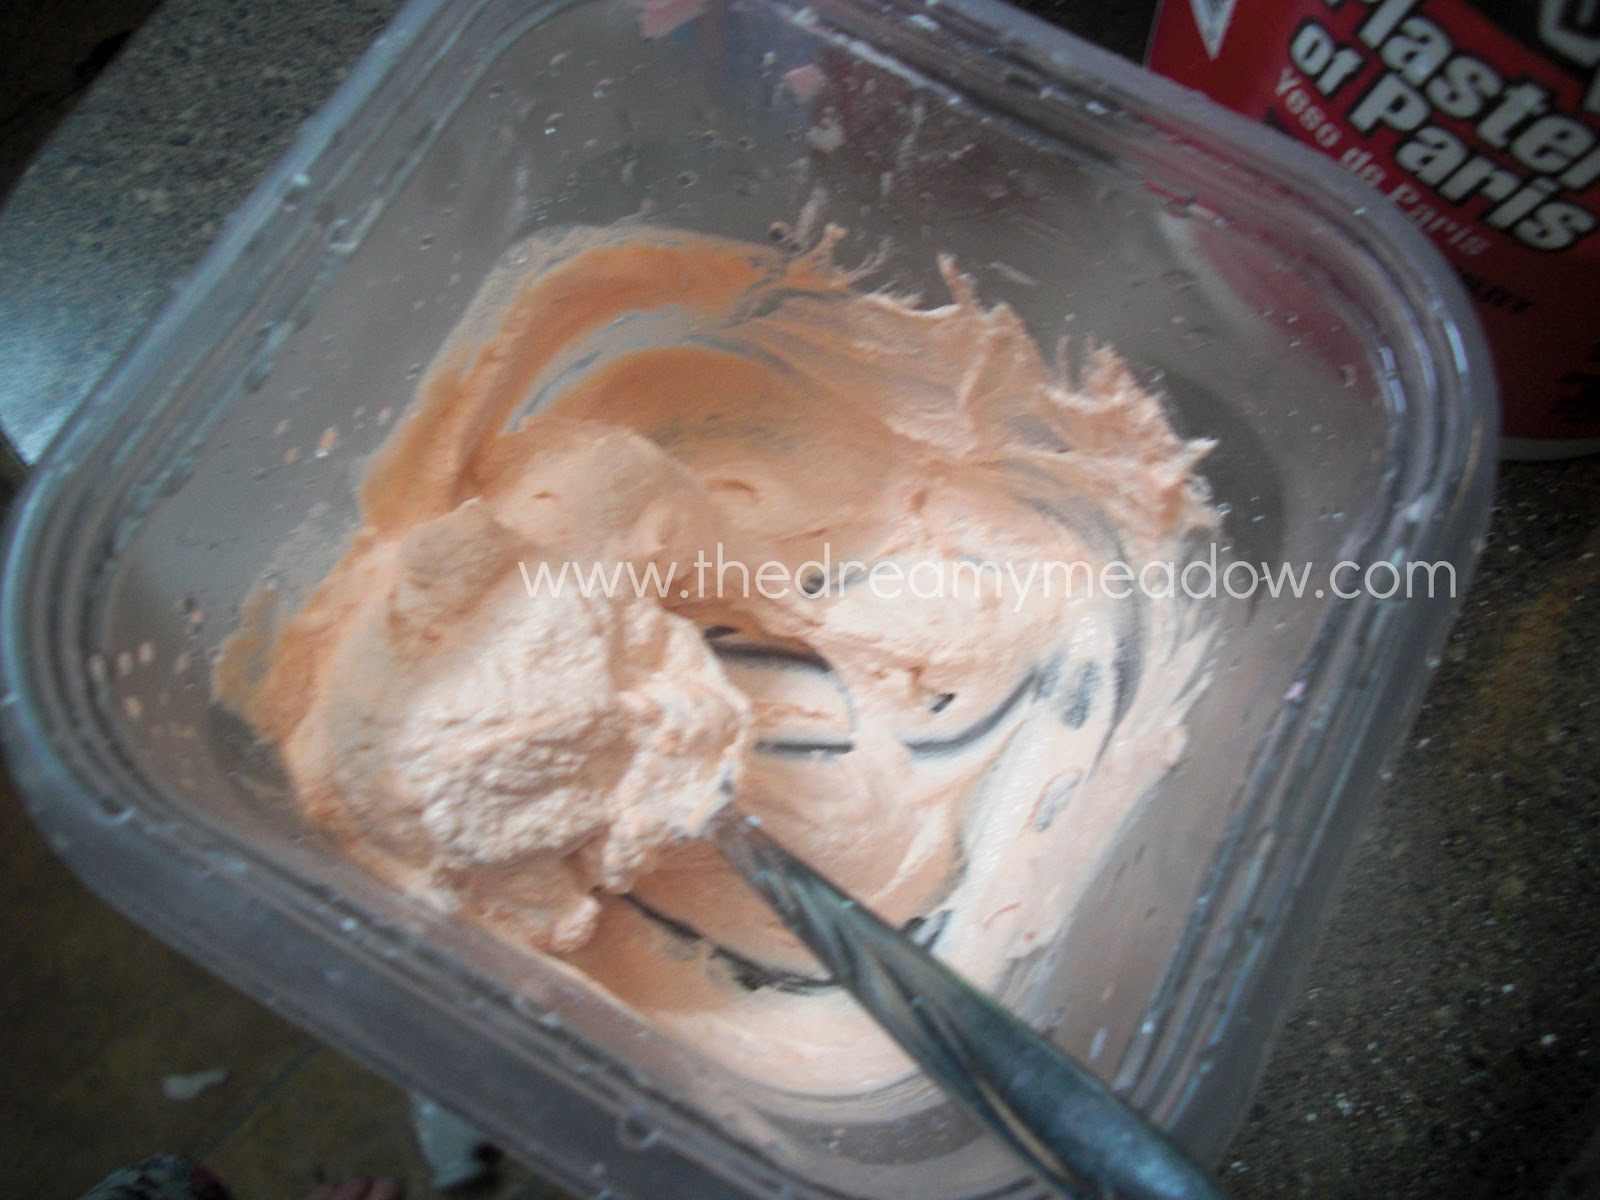
1/2 cup Plaster of Paris
1/3 Water
Tempra Paints (I used neons)
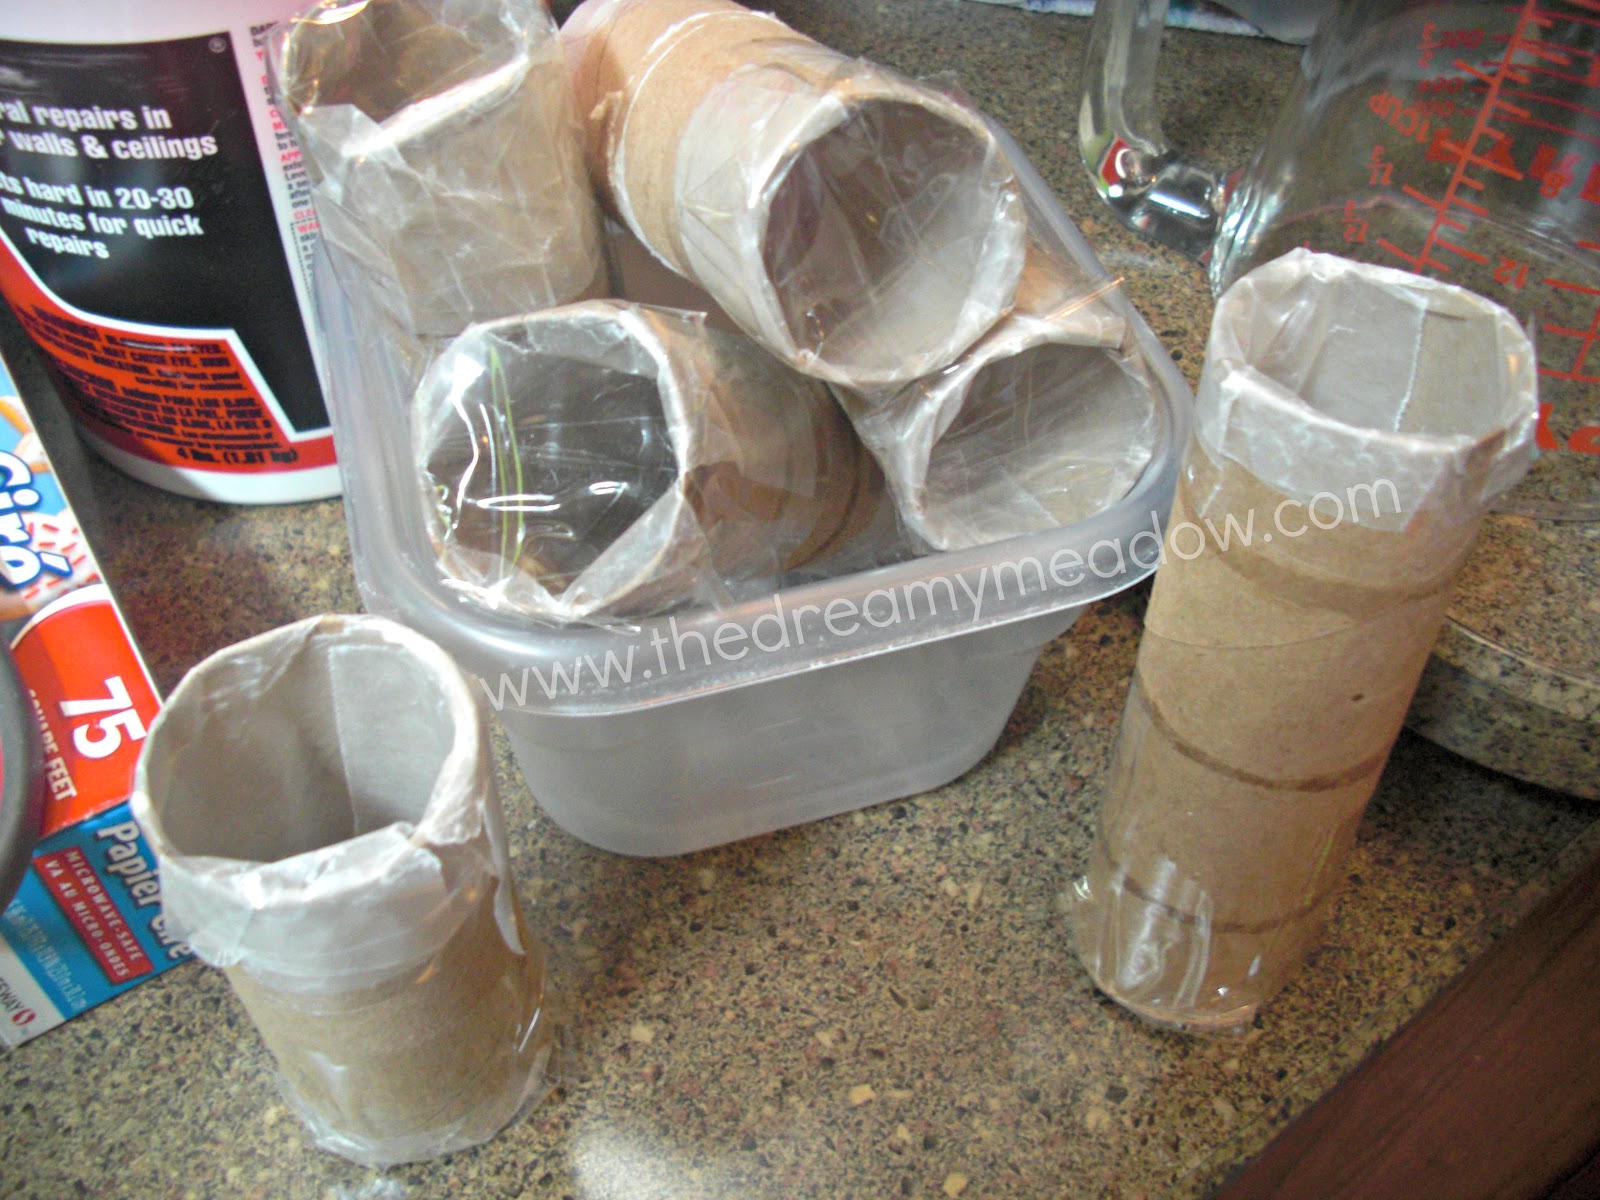
Empty Toilet Paper or Paper towel (cut in half) Rolls
Wax Paper
Clear Tape
Spoon & Bowl you do not care about
Measuring cups
Scissors
Container to place filled rolls in
*The measurements above for the plaster and water will make enough for 1 tube.
Step 1: Place wax paper inside toilet paper rolls and tape down so it won’t move once you start putting the mixture in. Then place tape on one end of the tube so the mixture will stay in.
Step 2: Mix together Plaster of Paris, Water, and Tempra paint together in your bowl. You can add as much or as little paint as you want. I used quite a lot, because I wanted the colors to really pop. You will notice that the mixture may get hard to stir once the pain is put in. If this happens just add a bit more water. You want the mixture to be a paste, but not too thick.
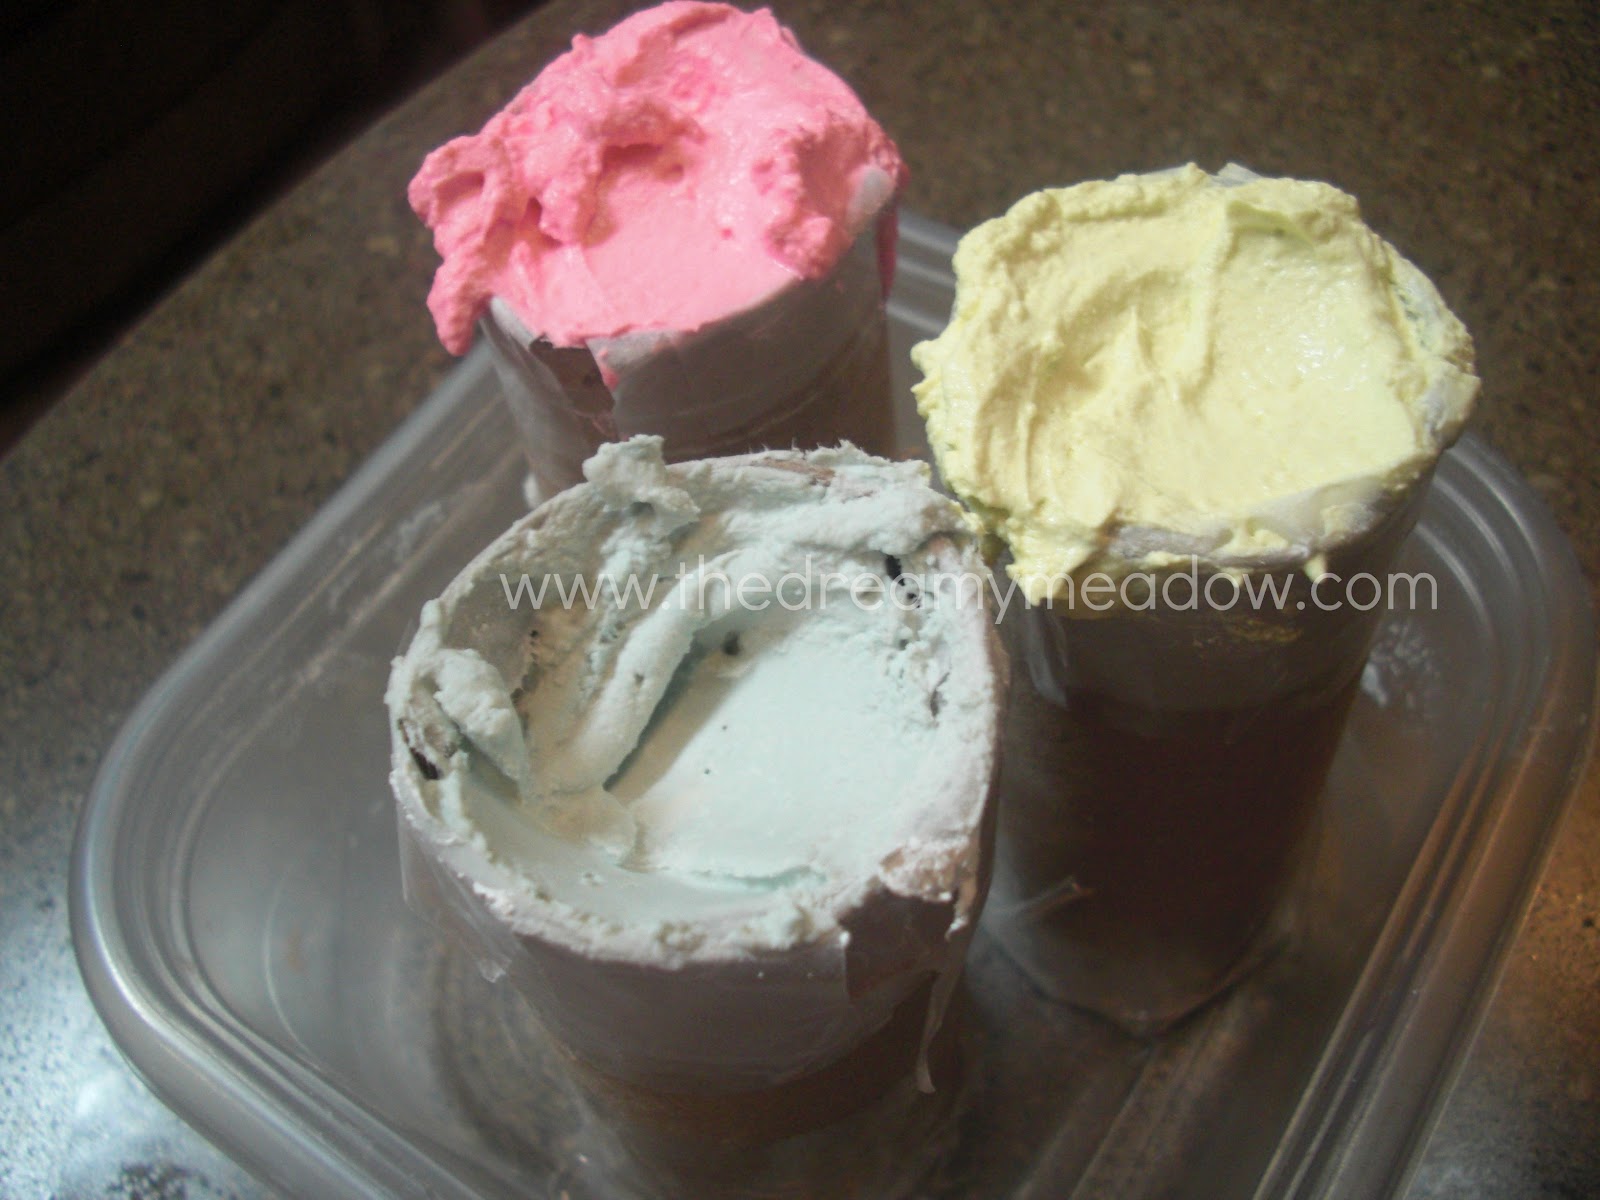
Step 3: Spoon the mixture into the tubes until it is completely full. Make sure to smooth out the top as much as possible (I always forget to do this). Then place in container.
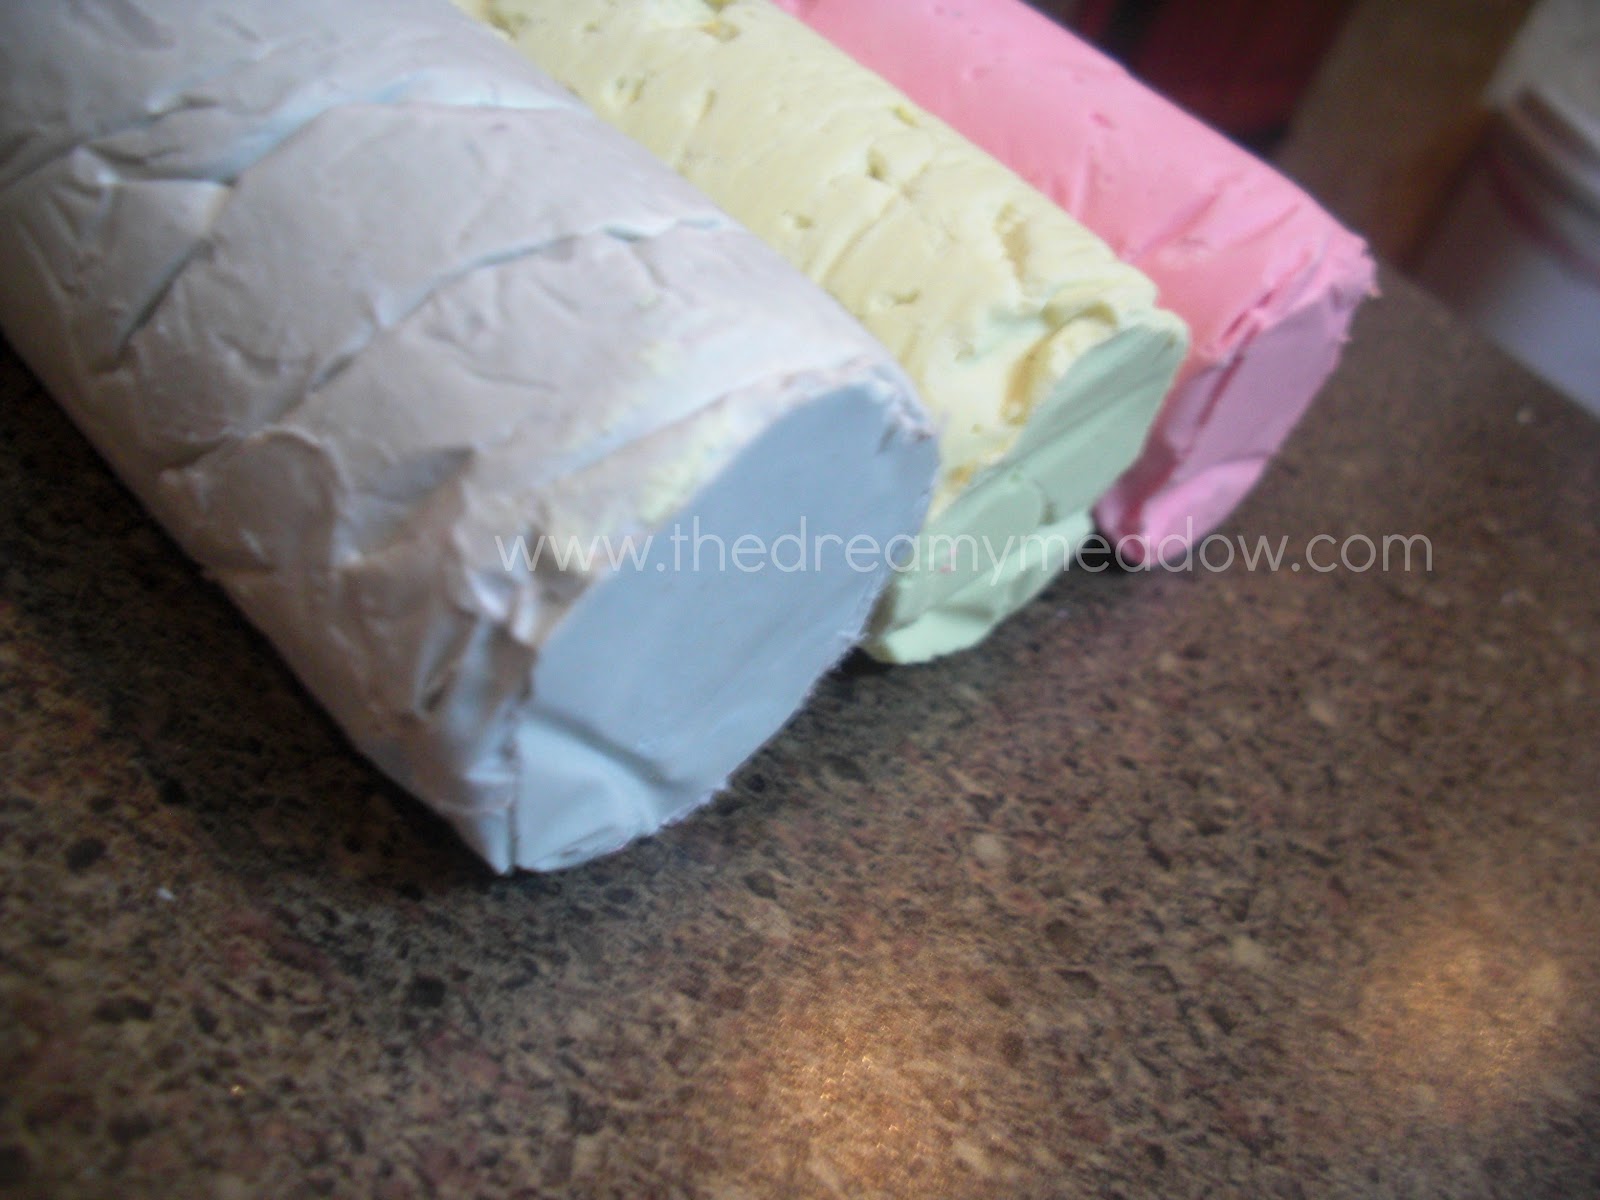
Step 4: Allow mixture to dry 30 mins to 1 hour. Then simply cut off the tubes, and well-ah! Let your kiddos draw away!
Remember to work at a fast pace with this. You don’t want the plaster to start setting before you place it into the tubes!
Step 5: Let your kids have fun with their new chalk!
I would love to see pictures of your kiddos (or yourself) playing with their chalk! Just attach one in your comment below! I hope you enjoy! 🙂


Thank you Kendall!!
No, thank you! It was great having you!!
That is so cool. I’ll have to try this one day.
I’m definitely going to try it – Wyatt would go crazy for this! 🙂
ok this is such a fun idea! I have to remember for when I have kids!
You should! I am excited to try it with Wyatt 🙂
Oh my goodness! How fun!! My girls would LOVE giant chalk!
Make sure you share a pic if you make it! 🙂 I’m sure they’d love it!