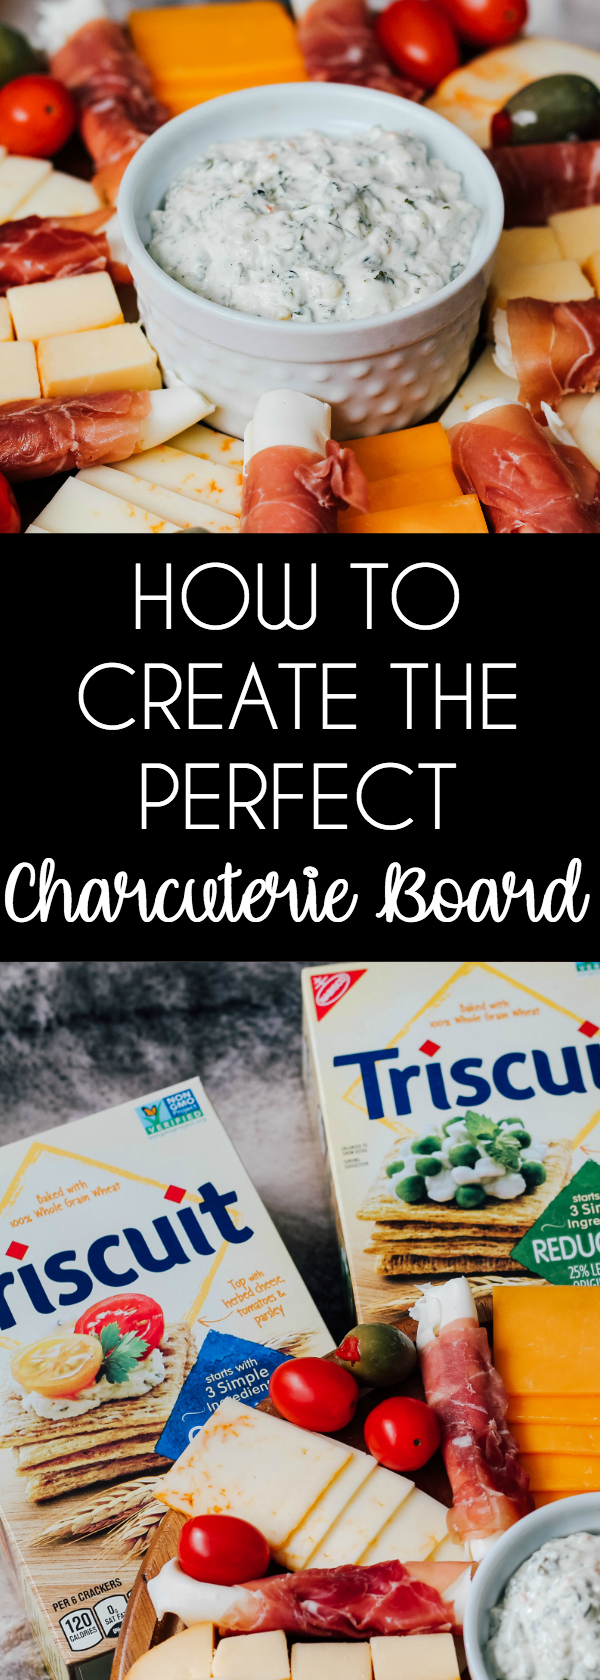
This post has been sponsored by TRISCUIT. All thoughts and opinions are my own. Keep reading to see How to Create the Perfect Charcuterie Board.
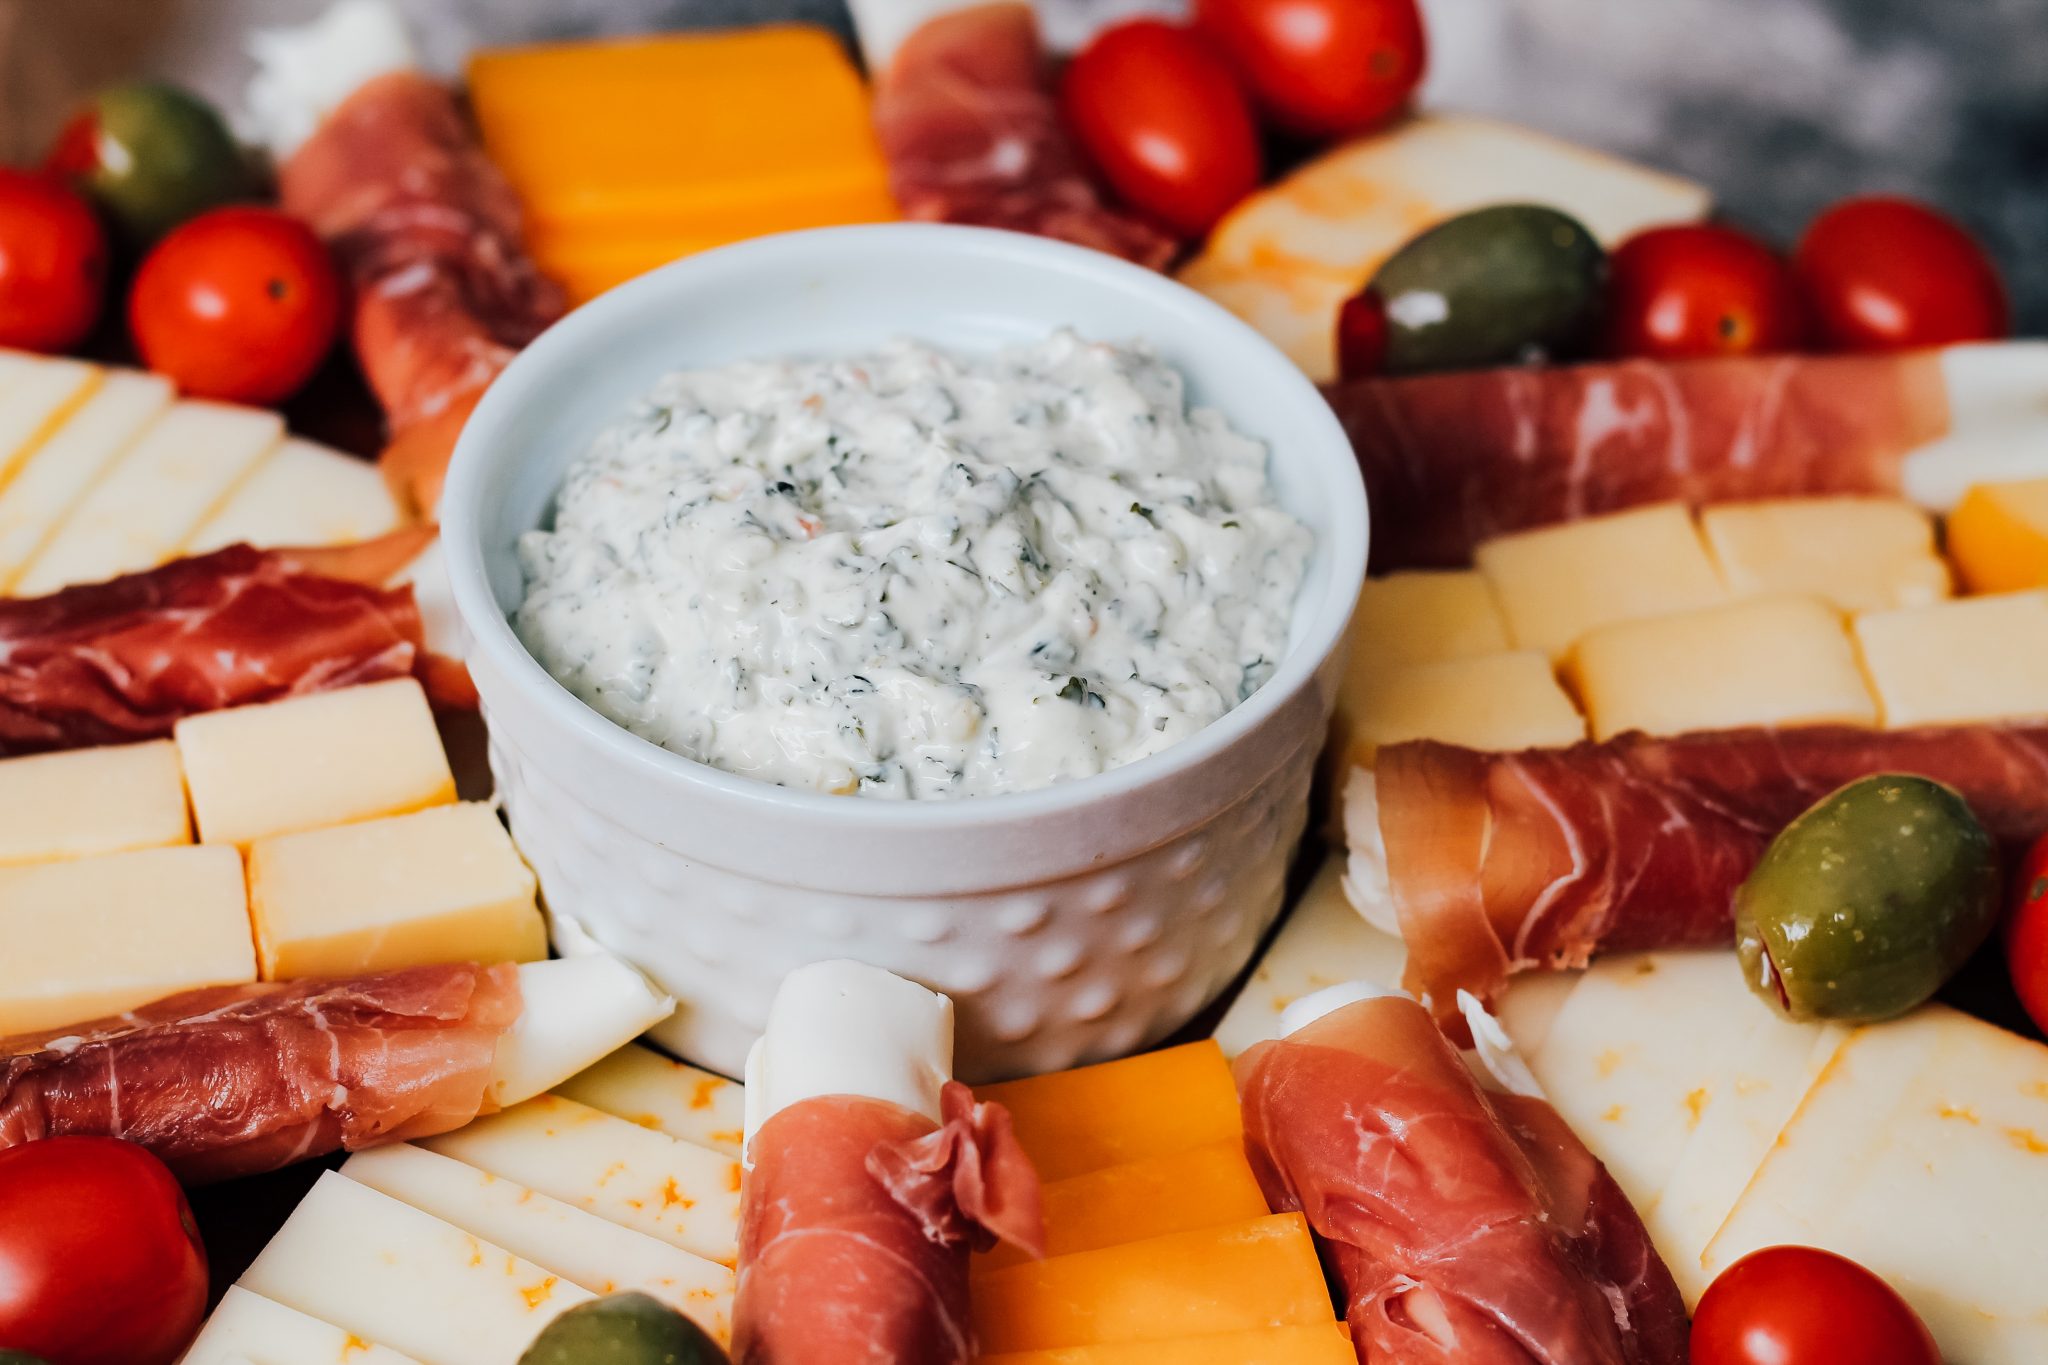
How to Create the Perfect Charcuterie Board
Hello, friends!
My husband and I don’t really get a lot of date nights out, maybe one a month if we’re lucky – so we rely on the power of at-home dates to carry us through. It’s so important to spend time together to keep our marriage fresh and exciting – and we’ve been married for over 10 years now, so our at-home date nights must be working!
This past weekend we had another one of our date nights at home, and I wanted to do something a little different than usual. I wanted to put together a special Charcuterie Board to have on hand for snacking. I had NEVER put one together before, so it allowed me to shop for new things, and do something new to incorporate it into our date night.
This large charcuterie board is large enough to serve when having friends over and entertaining! It’s also perfect for a fun couples date night in!
Charcuterie Board Shopping List:
- TRISCUIT Crackers Cracked Pepper and Olive Oil
- TRISCUIT Crackers Reduced Fat
- TRISCUIT Crackers Original Size
- Muenster Cheese
- Sharp Cheddar Cheese
- Spinach Dip
- Grapevine Tomatoes
- Prosciutto (I bought pre-made Prosciutto wrapped with Mozzarella)
We had three different varieties of TRISCUIT Crackers on hand to enjoy with our Charcuterie Board, Original, Cracked Pepper and Olive Oil, and Reduced Fat. Why? Because it’s nice to have a few different options for variety – and we always have TRISCUIT Crackers in our pantry because they’re non-GMO, we love the taste, and it’s just always important to have them on hand for last-second entertaining needs like our date nights. Plus, you can save on TRISCUIT Crackers at Kroger stores now!
Putting Together Your Charcuterie Board
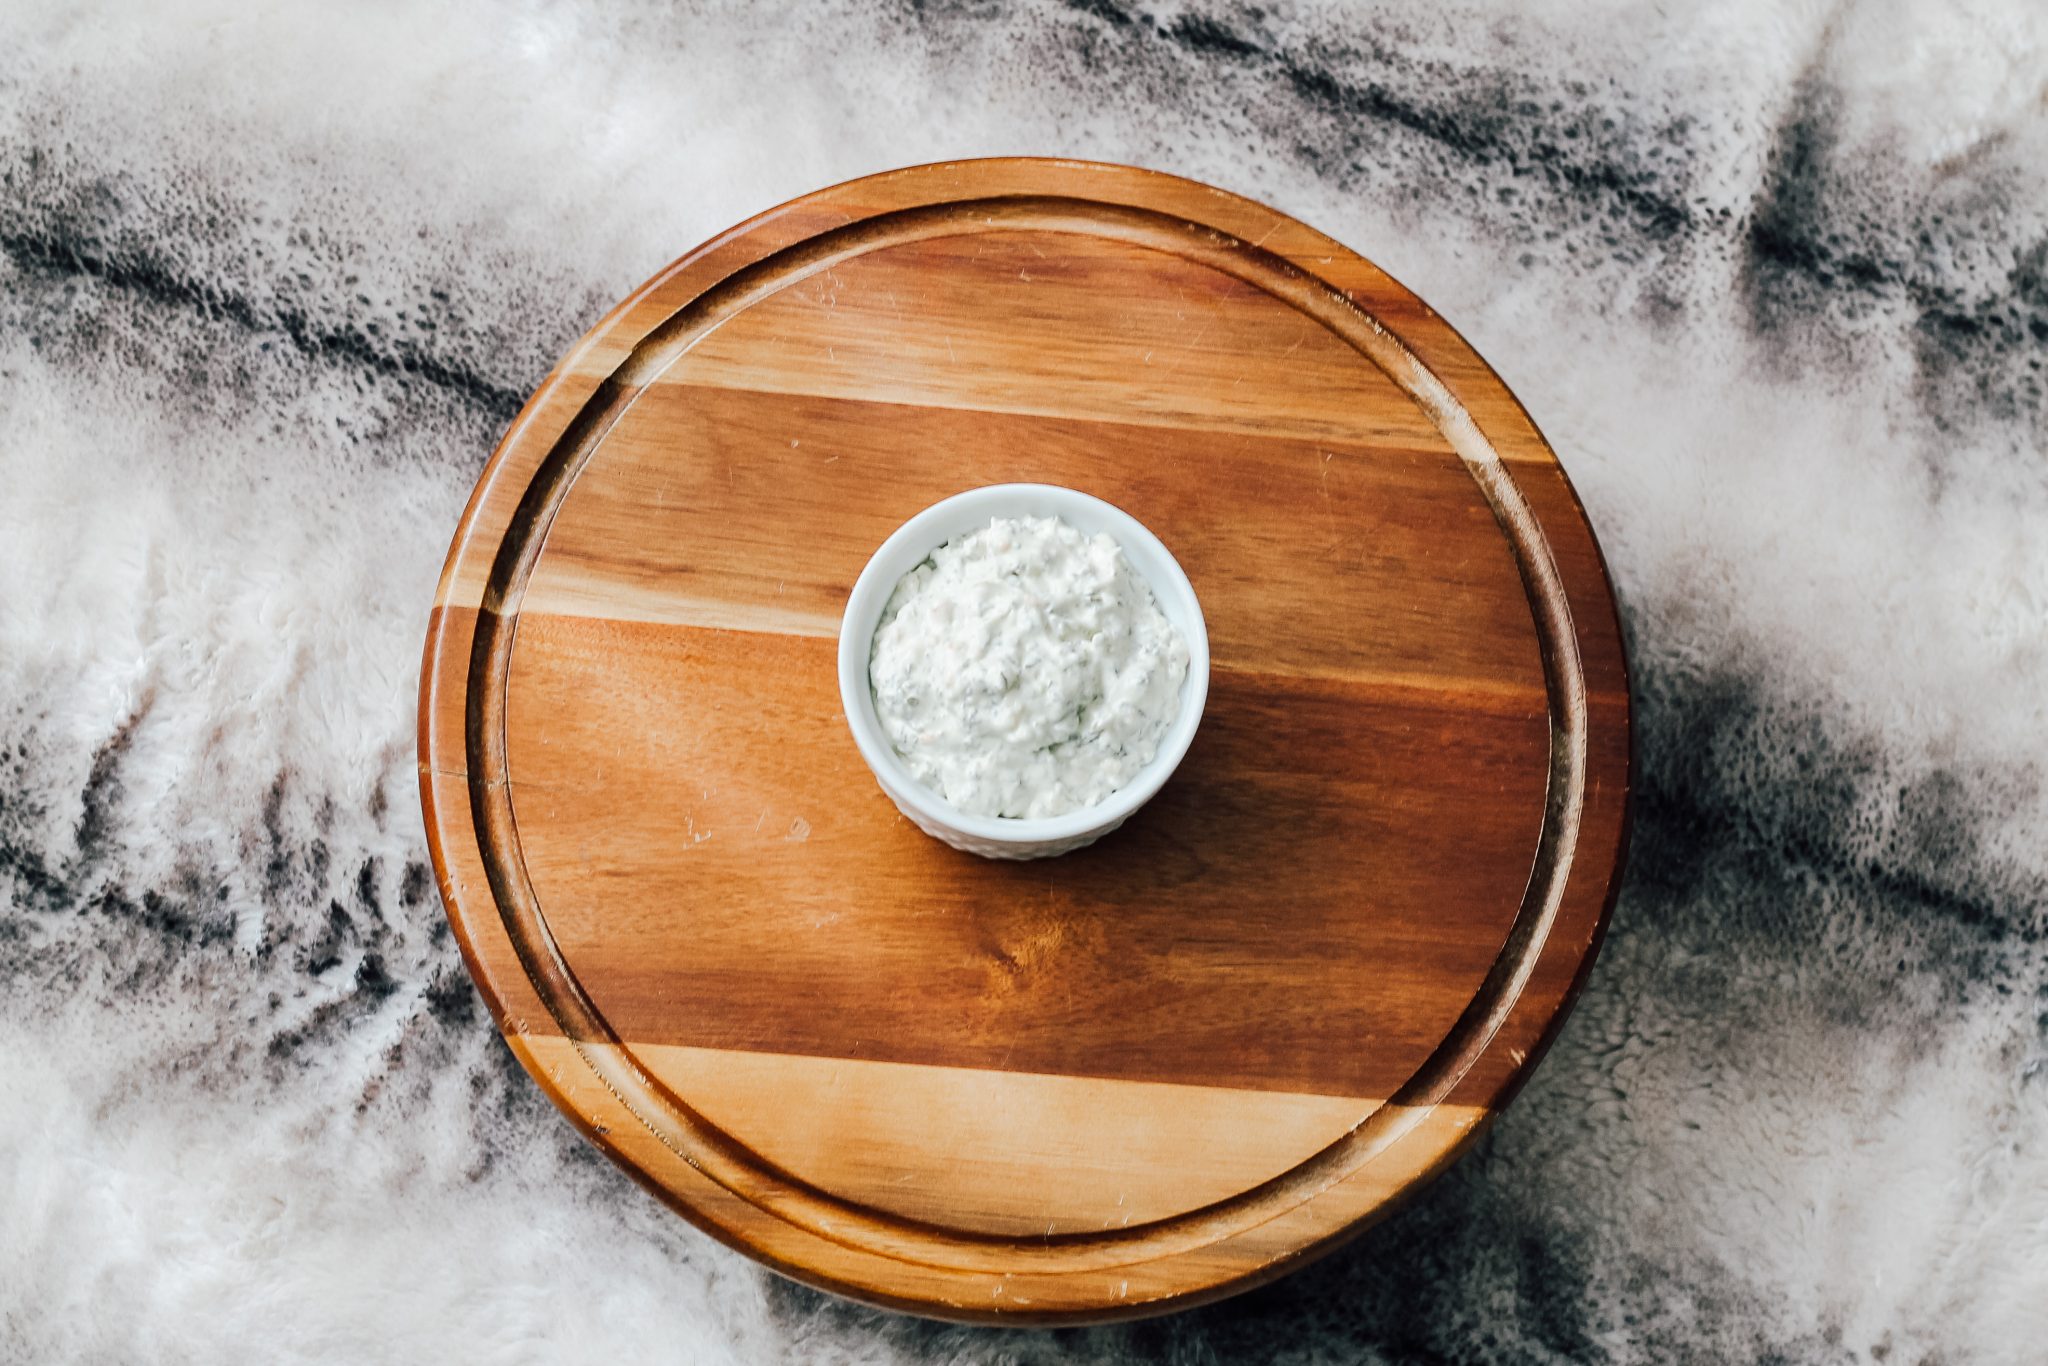
Step One: Create the Center
Using the spinach dip, create a center point on your tray. This will help when you start adding on your meats, cheeses, etc.
Step Two: The Cheese
Slice your cheeses into bite-sized, cracker-sized pieces and fan them out to create an “X” on your board, then make another “X” in the opposite direction. This doesn’t have to be a perfect assembly, just try to line it up the best you can and be sure to have spaces in between to fill with the other goodies.

Step Three: Add the Meats
Next up are the meats. Layer them onto the plate beside the cheese, and depending on how much meat you have for your board, you may have to double layer.

Step Four: Add the Extras
Now that you’ve got your meat and cheese laid onto the board, add your extras! We chose grapevine tomatoes and green olives to add a little color and flavor onto the board.

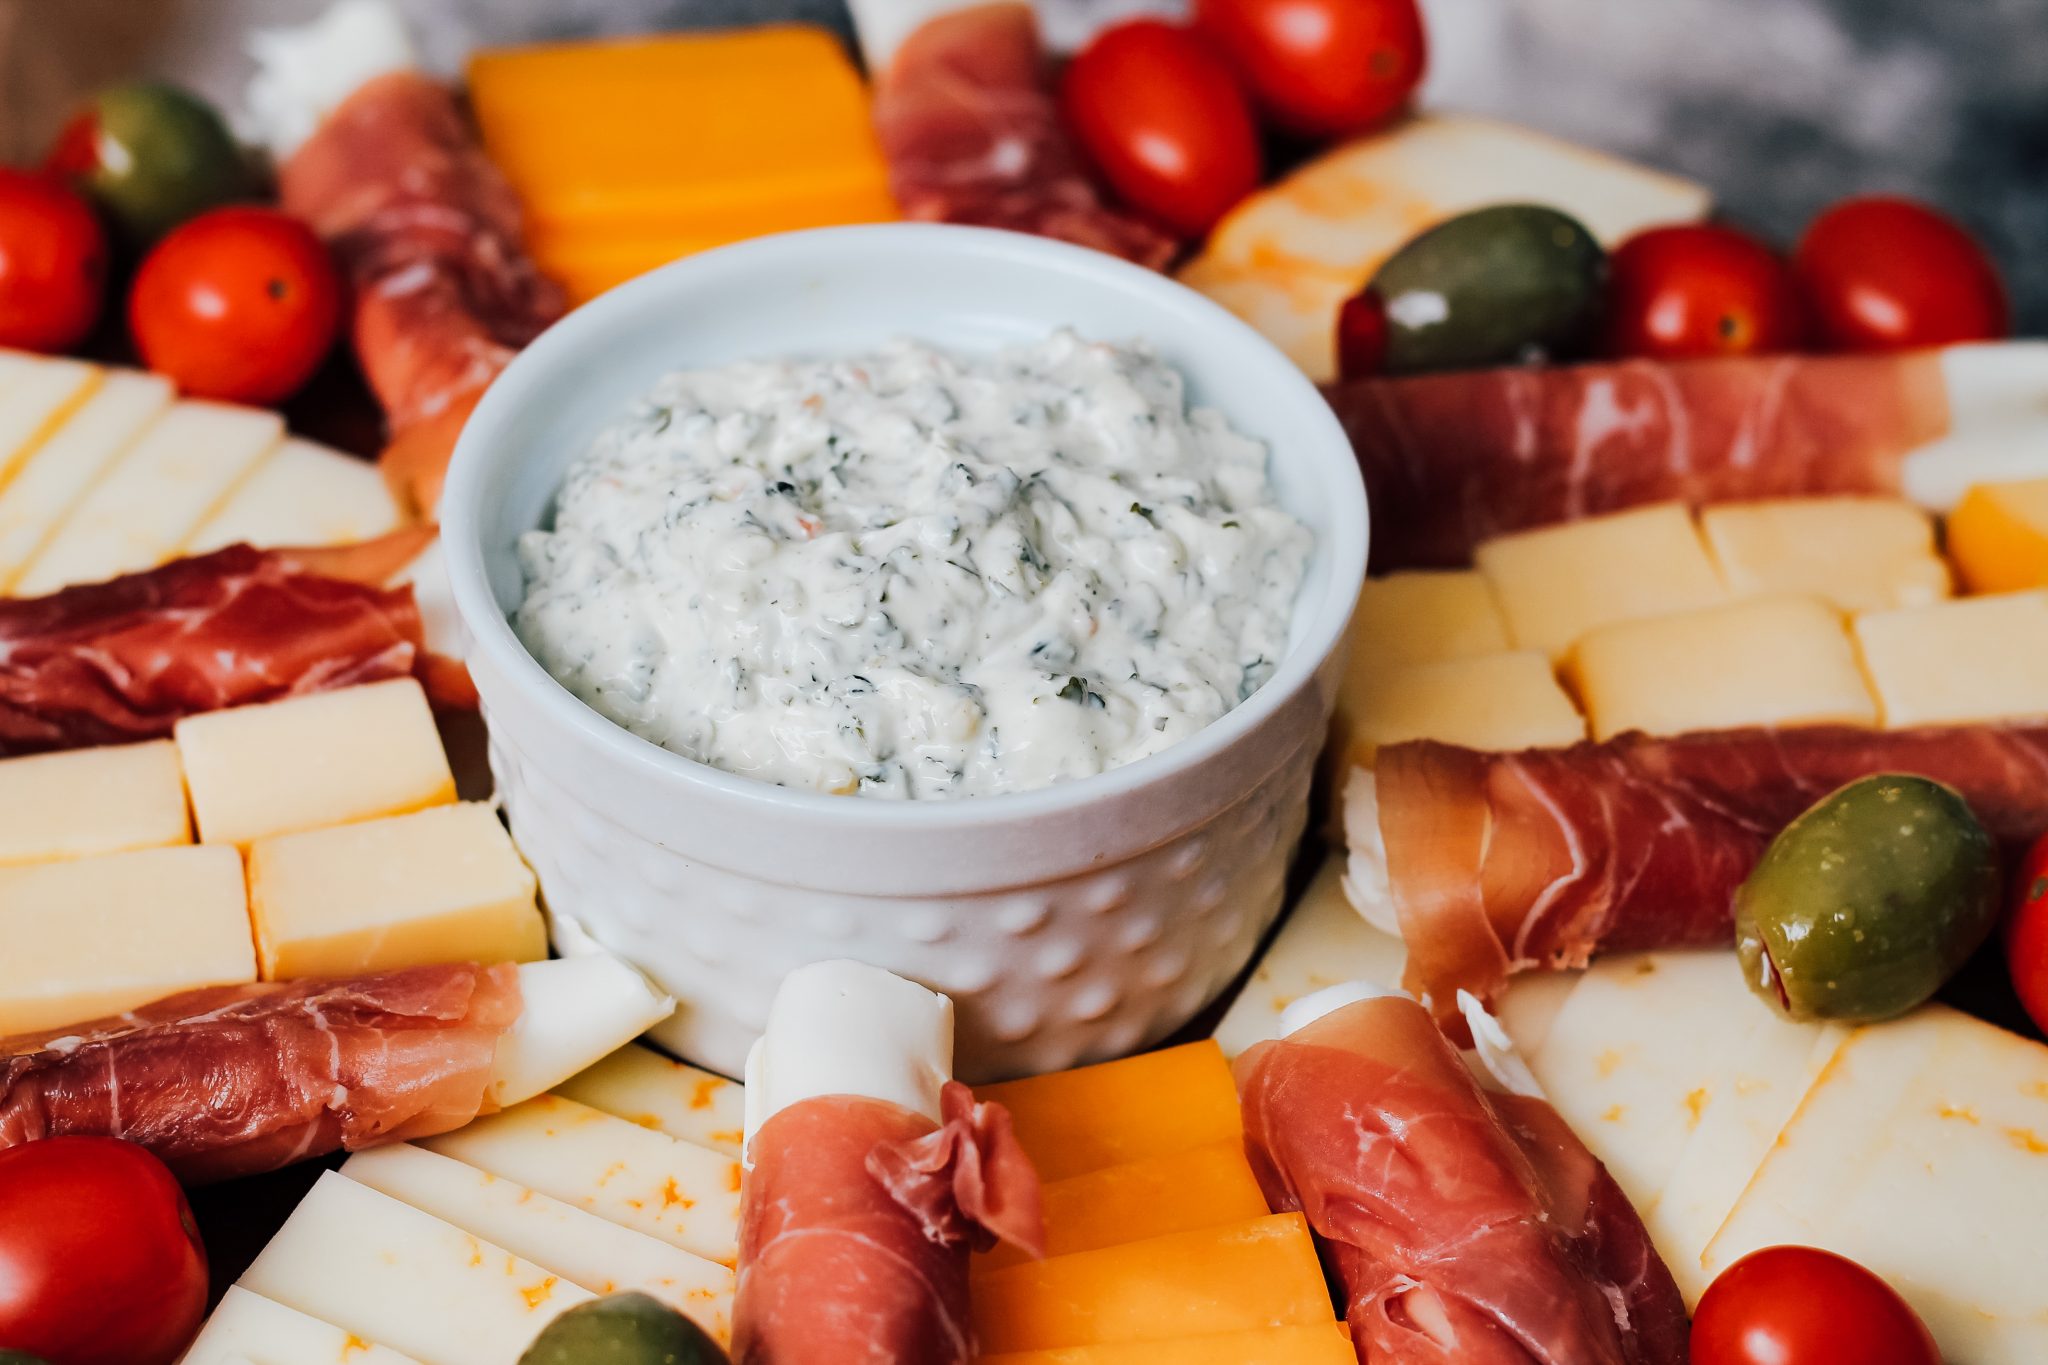
Doesn’t it look delicious? This tray is packed with both flavor AND color, perfect for entertaining or just enjoying for your next date night! I guarantee if you surprise your partner with a date night in and this delicious Charcuterie Board they will be so thrilled!

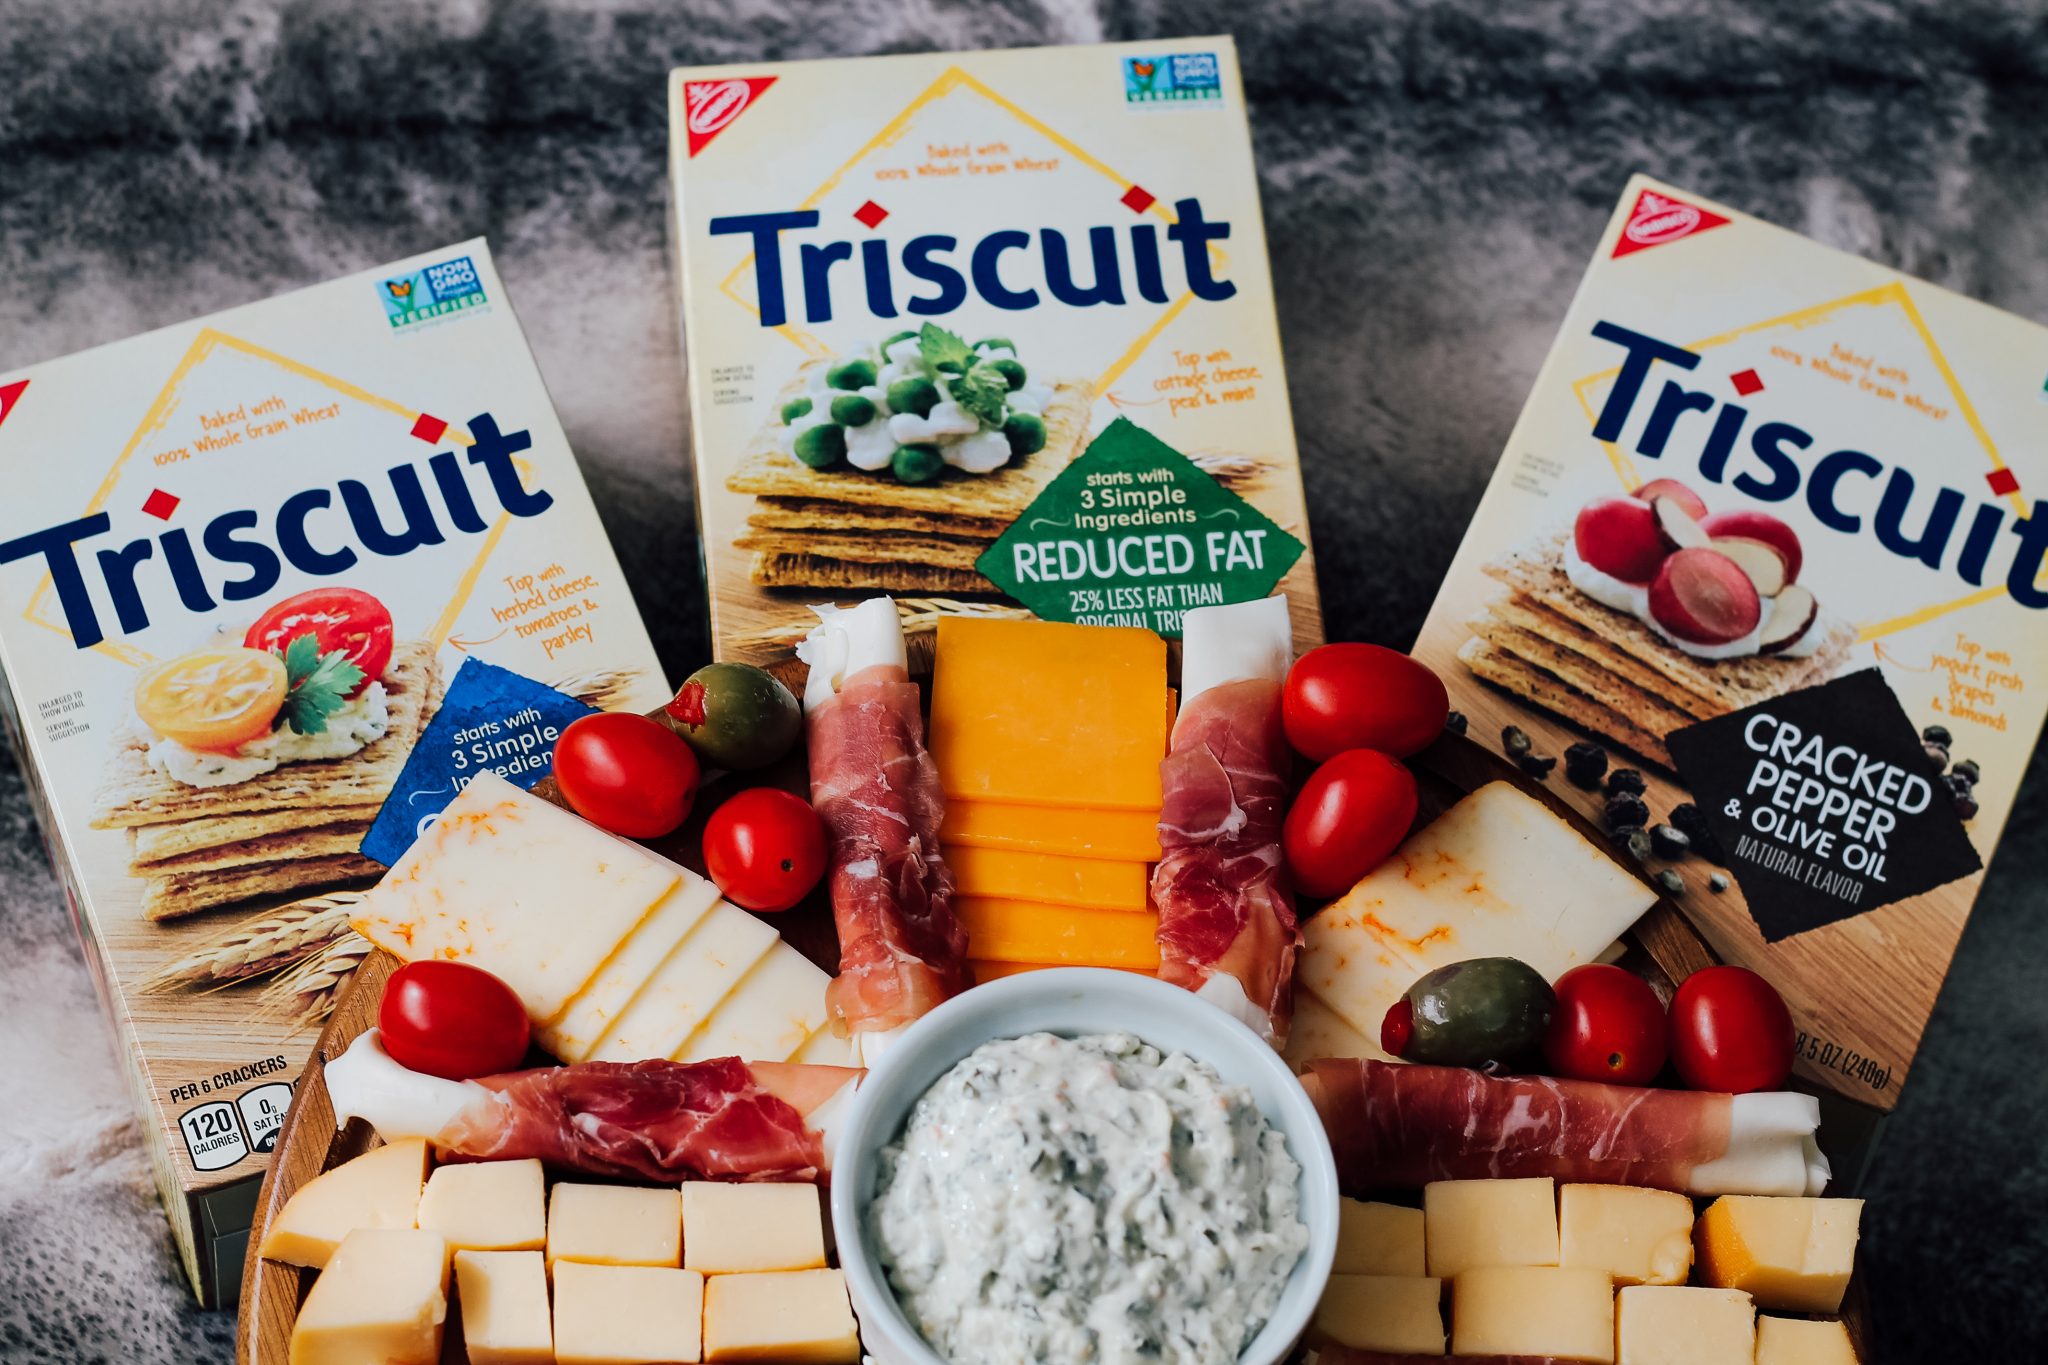
I really can’t get over how well this all came together, and my husband was so excited to dig in when he saw it!
Have YOU ever made a Charcuterie Board?
Be sure to pick up everything you need, including TRISCUIT Crackers at your local Kroger for your next date night in, enjoy!
Love this post? Pin it for later here:
