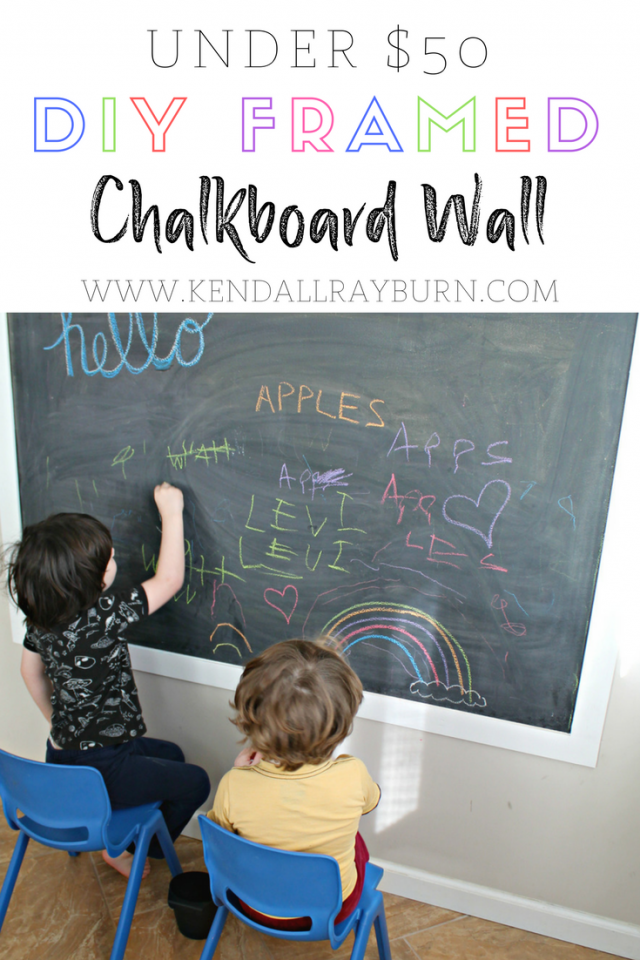
This post contains affiliate links, thank you for helping support this blog! Keep scrolling for our Easy DIY Framed Chalkboard Wall tutorial!
Hello, friends!
Hope you’re having a great start to your week! Today’s post is one that I am really excited about because the end result has really transformed a space that wasn’t being used in our home. For months my husband William and I thought about what we could do with this space, and finally we landed on the idea of created a DIY Framed Chalkboard Wall for the kids!
DIY Framed Chalkboard Wall
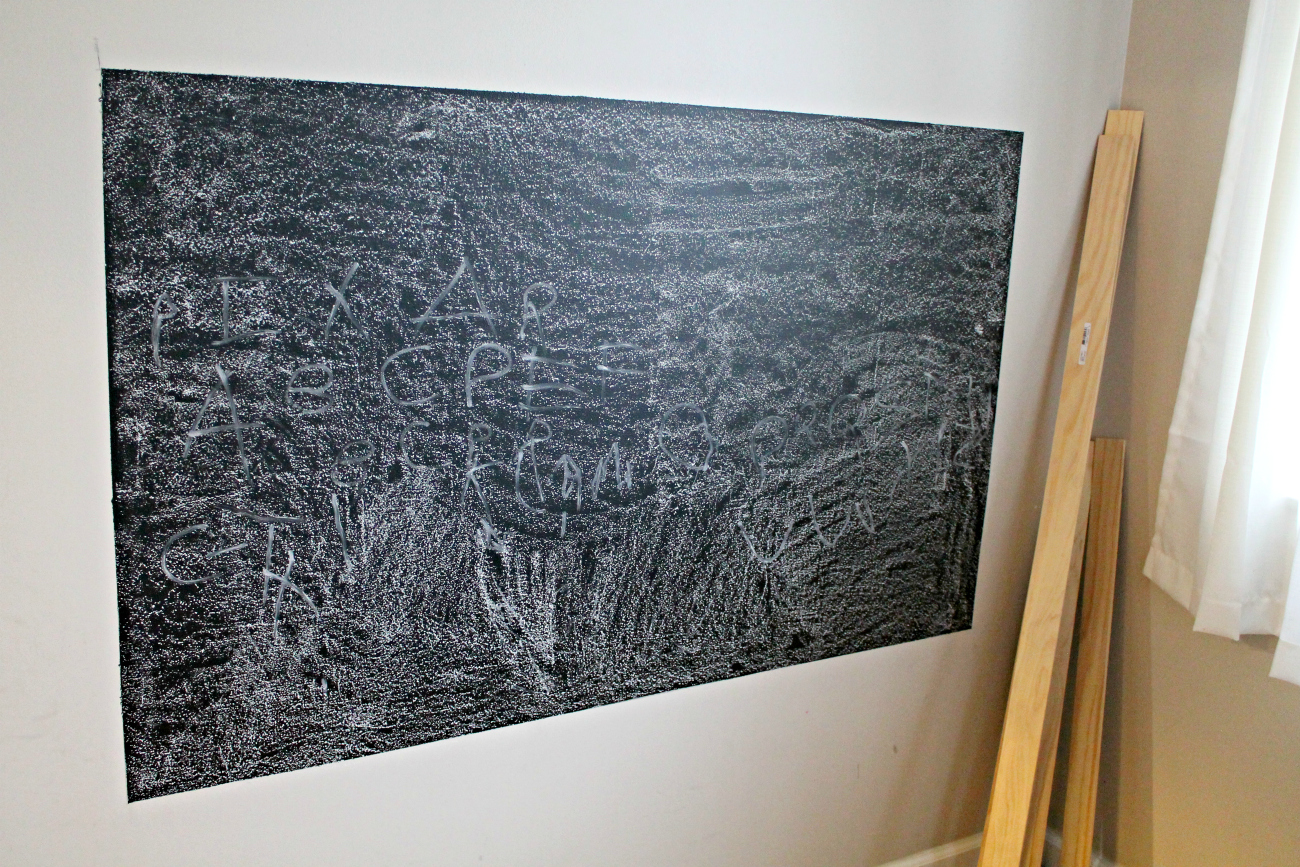
the space before:
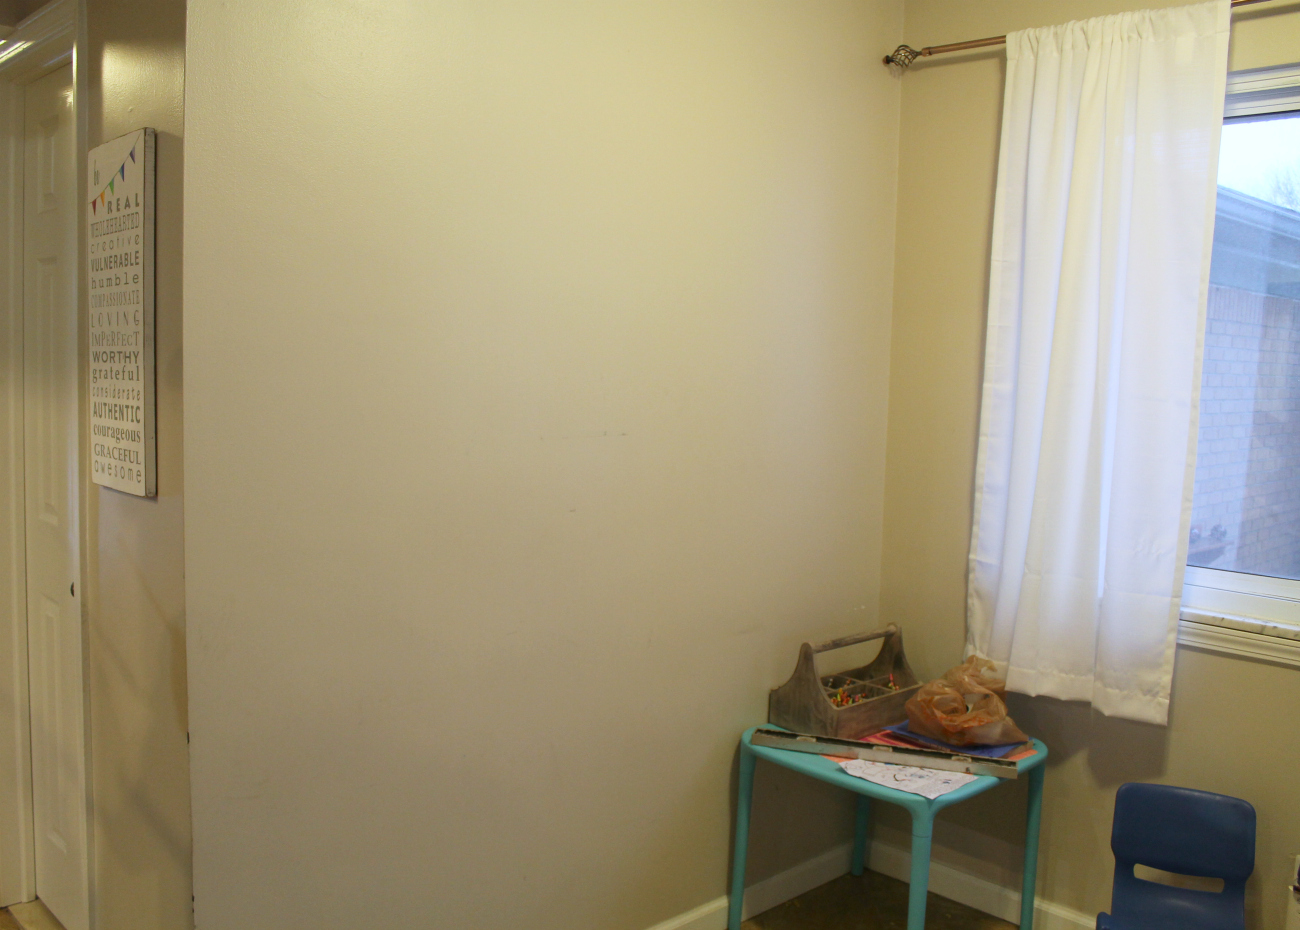
The wall is large, which gave us plenty of room to create a perfectly-sized 3×5 chalkboard wall. I knew whatever size we did, it had to be large enough for both boys to be able to utilize the board at the same time.
Tip: Before starting this project, scan the items needed below and gather what you already have. We were able to re-use paint brushes, rollers, and even some white trim paint we had in the basement. This definitely helped us to cut some costs! Also, ask family and friends if they have extra items you could use, too!
What you’ll need:
- Painters Tape – you can pick up painters tape inexpensively on Amazon here!
- Paint Brush – if you don’t already have a paint brush, roller, and tray – I’d recommend going to your local hardware store and buying a paint kit! You can usually pick these up for under $10!
- Paint Roller
- Paint Tray
- Black Chalkboard Paint
- White + Color Chalk – this pack is under $5!
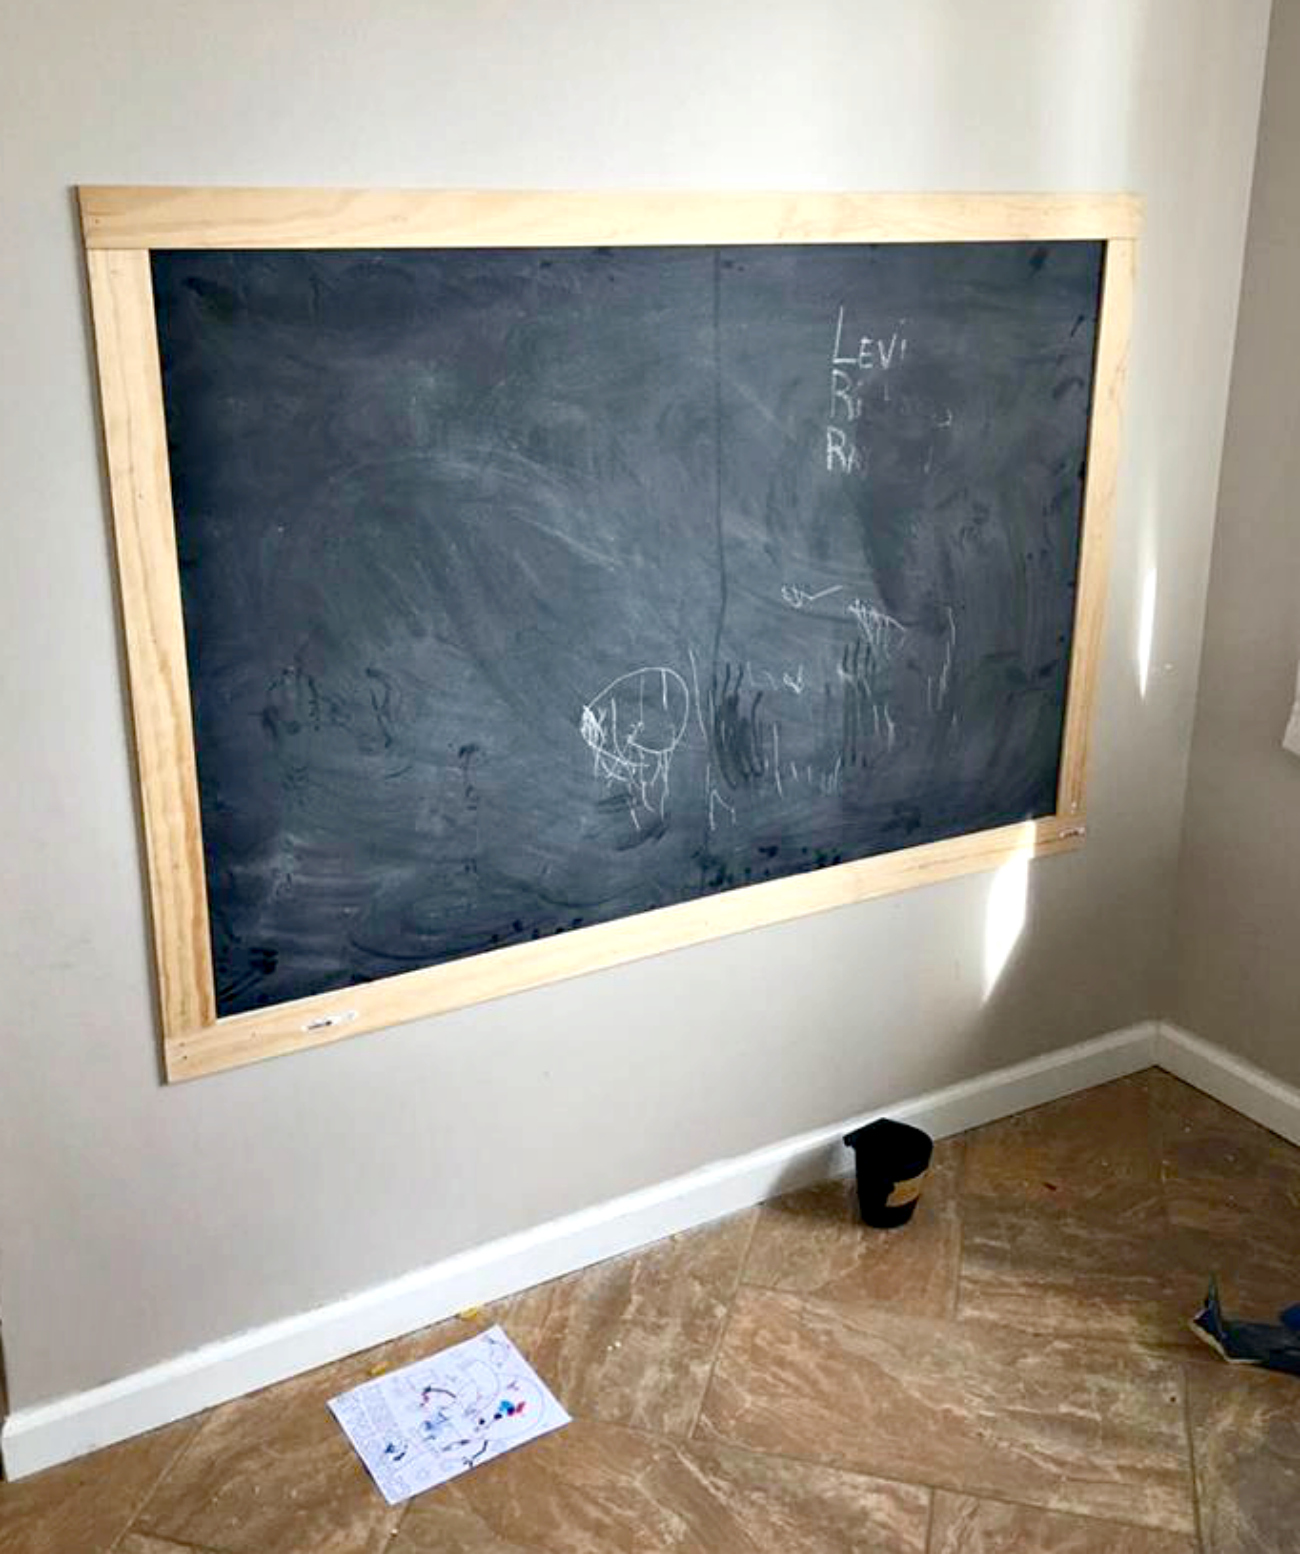
- Trim (we chose an untreated 1/4 inch pine trim so we could cut costs)
- Finishing Nails
- Hammer
- Stud Finder
- Pencil
Steps:
- Gather all of your supplies
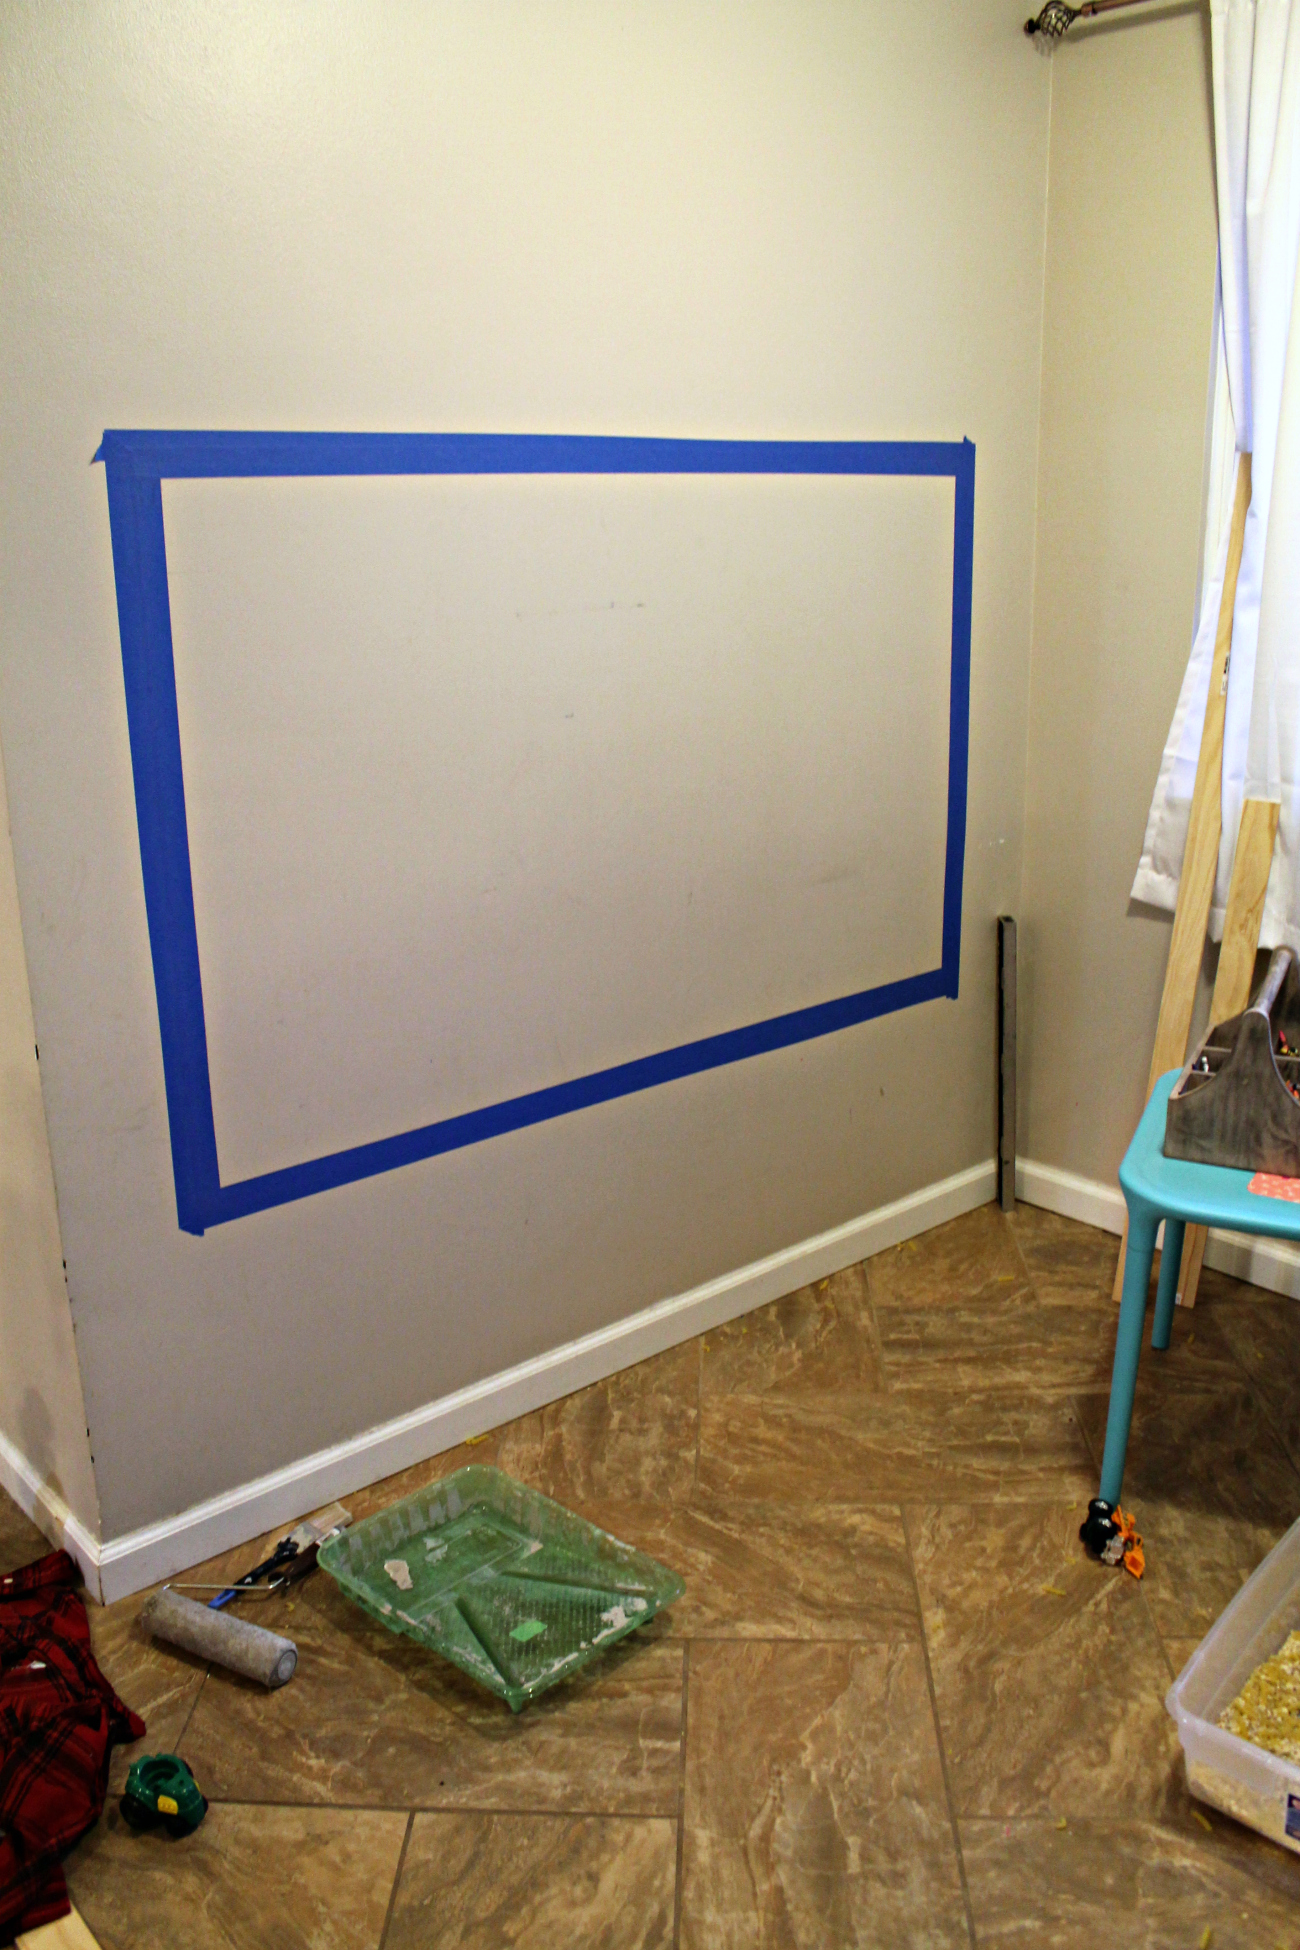
- Using painters tape, measure out and outline your chalkboard area.
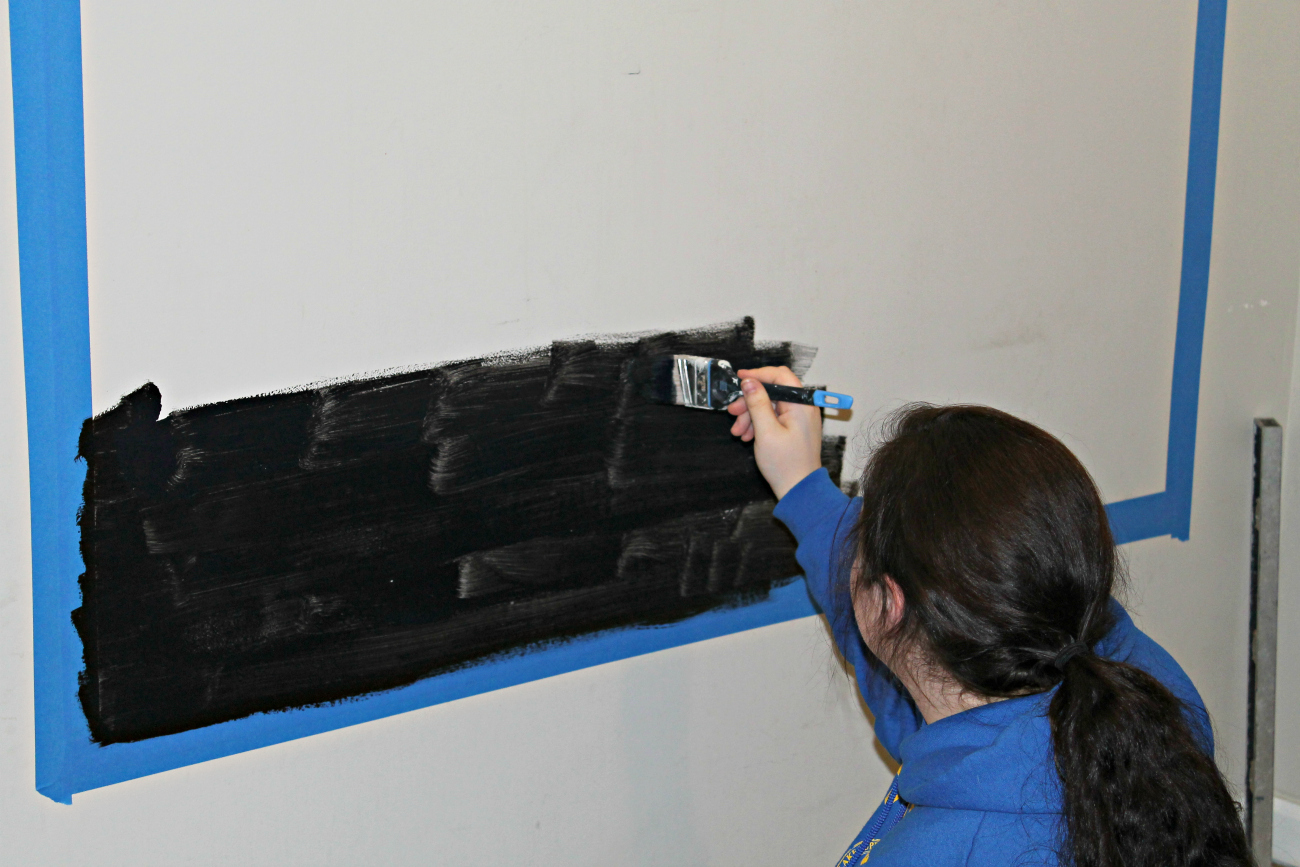
- Using a paint brush and the chalkboard paint, paint the inside of your taped out area.
- Once dry, add a second coat using a roller brush.
- Let dry overnight
- Now it’s time to season your chalkboard, using a piece of white chalk, cover the entire board and then wipe off using a dry towel or old tee shirt.
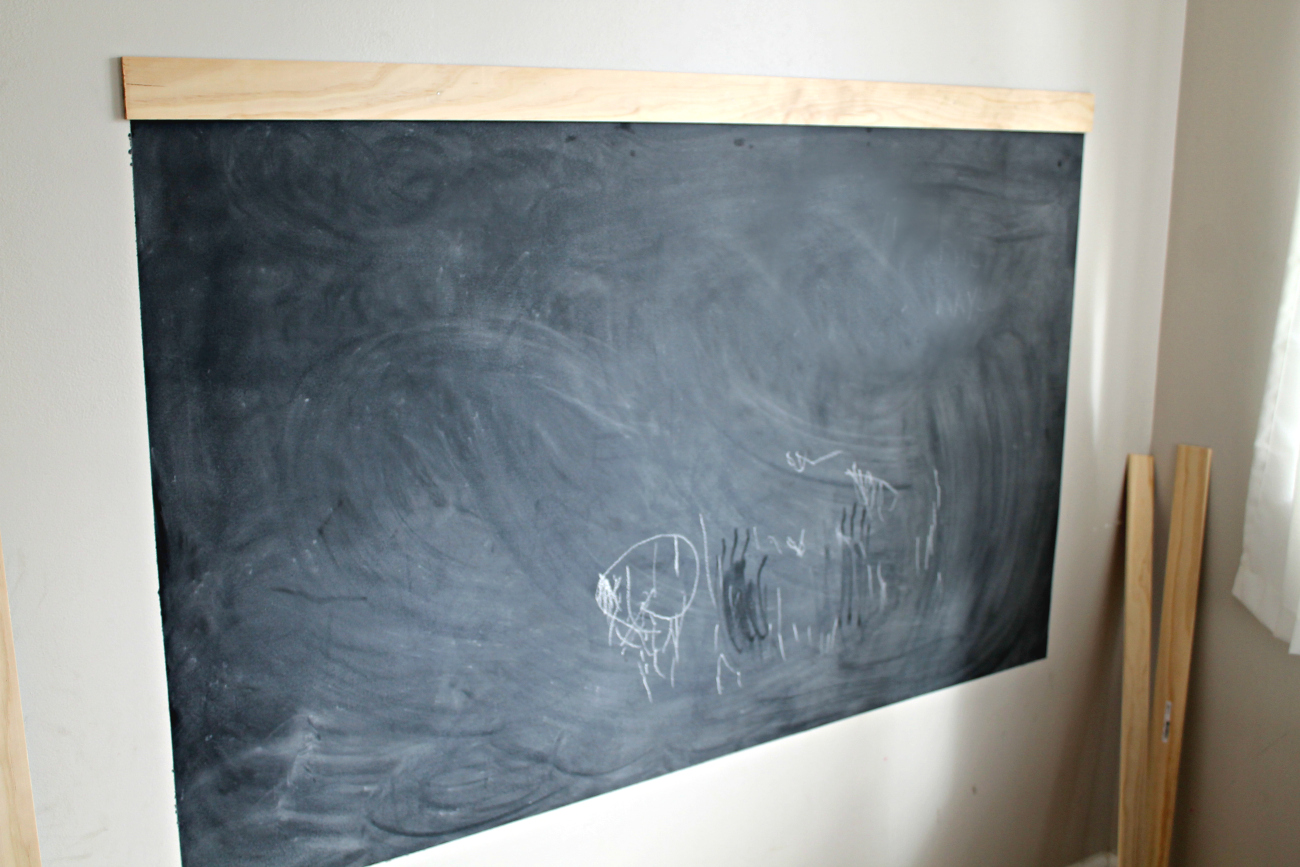
- Once your board is ready, begin to frame your chalkboard. Use your stud finder to locate studs, and aim to line your finishing nails up with them for added support.
- We used flat cut pieces so we didn’t have to mess with lining up the corners etc. This made it very easy to simply nail up our boards using finishing nails right where the painters tape used to be.
- After the frame was up, I re-taped the area and used some extra paint we had in the house to paint the trim white. I did about three coats so it was as bright white as possible.
Tip: If you have kiddos, paint at night when they’re sleeping so you don’t run the risk of smudges or fingerprints.
Tip: The hardware store has a variety of trim sizes, colors, and types of wood. Personalize this project by finding the one that fits your style and budget.
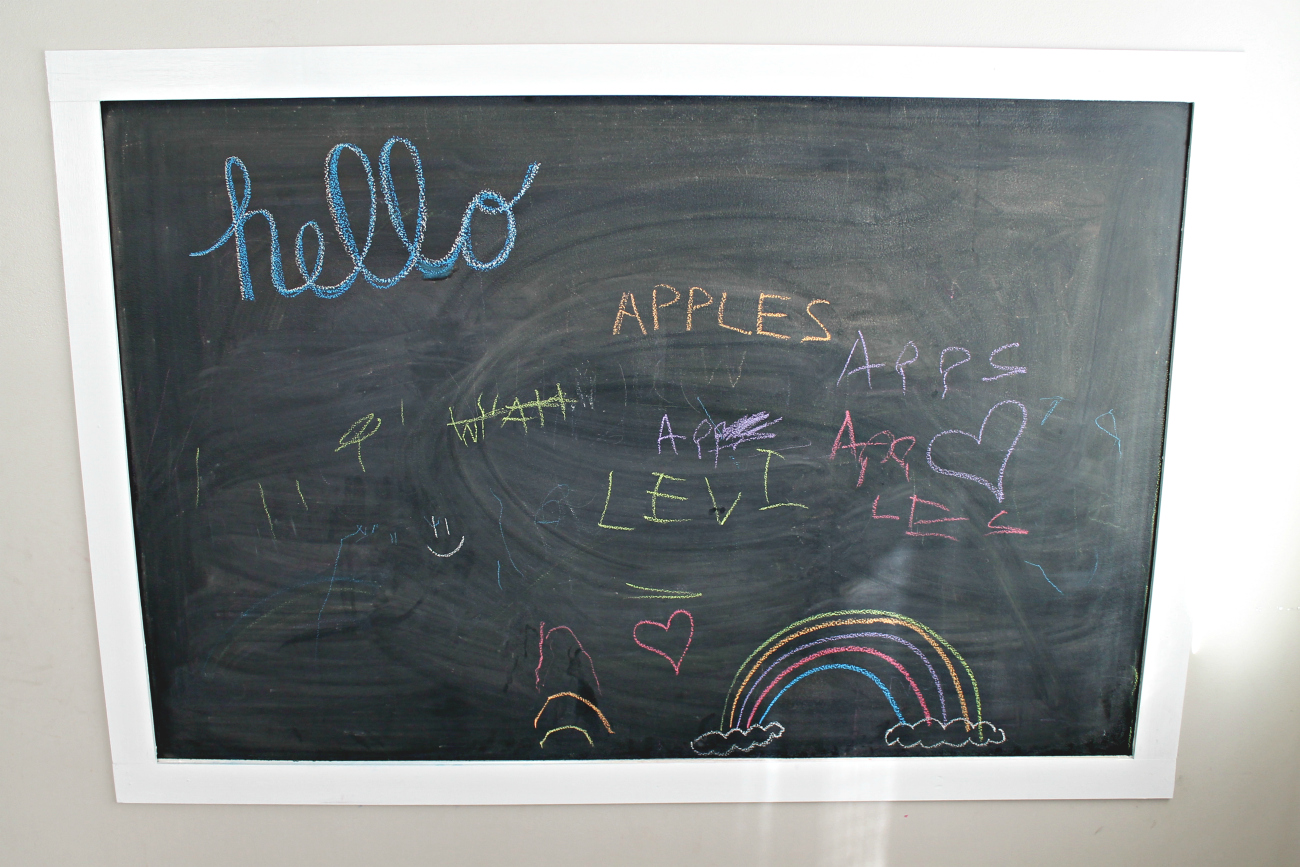
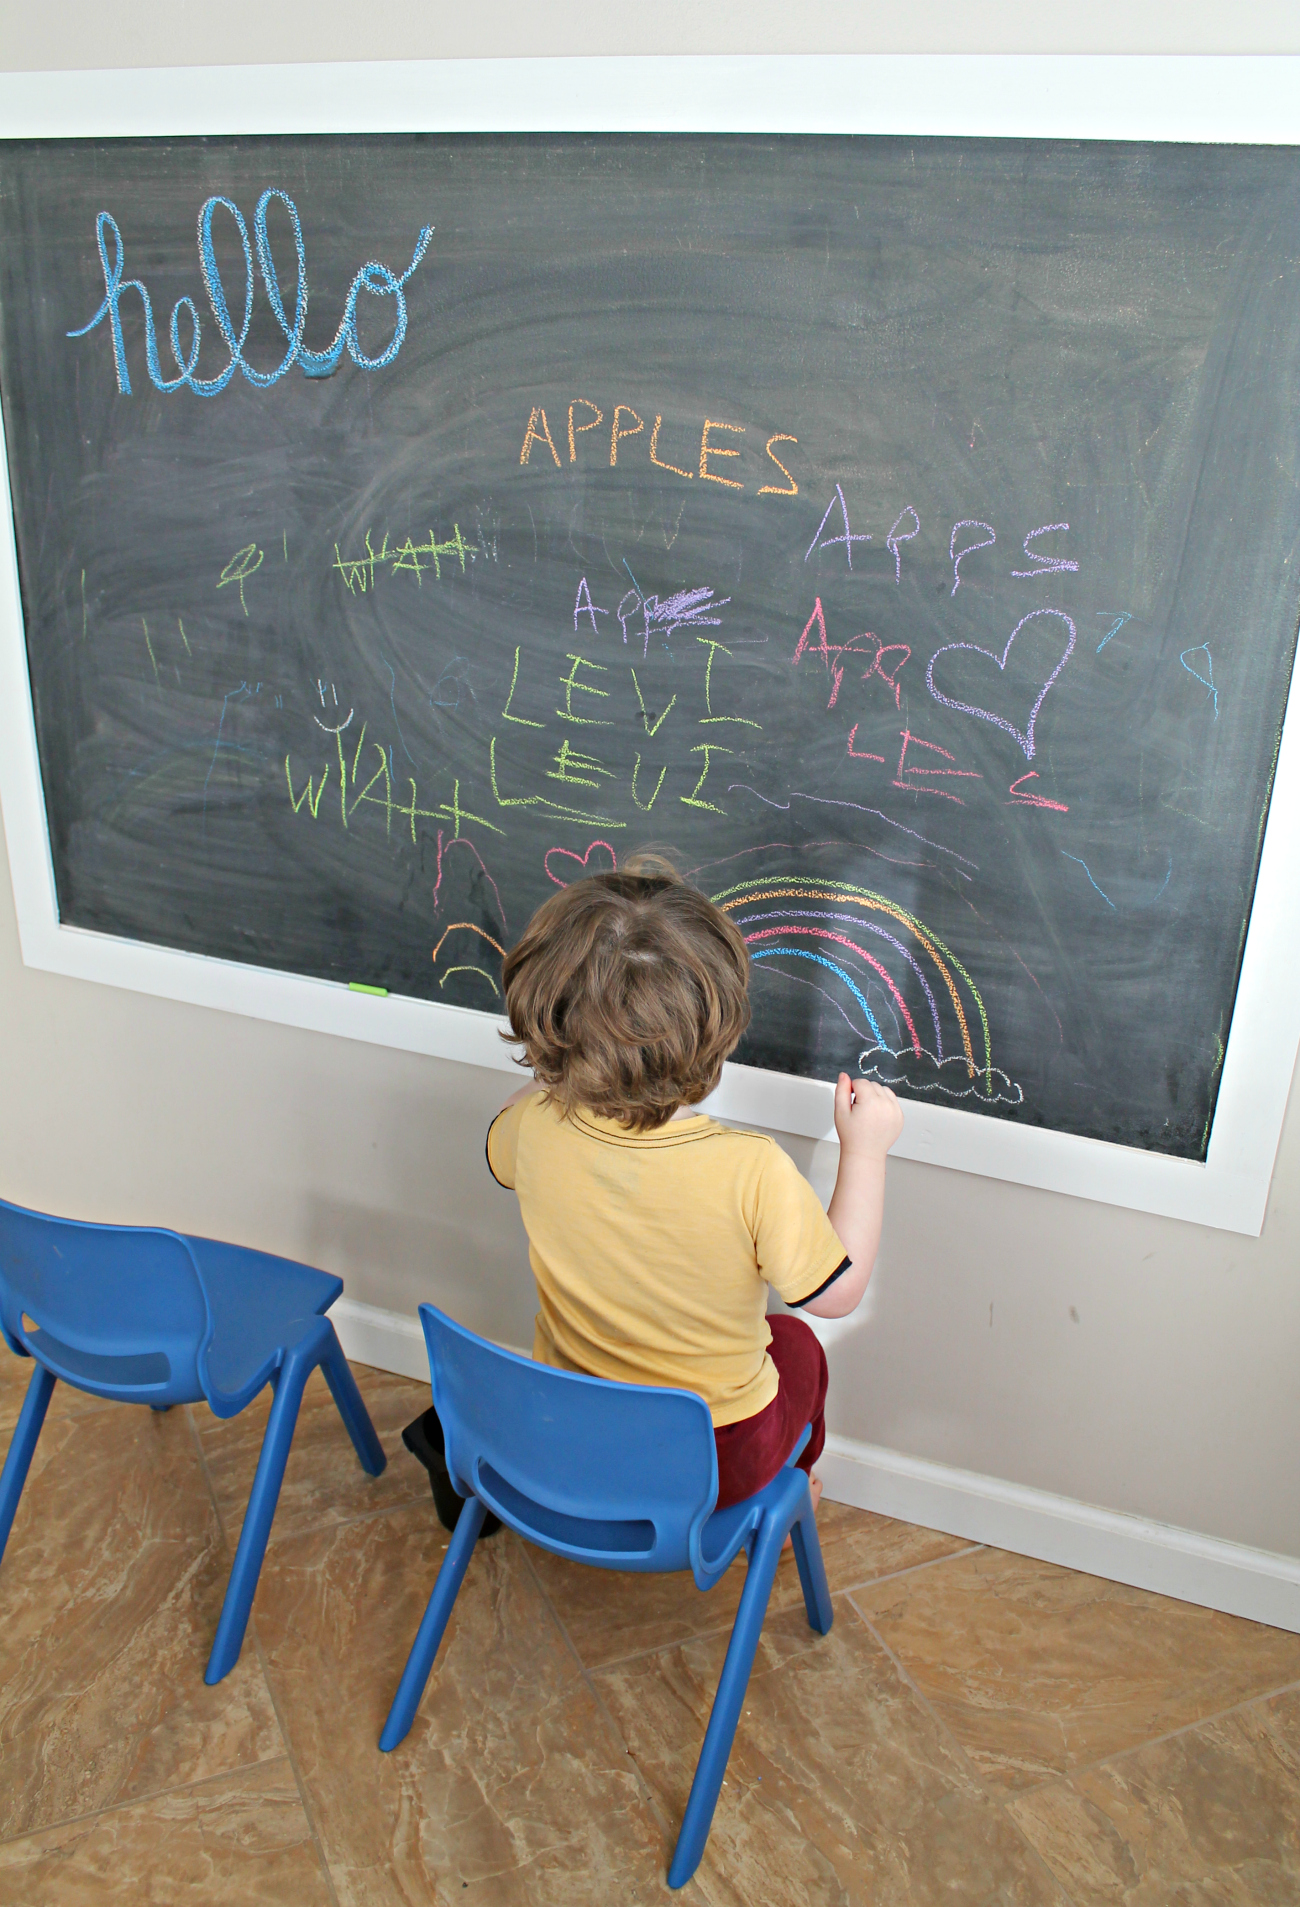
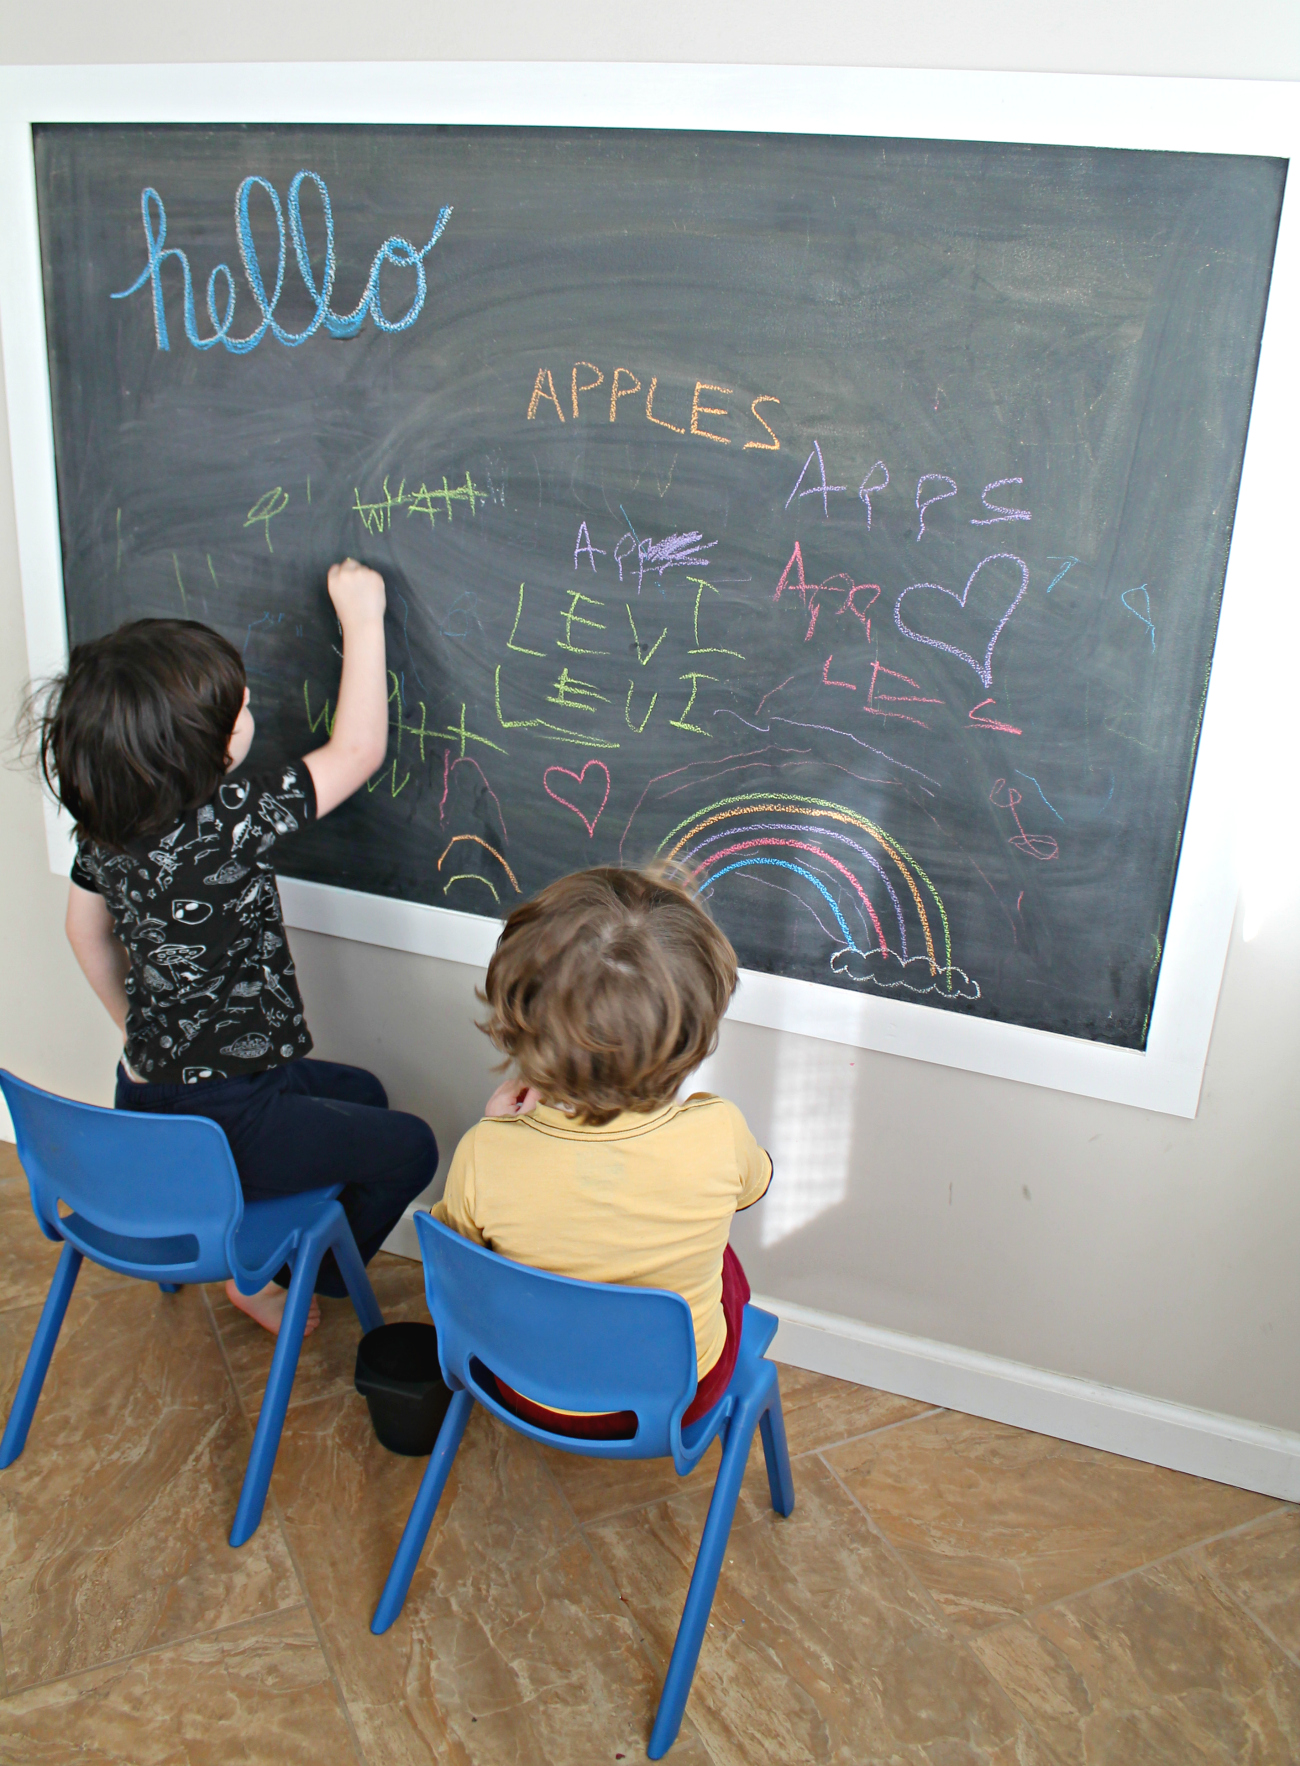
The chalkboard came out beautifully and the boys absolutely LOVE it! Wyatt has been practicing his handwriting on it, and Levi has been practicing drawing shapes and letters! Seeing how much fun they’re having on this simple weekend project makes me so happy!
Would YOU create a chalkboard wall in your home?
Love this post? Pin it for later here:


What a fun DIY project!!! I know my youngest would have a blast with this wall if we had one in our house.
I think that is so cool! My kids are old enough that they wouldn’t use this for playing, but I think it could be a very unique scheduling board. Thanks!
THIS Is so cool. There are so many practical uses for this
This is AWESOME! You really did such a lovely job! It looks amazing!
This is an awesome DIY project! It is really useful for the kids and doesn’t cost much. Great idea!
What a fun DIY project! My sister did something similar in my niece’s room so she could draw all over it, HA!
I would love to do this in my house. Now that I am renting, I would have to use a piece of sheet rock or something else as the base. Too bad I didn’t have something like this when my kids were little. They loved drawing.
I have always wanted to do something like this. I know my girls would love it. I need to find the perfect spot to do it for them.
What a fun project. And inexpensive, too! I’m sure my granddaughters would be delighted if they have something like this.
I love it! All the walls in my house are textured 🙁 so I can’t do fun things like that, but I’ll keep the idea in case I ever can!
Ha! i did this for my kids bedroom a few years back and it was awesome! I sometimes would go in their room and write a sweet note for each of them to make them feel special… they loved using it all the time (we moved and I can’t wait to buy another home for us in the future and make another chalkboard wall… great tutorial !
Omg! This is exactly what I need for my 2 boys our wall was full of drawings using their colors. Glad that you share this
I love this DIY framed chalkboard wall. The kids would have so much fun using this and it is just all away around a convenient idea. Thanks for sharing and the frame make it is even a better idea by the way.
Beautiful indeed! I never would have thought that you just painted the wall. That is awesome and I love the idea! Good job!
What a cute idea. So much fun for the kids.
I love this DIY craft, but I can easily see my girl going on down the wall and writing on the wall. LOL! – yolonda
Thanks for sharing this amazing tutorial.. I would love to try this project, my kids love coloring on chalkboard.
oh great that is just what I need another place for me to doodle butterflies on all day long! And in different color chalk to boot! 🙂