This post is sponsored by Tarkett NA; however, all thoughts and opinions are my own. Keep scrolling to read more about our DIY Flooring from Tarkett.

Hello, friends!
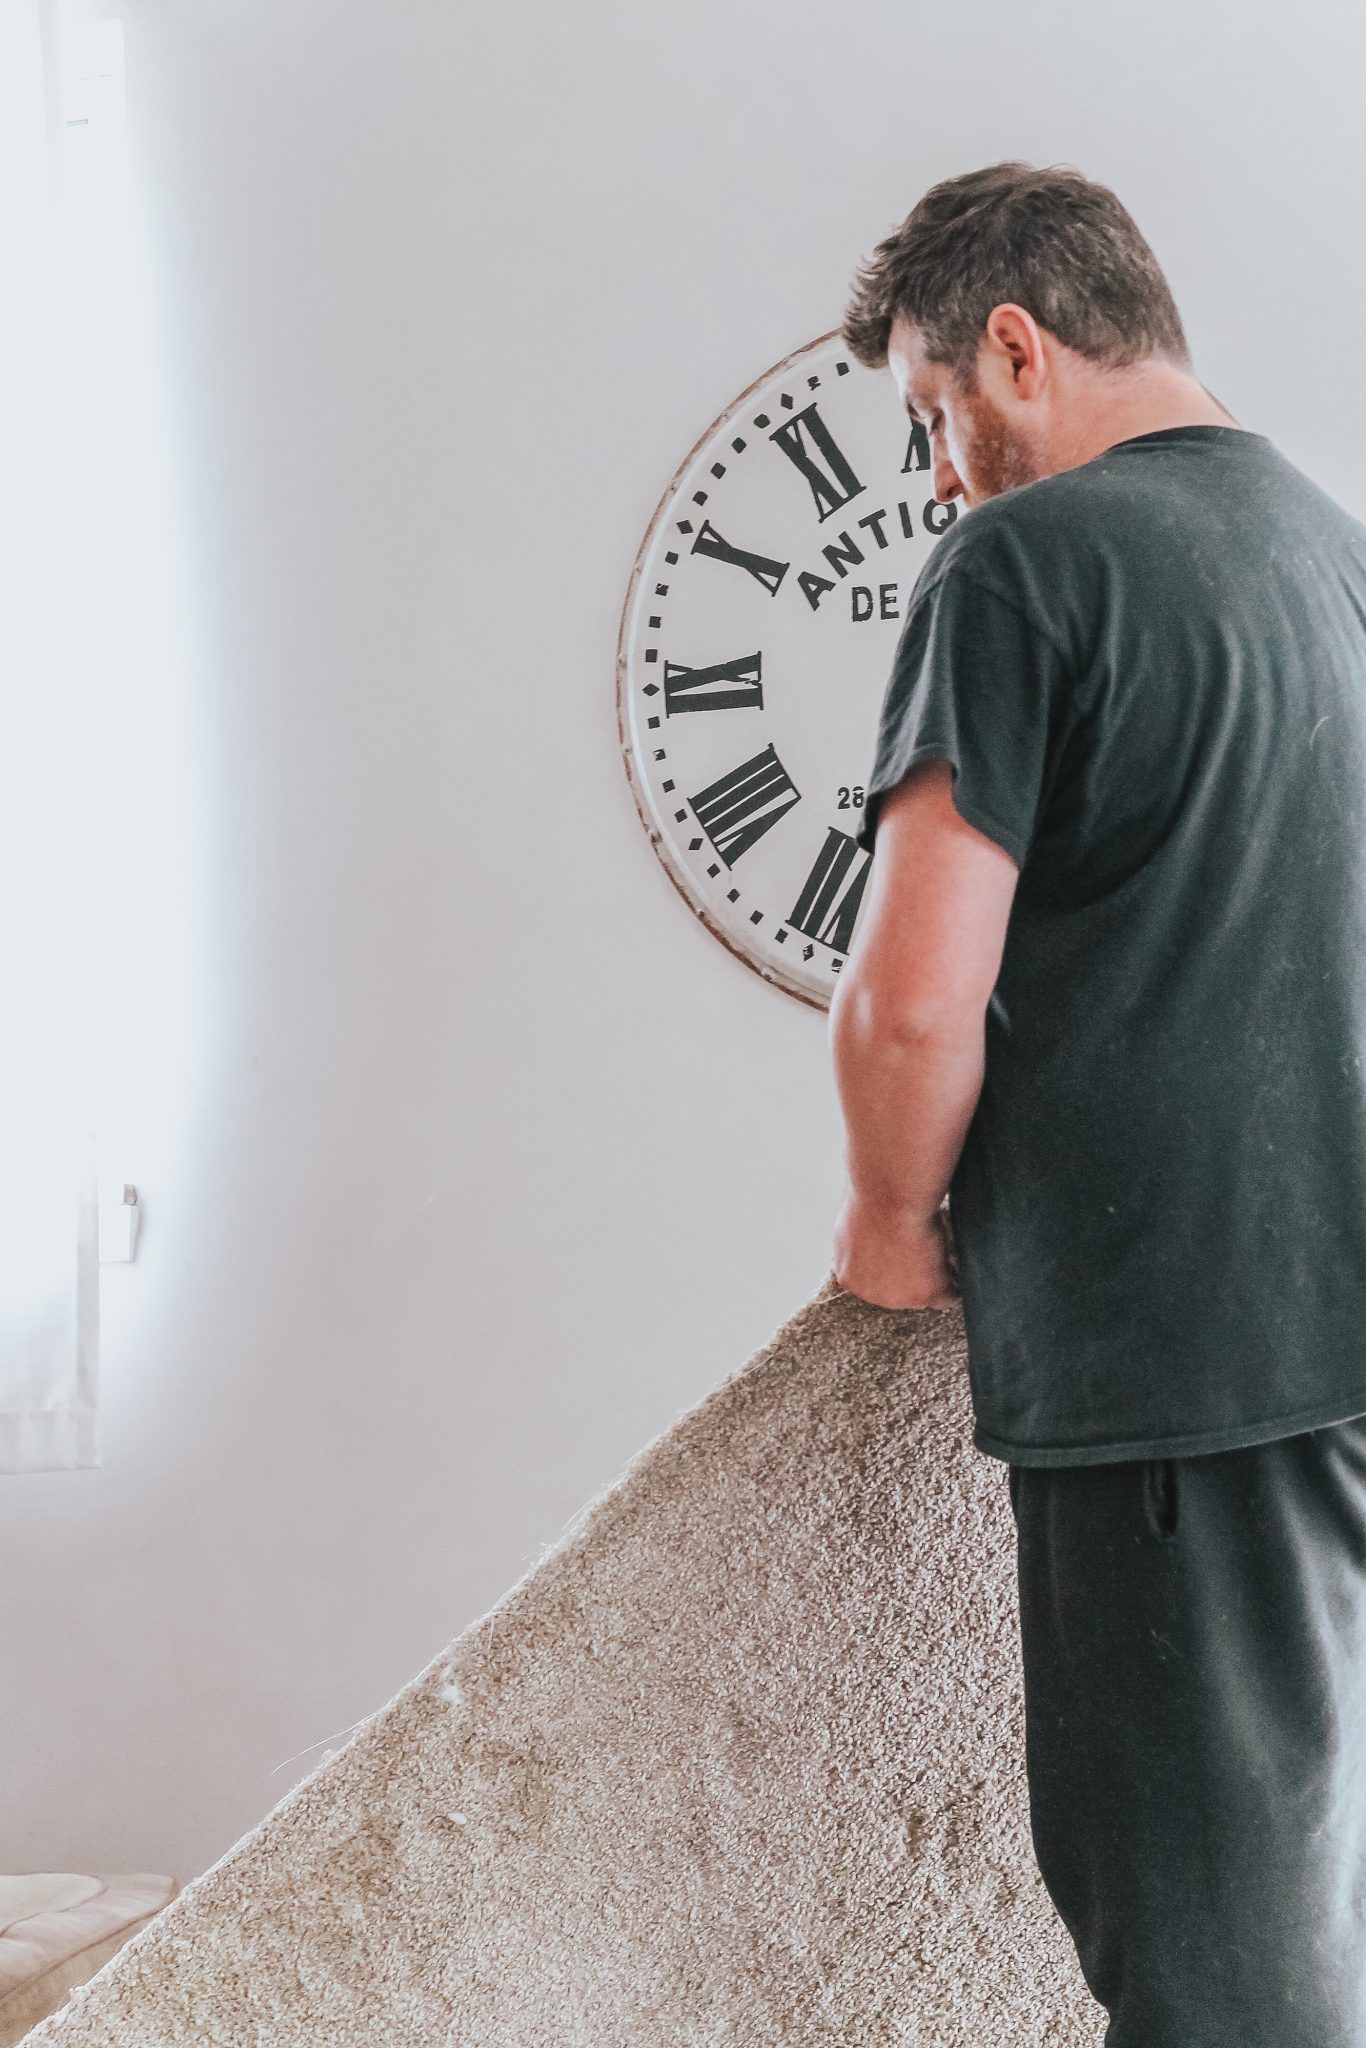
I am so excited for today’s post because I finally get to share our living room flooring with you! If you follow me on Instagram you may have seen little sneak peaks of us installing it! It was a long process (as most of our projects are because our schedules are so crazy), but now that it’s done we couldn’t be happier with the results!
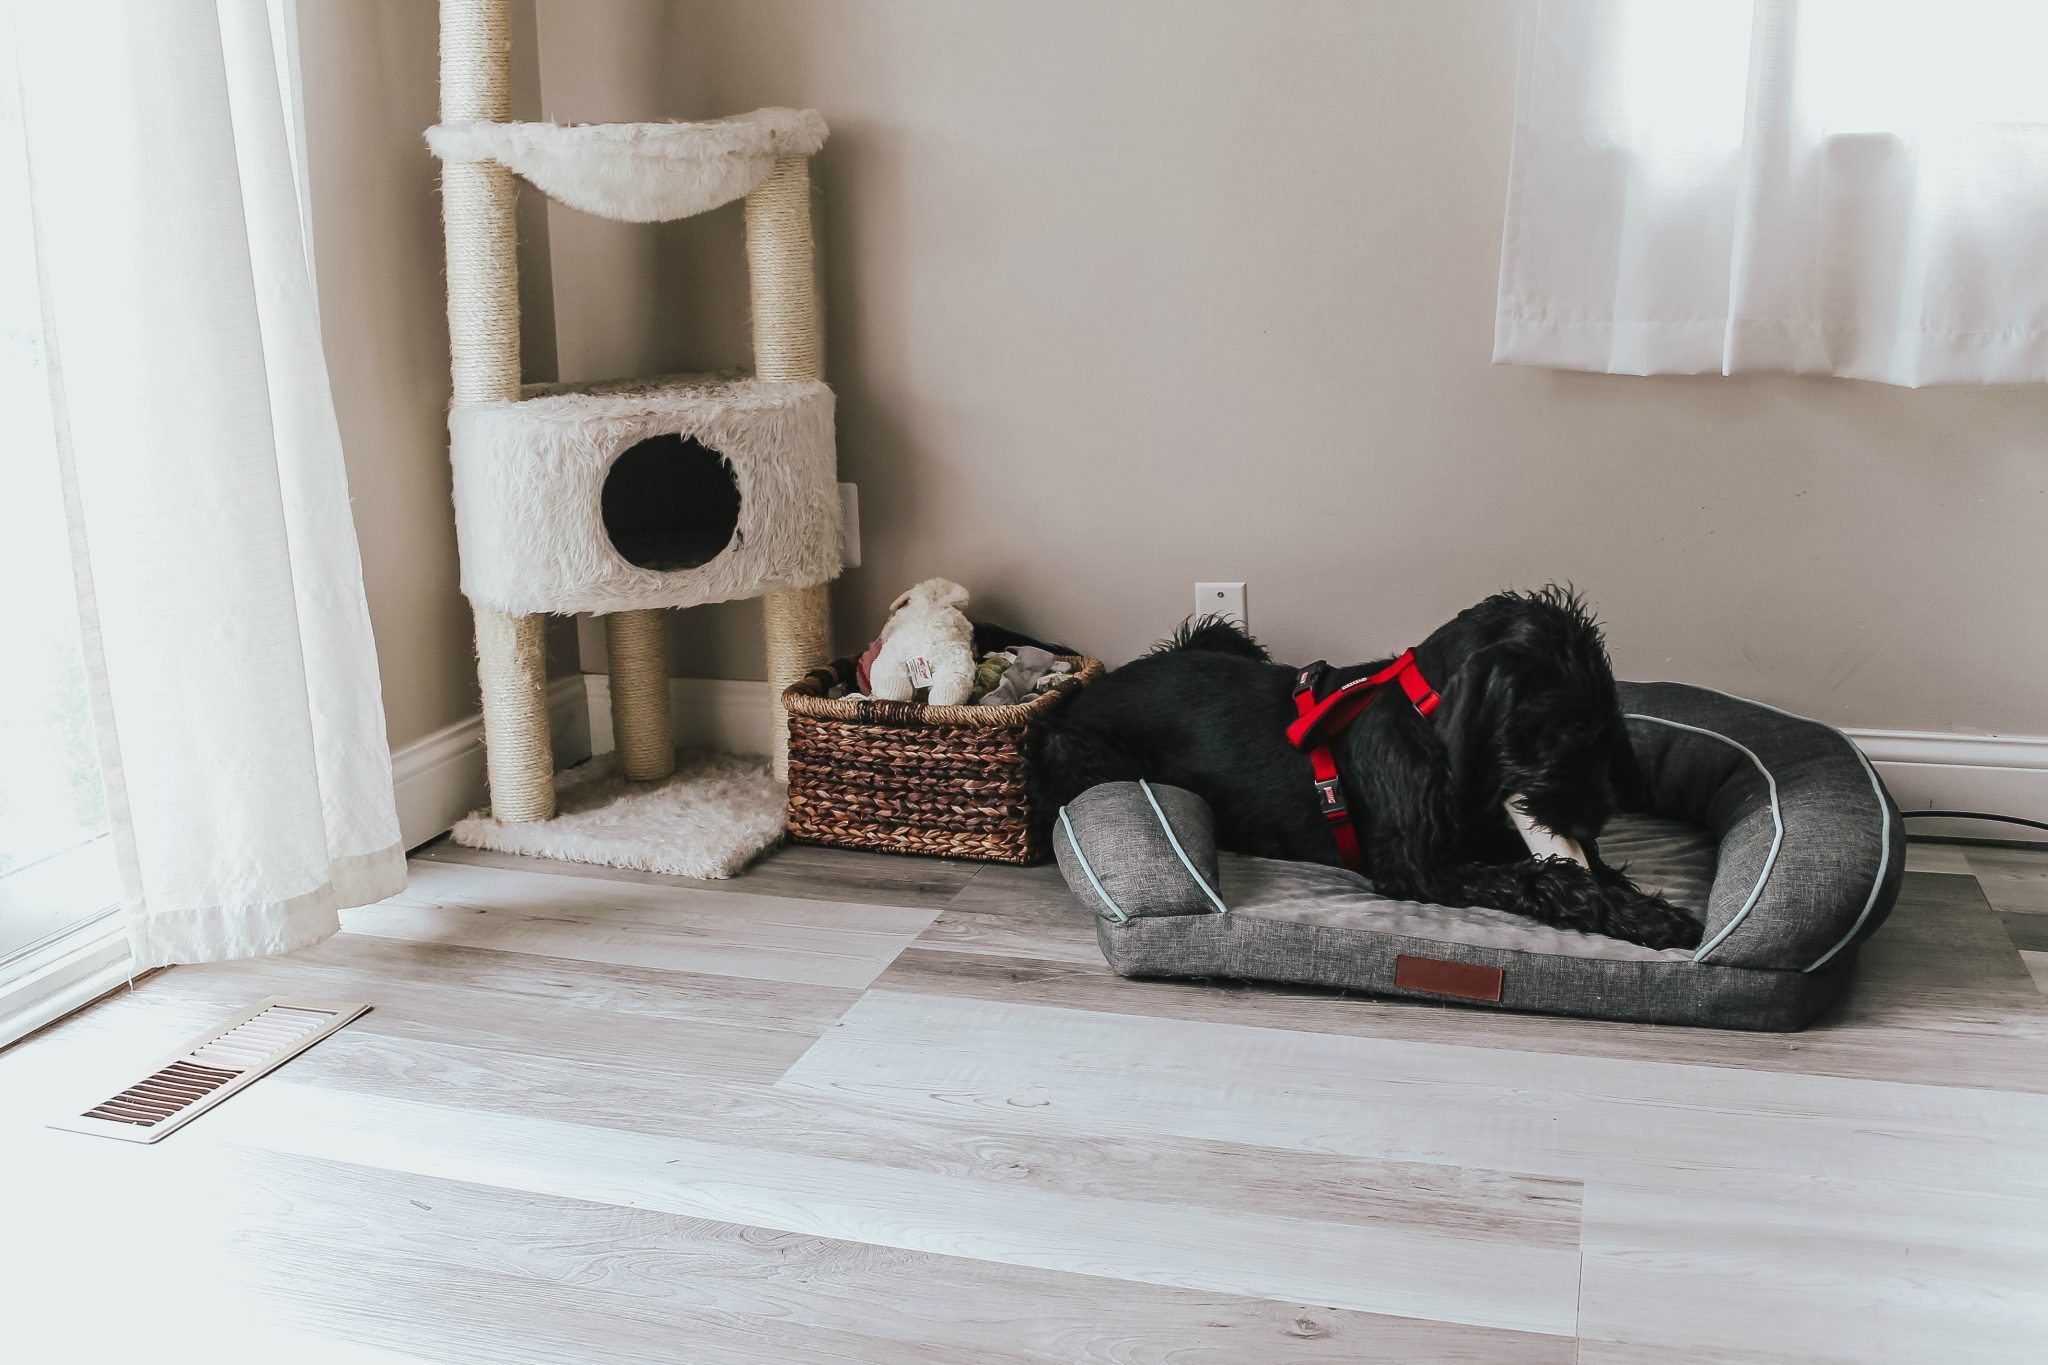
We had beige carpet in the living room from when we bought our house but it was just so dirty and yucky. It was one of those situations where no matter how much I cleaned and vacuumed the carpet, it always look and felt dirty. Since becoming a mom I really prefer hard flooring because it’s easier to clean and keep clean in our house. As you might know, my husband and I are parents to two adorable boys and six fur babies, yep, we’ve got three dogs and three cats in our crew, too. And vacuuming would only pull up part of the fur and dirt, so we wanted to change up the flooring to make it easier to sweep each day and keep clean for our family.
Prepping for the Flooring:
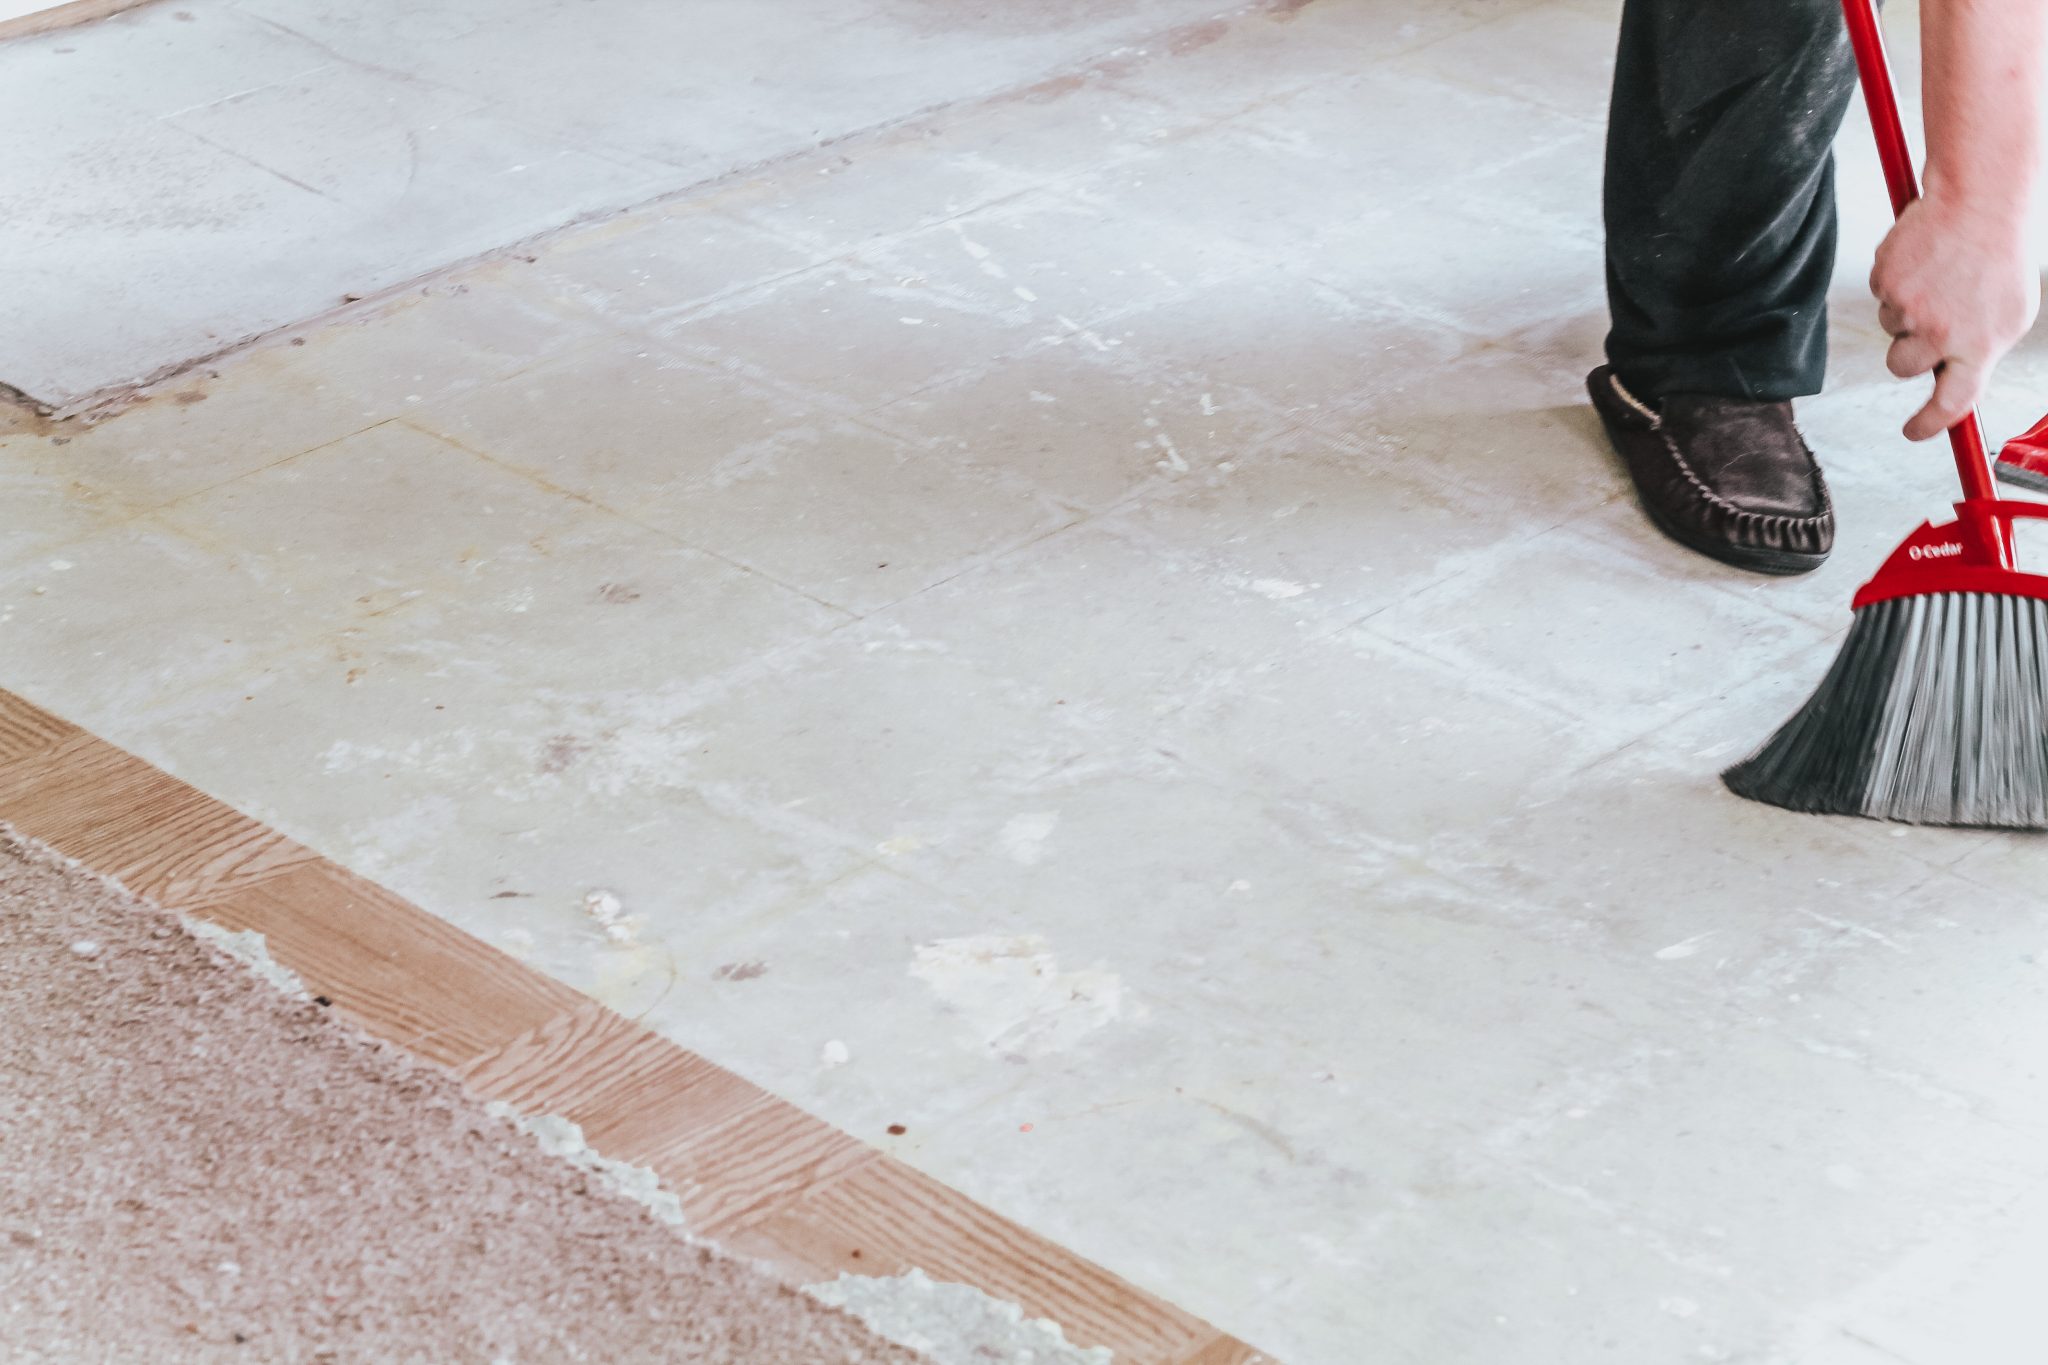
Pulling up the carpet and padding was simple, we just used a box cutter to cut it into small strips, and simply peeled them off the floor. There were tack strips that boarded the room as well so we removed those with a hammer. When the carpet was pulled up we had no idea that there was another layer of tile under it, so that added some extra time onto the job because we then had to remove thin sheets of the wood-like tile, too!
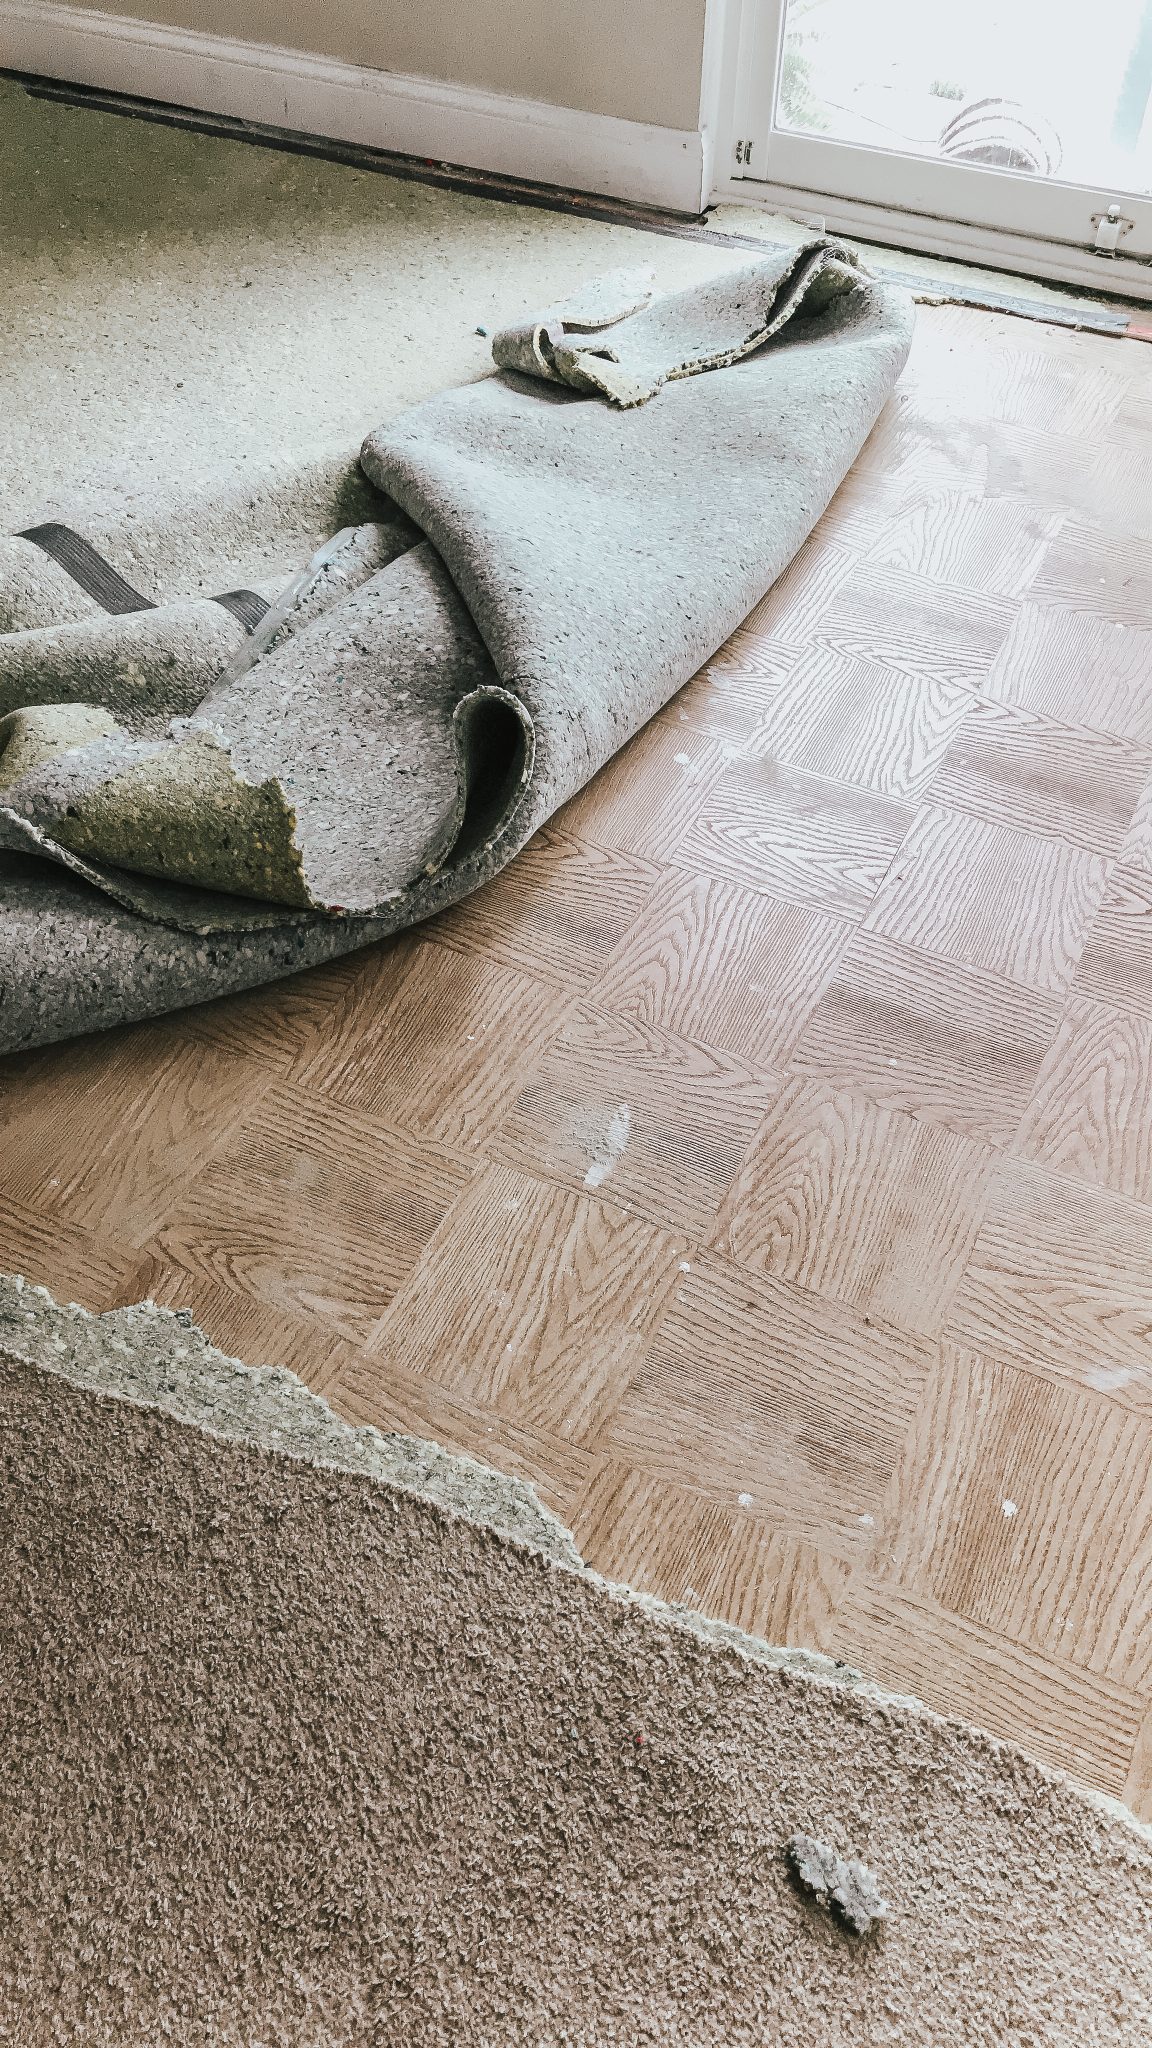
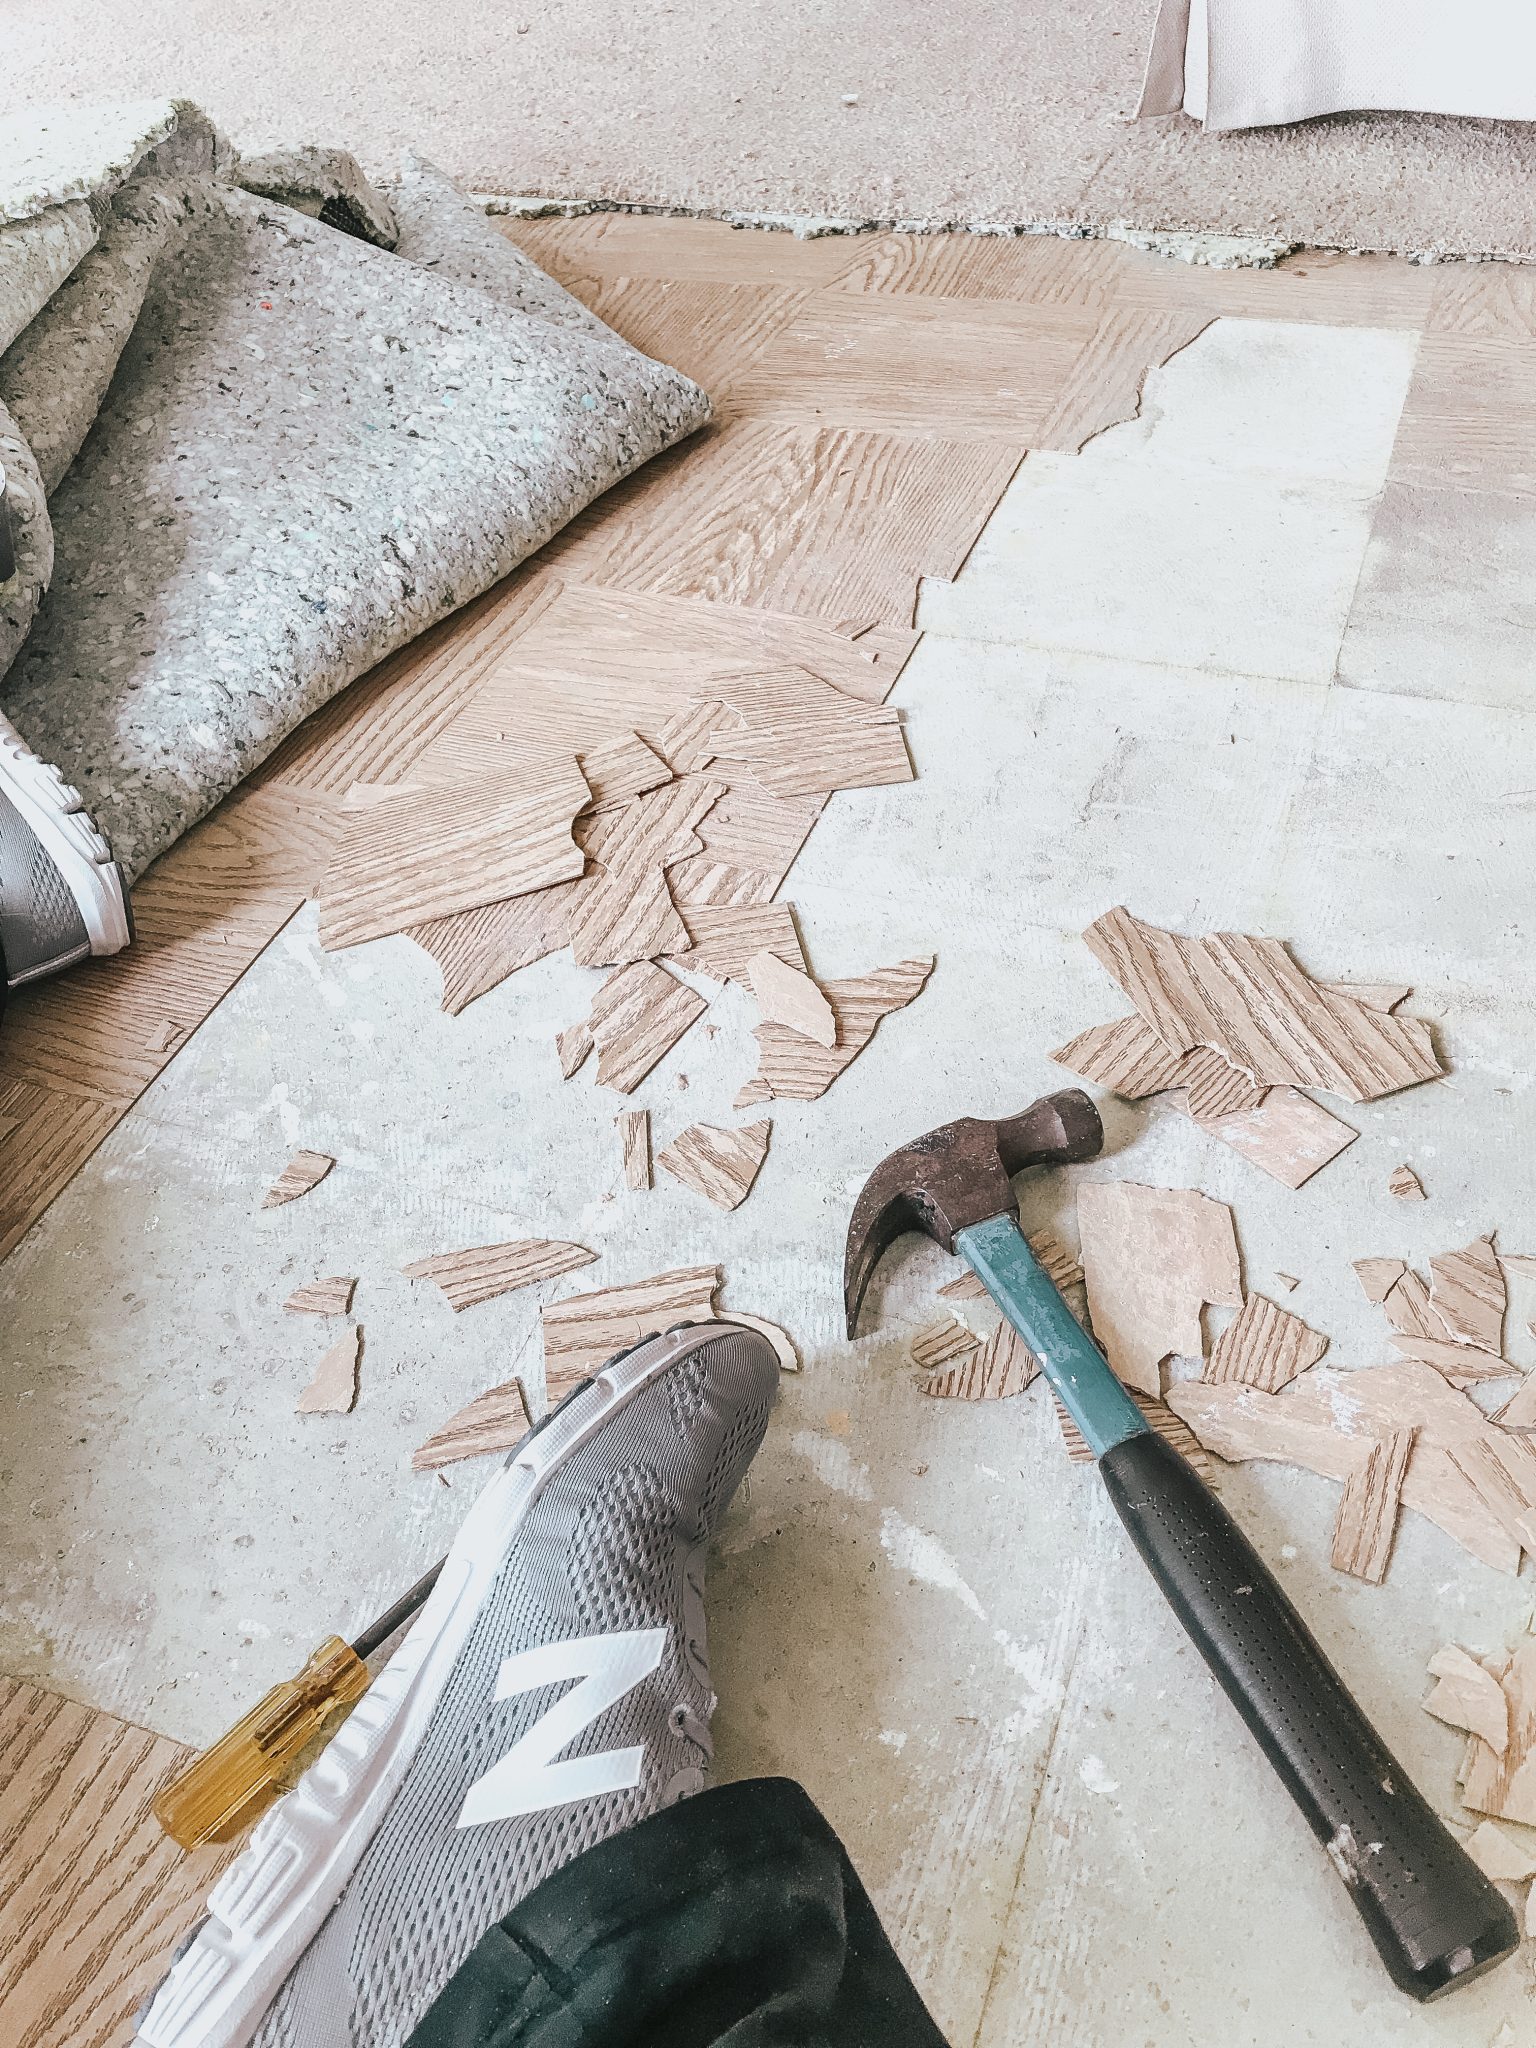
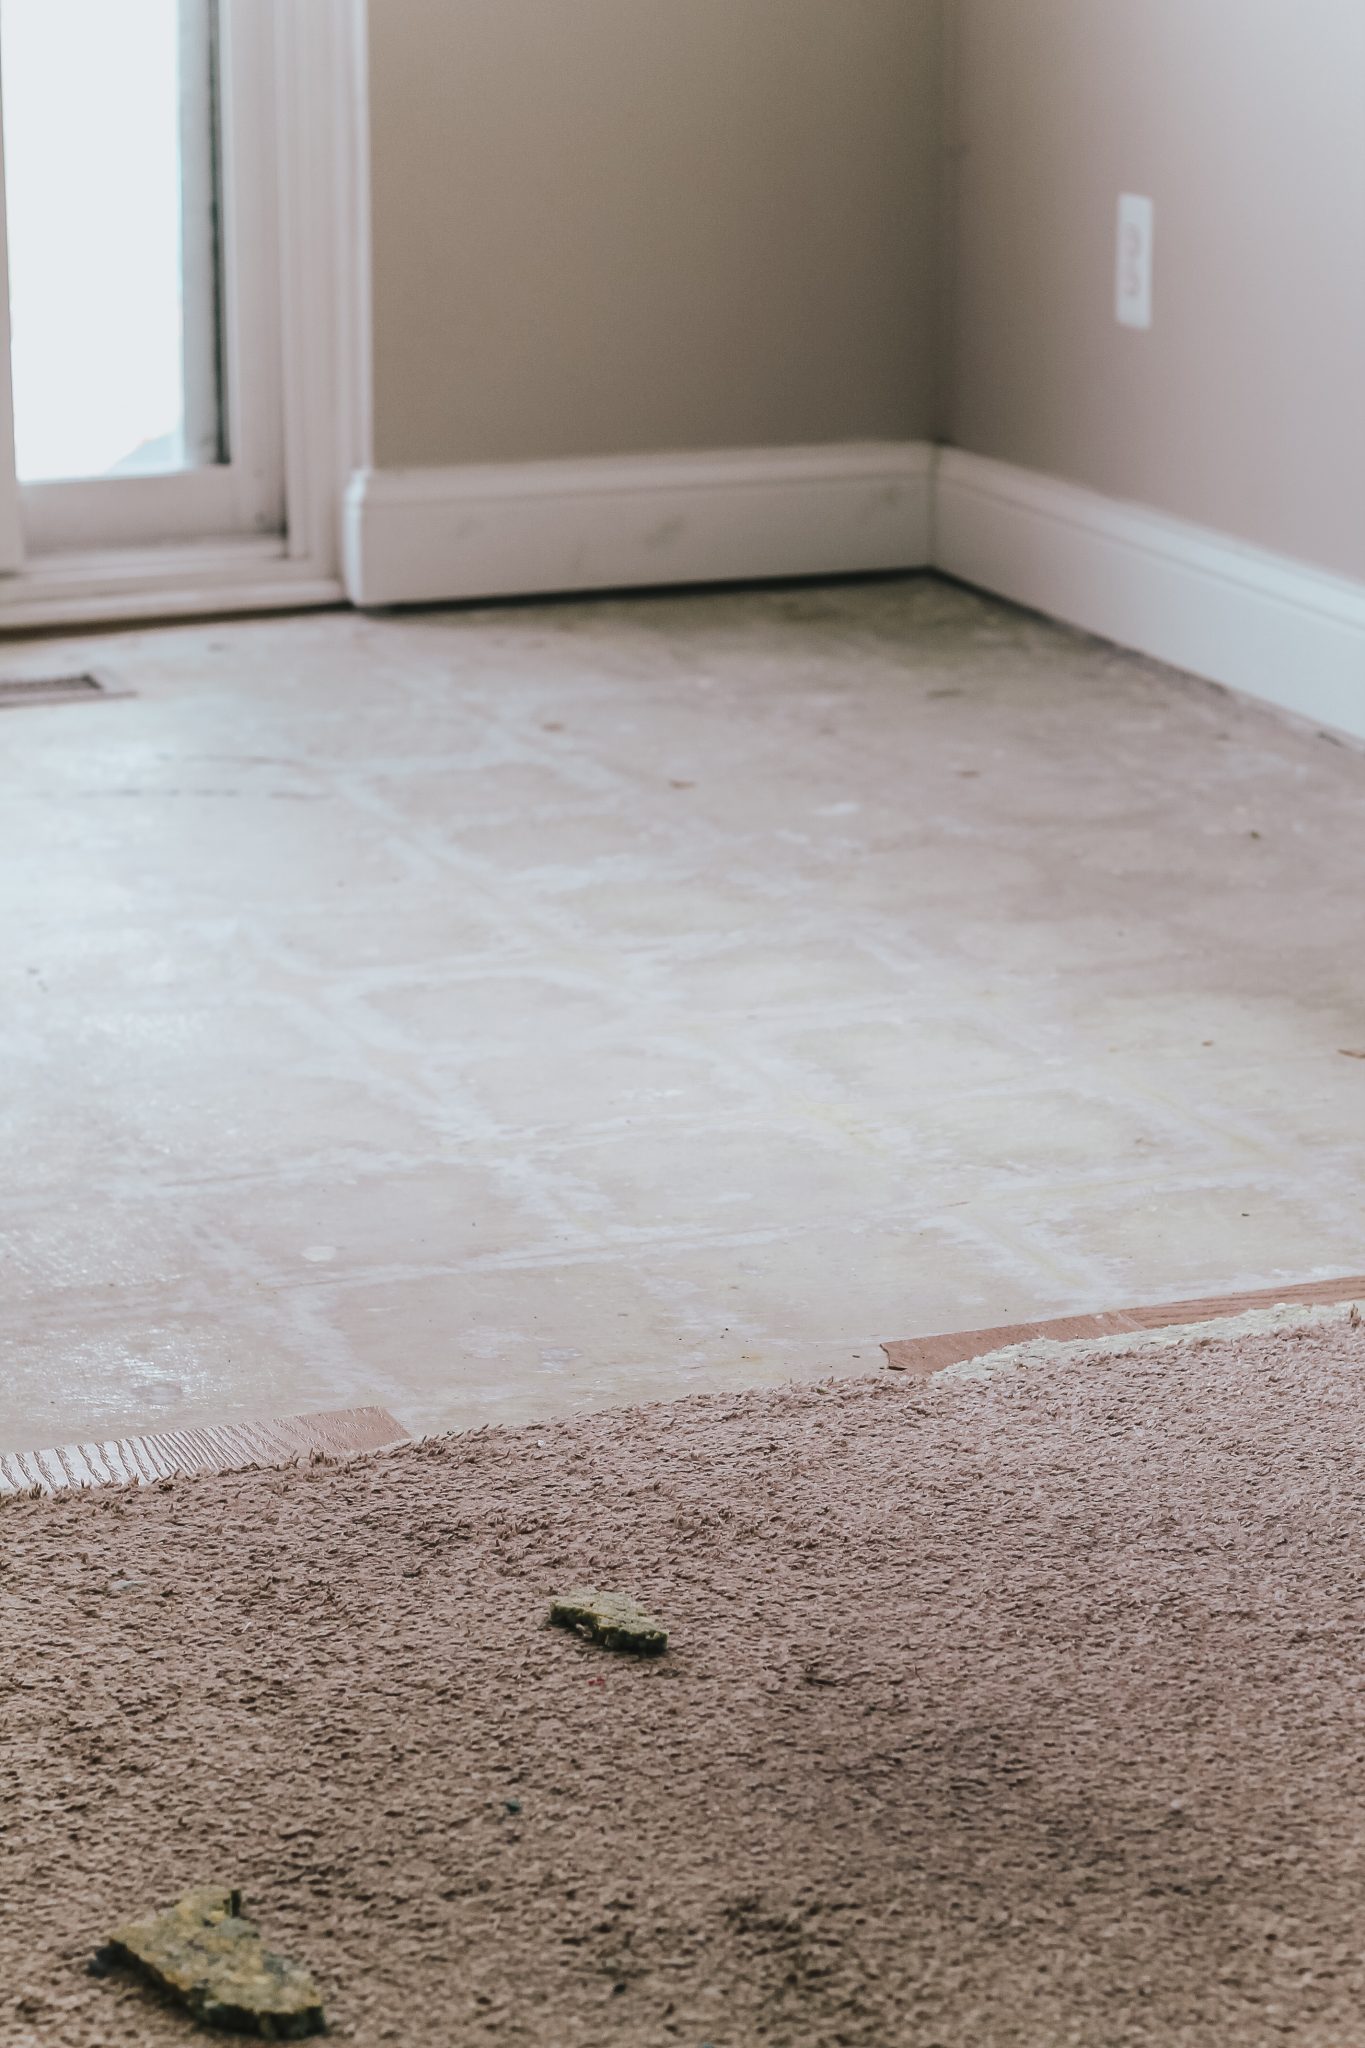
Since the tile was so old (must have been from when they built the house in the early 70’s) it was really fragile and easy to break and remove. I used a hammer and screw driver to pry each piece up. Since we still needed our living room to be used during the project, we tackled one side of the living room first clearing the carpet, padding, and tile, then we shifted everything over to the completed side and finished the other. After pulling everything up and seeing the dirt and grime that was trapped between the carpet and flooring, I was so happy we removed it!
Why Tarkett ProGen Flooring?
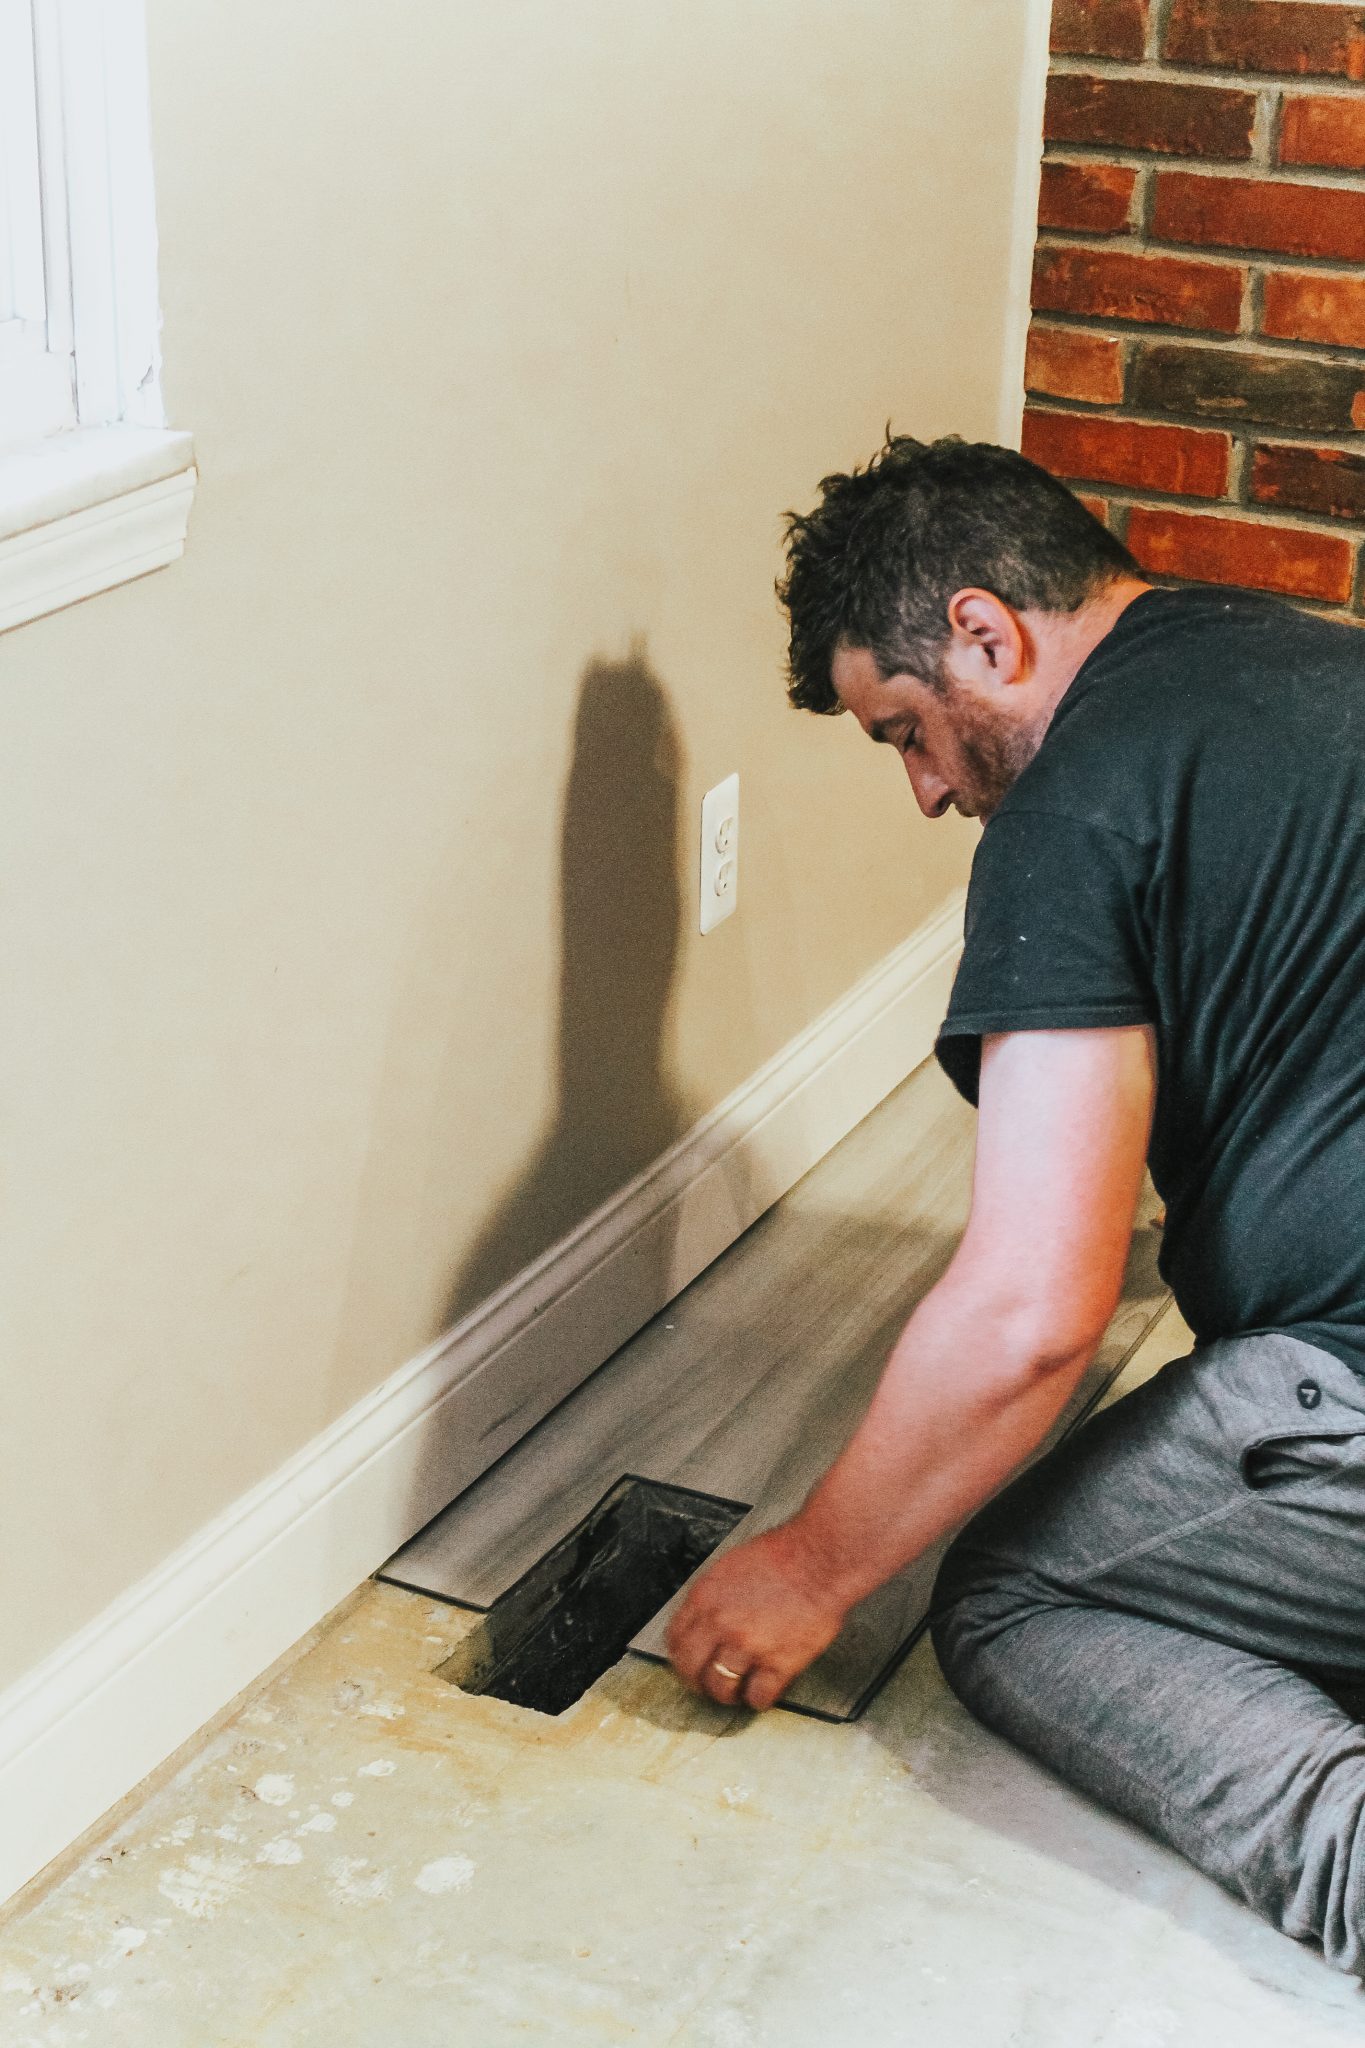
After everything was removed we gave the flooring a deep clean and started to prep for installing our Tarkett ProGen Flooring. The flooring came with easy-to-follow tips (and there are great video installations on their site here, too). When choosing the flooring, I wanted something extremely durable and easy to clean and Tarkett is just a whole new generation of flooring.
Key Features:
- Waterproof rigid construction – with a house full of kiddos and pets, there are messes daily. Easy clean up and the fact that the flooring is waterproof was a huge check on our list.
- Scratch resistance and indent resistance – Again with the kiddos and pets, I love that I don’t have to worry about the pets scratching up the flooring with their nails, or the kiddos making dents from playing.
- Good with temperature change – the temp in our living room fluctuates between the summer and winter months. So I didn’t want to get flooring that would just warp or fade due to the heavy sunlight we get in the space.
- Easy Installation – The flooring has fast locking click system for easy installation using just a utility knife! Just measure and cut, easy as that!
- ProGen is 100% reclaimable/recyclable after use!
- Can be installed the same day you receive it, ProGen requires no acclimation time!
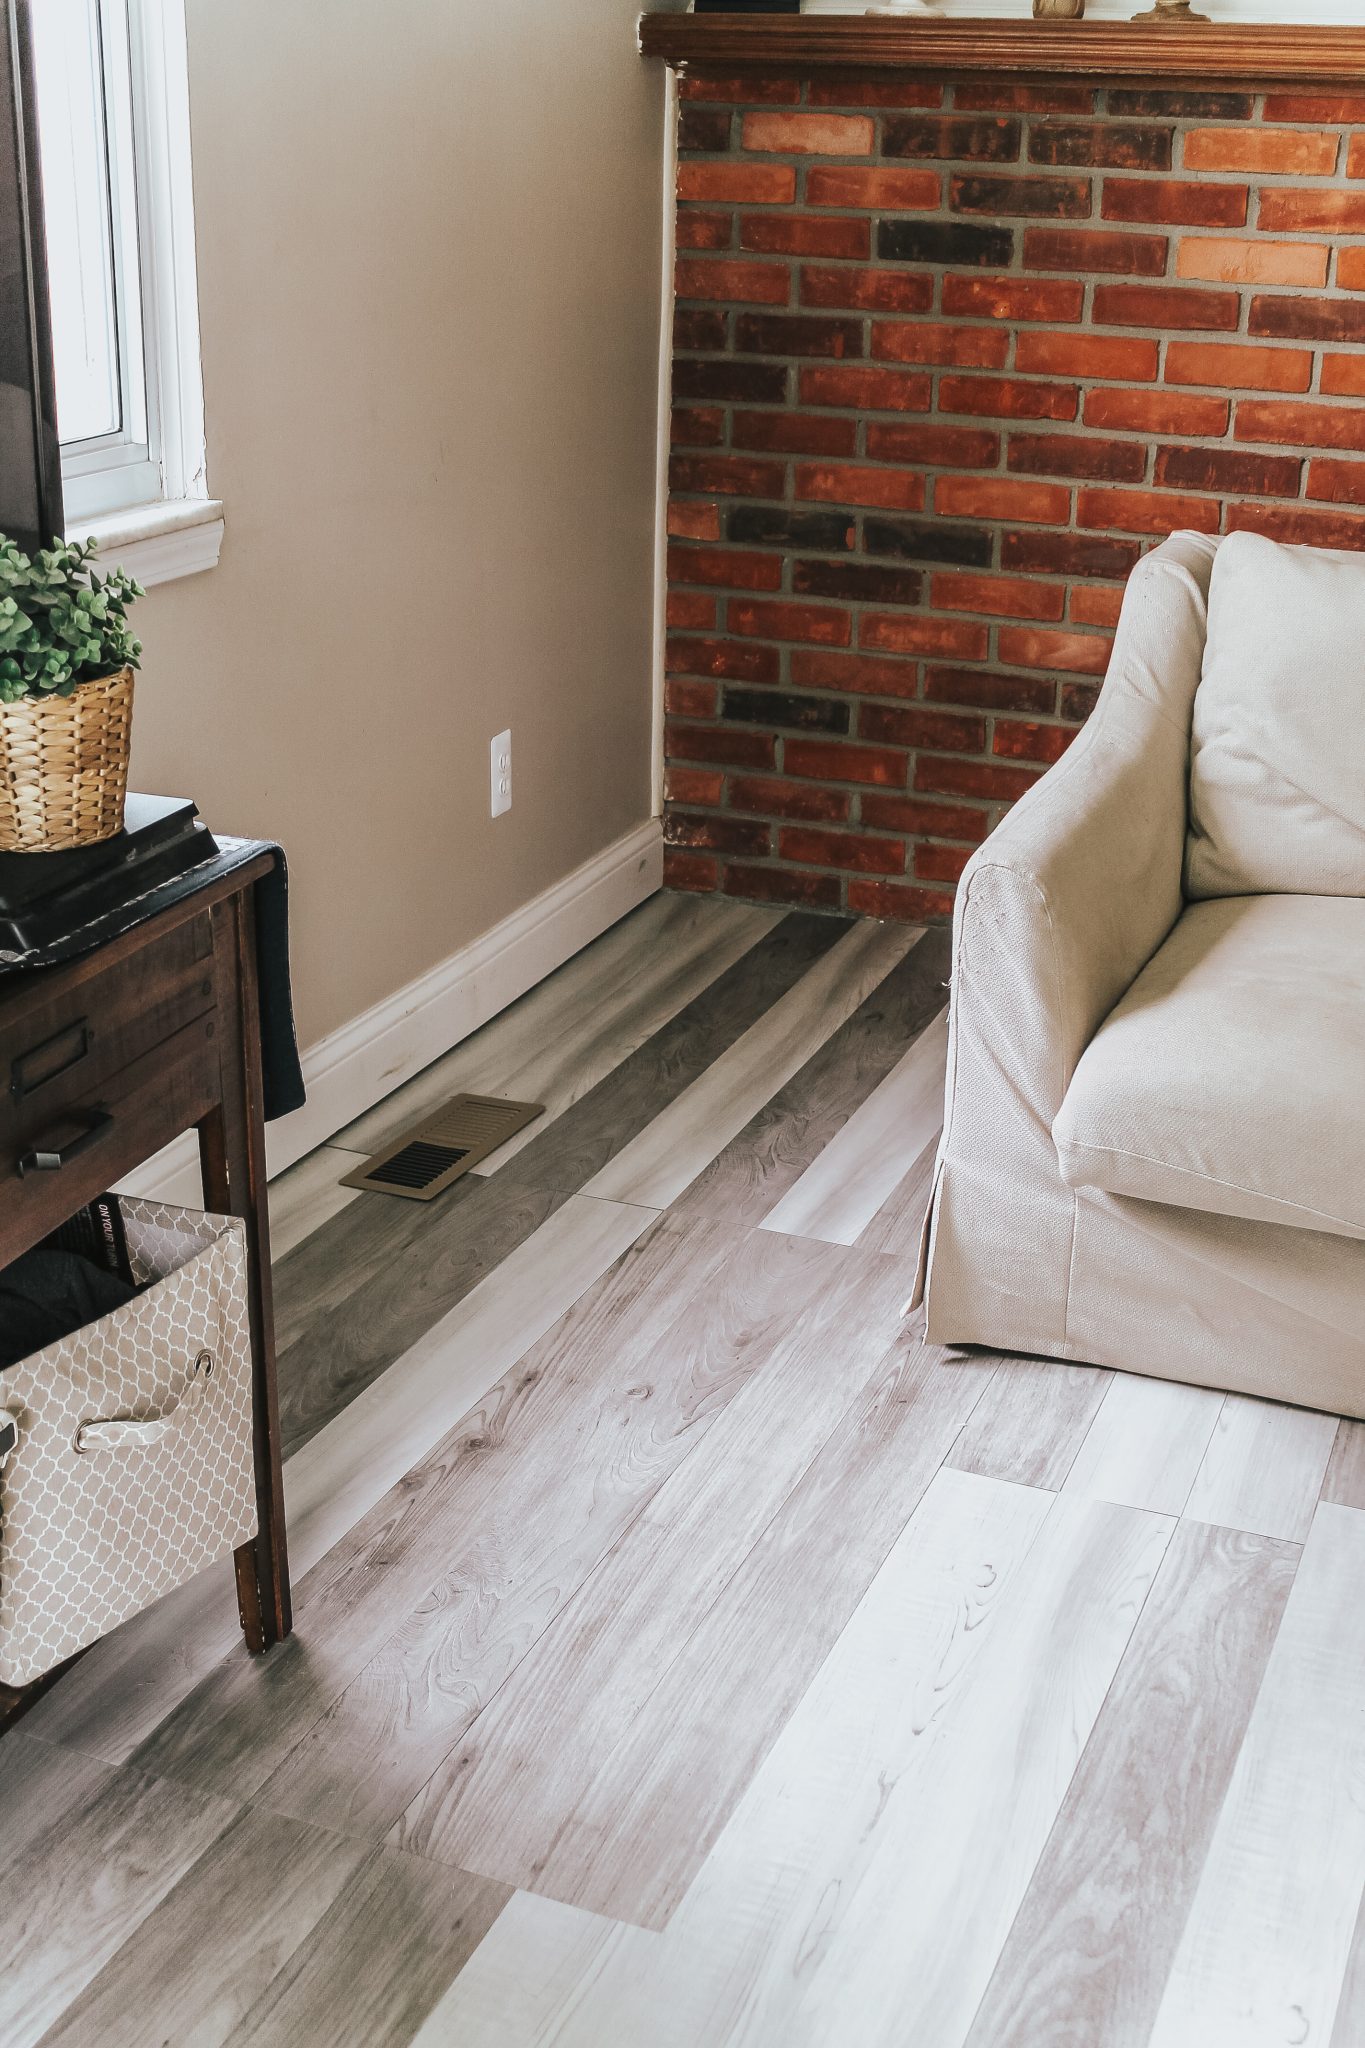
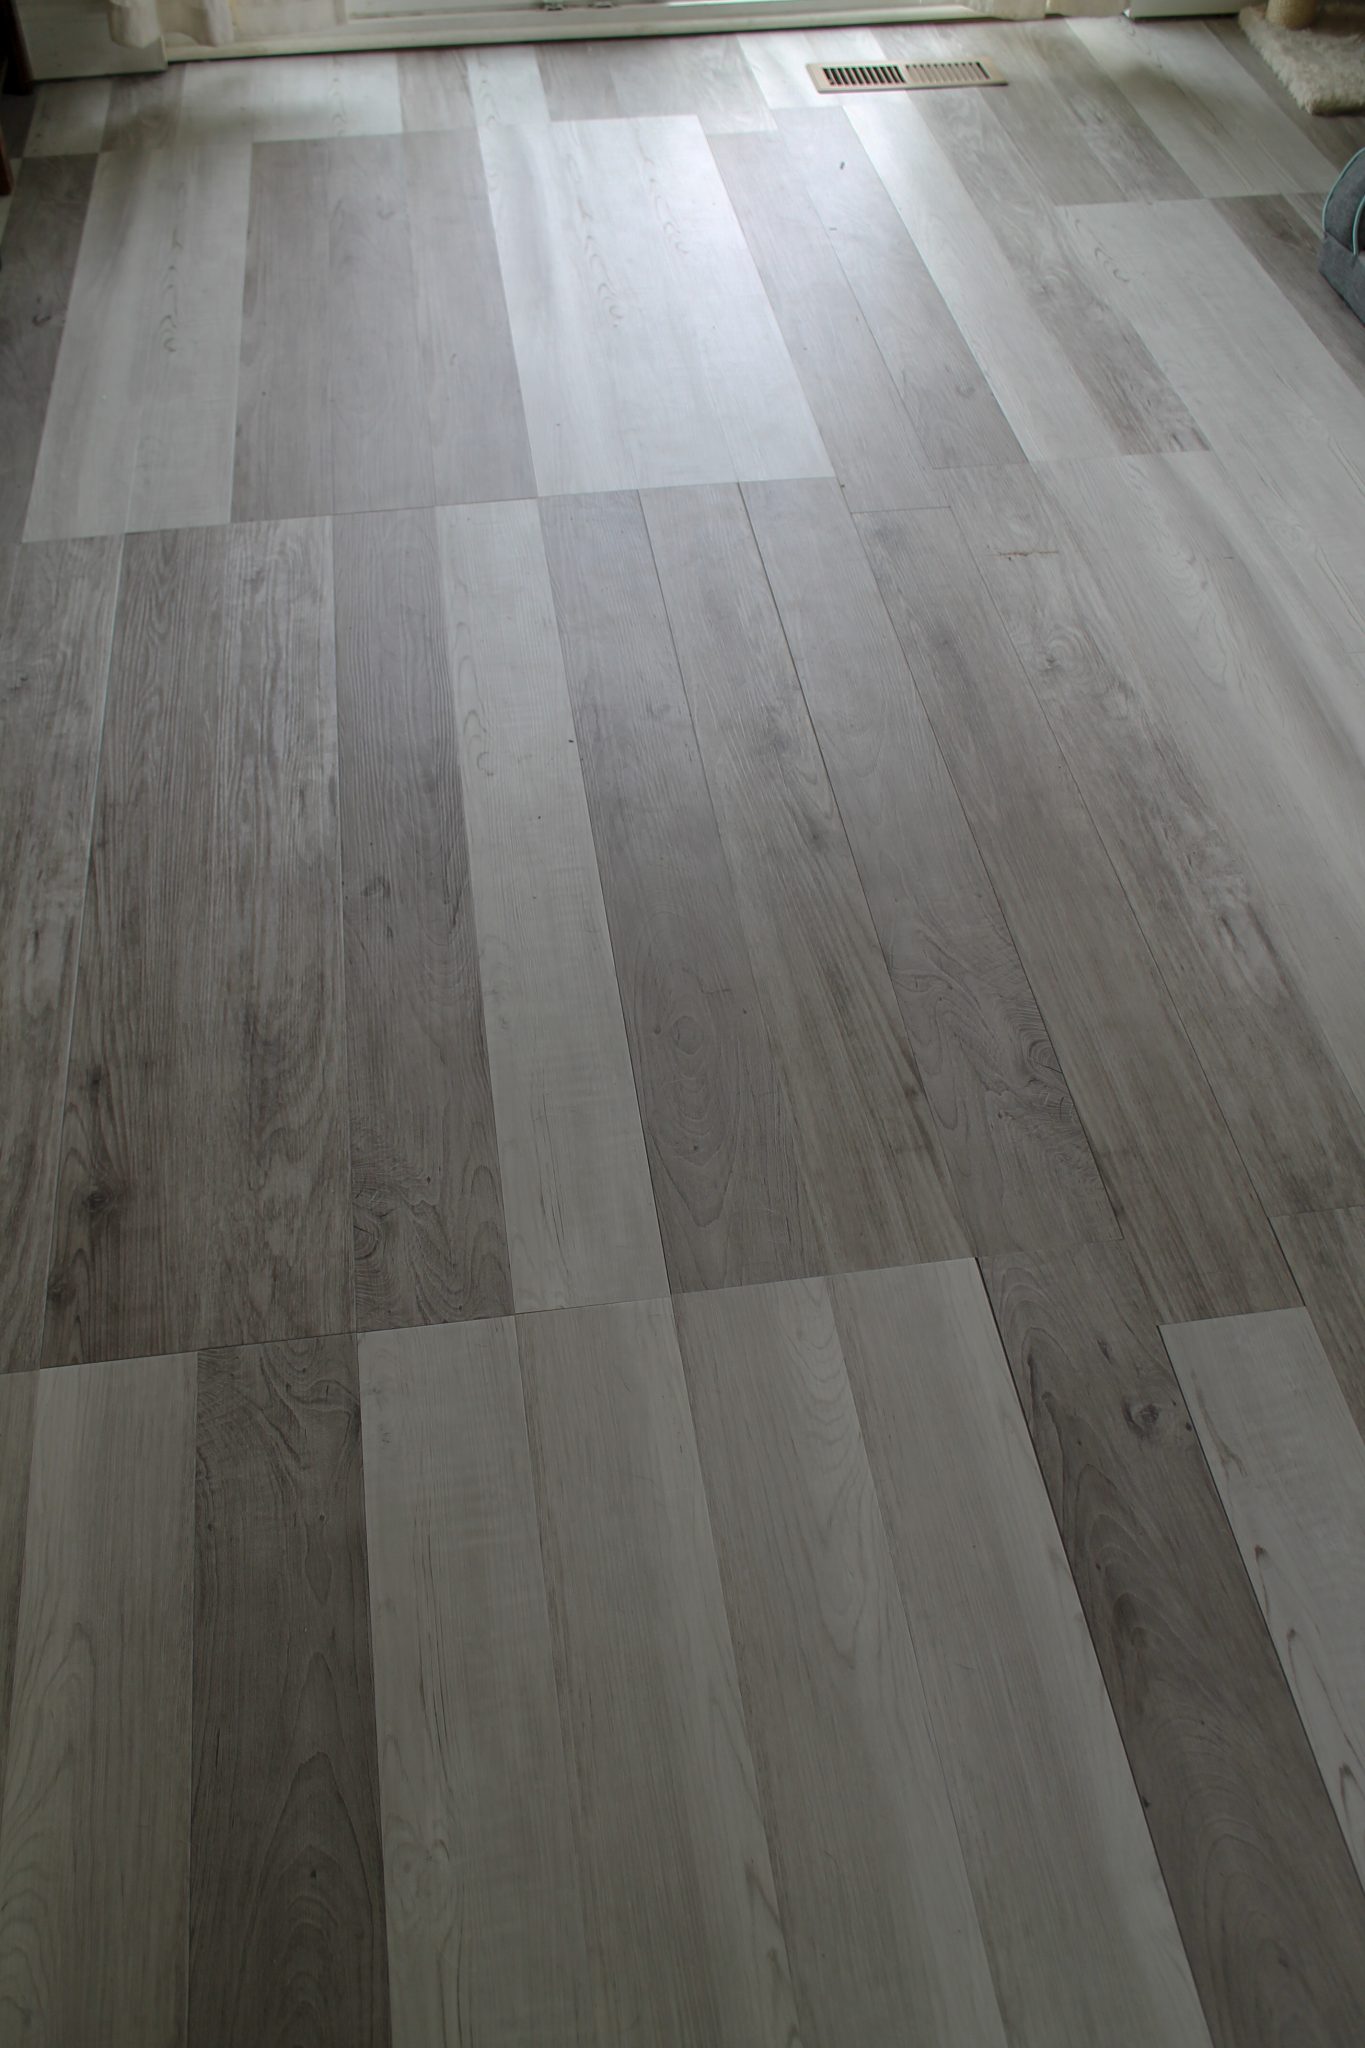
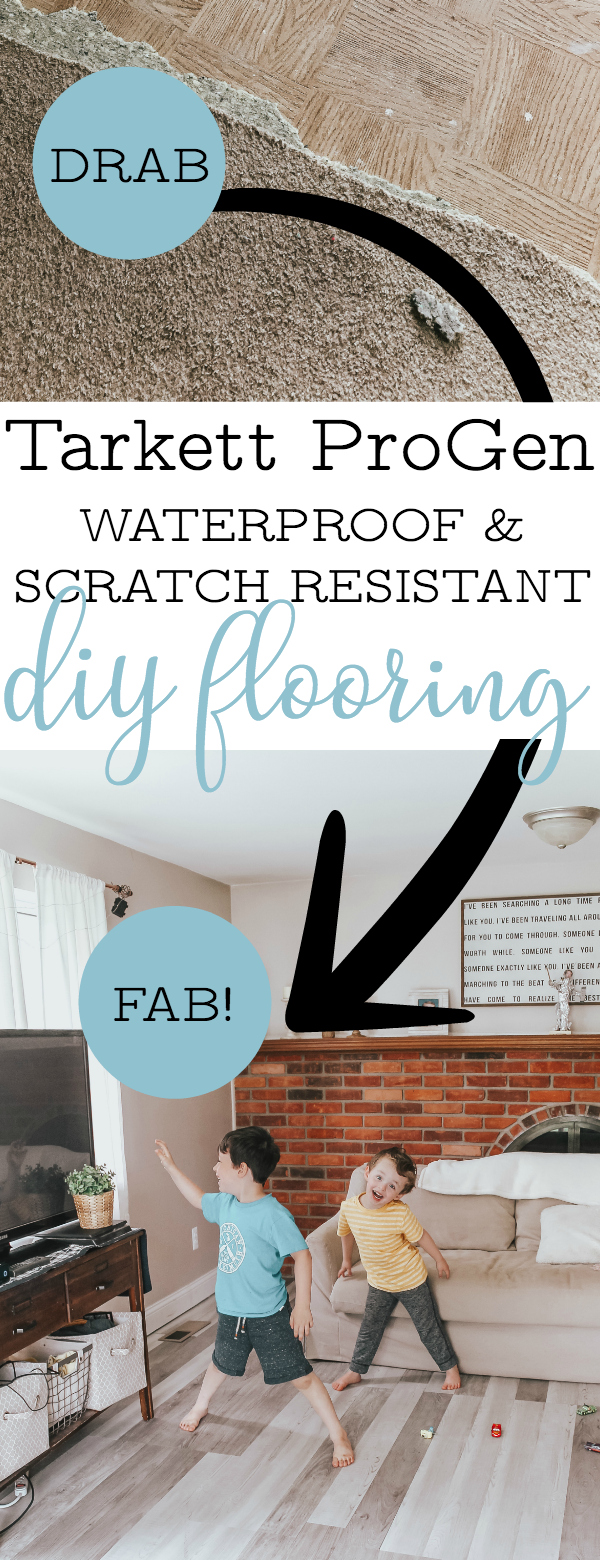
I mean, it looks so good, right? I still can’t get over the change of the room just from changing the flooring. Our living room floor was transformed from drab to fab and I can’t wait for many more years of enjoyment to come from it!
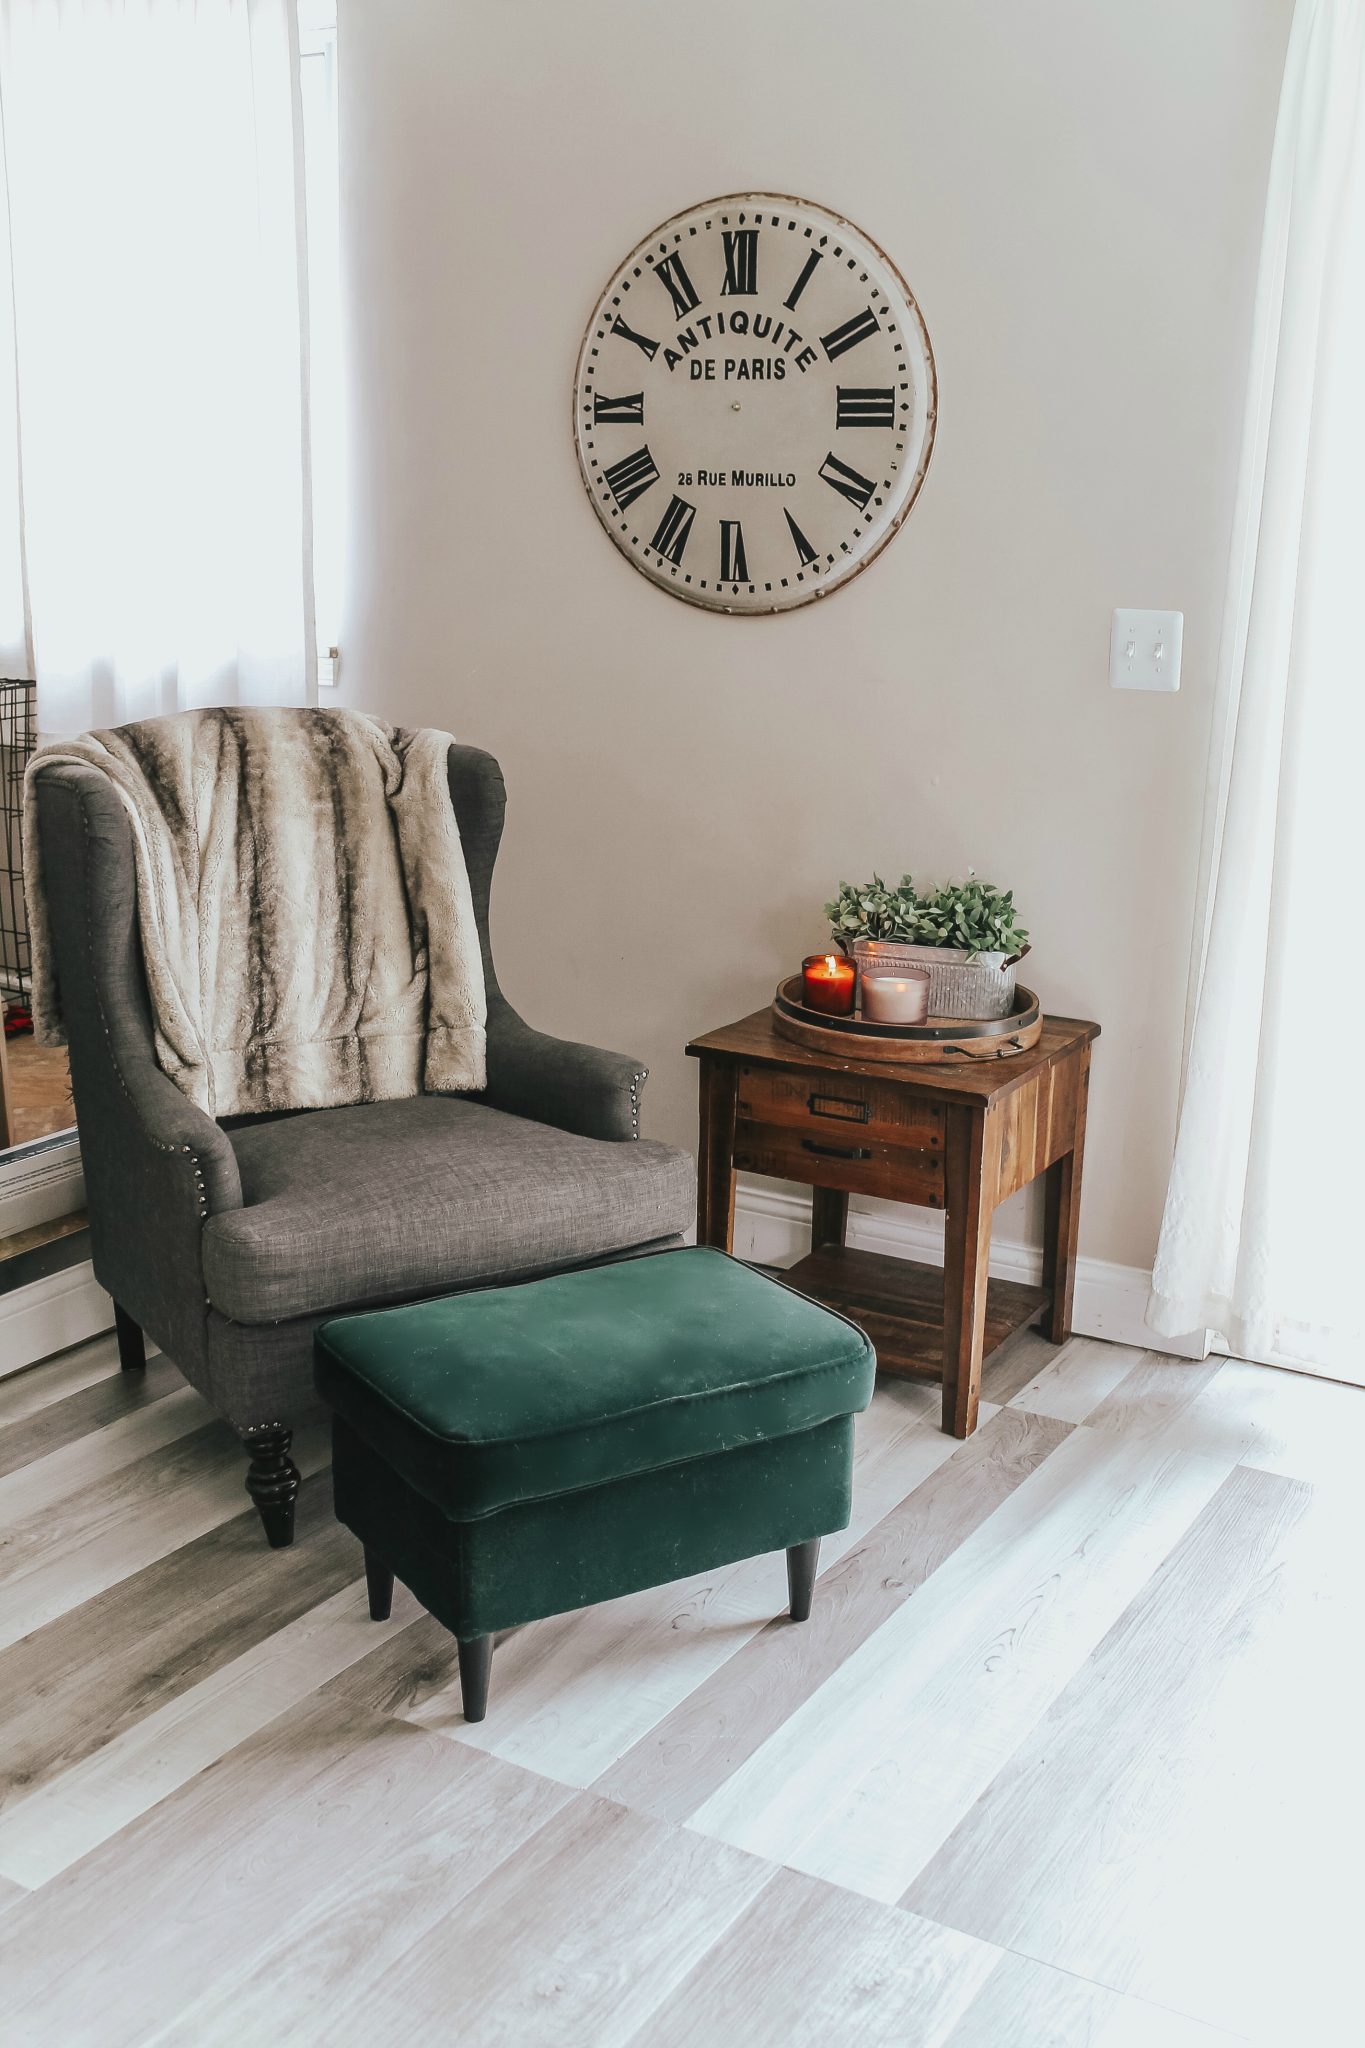

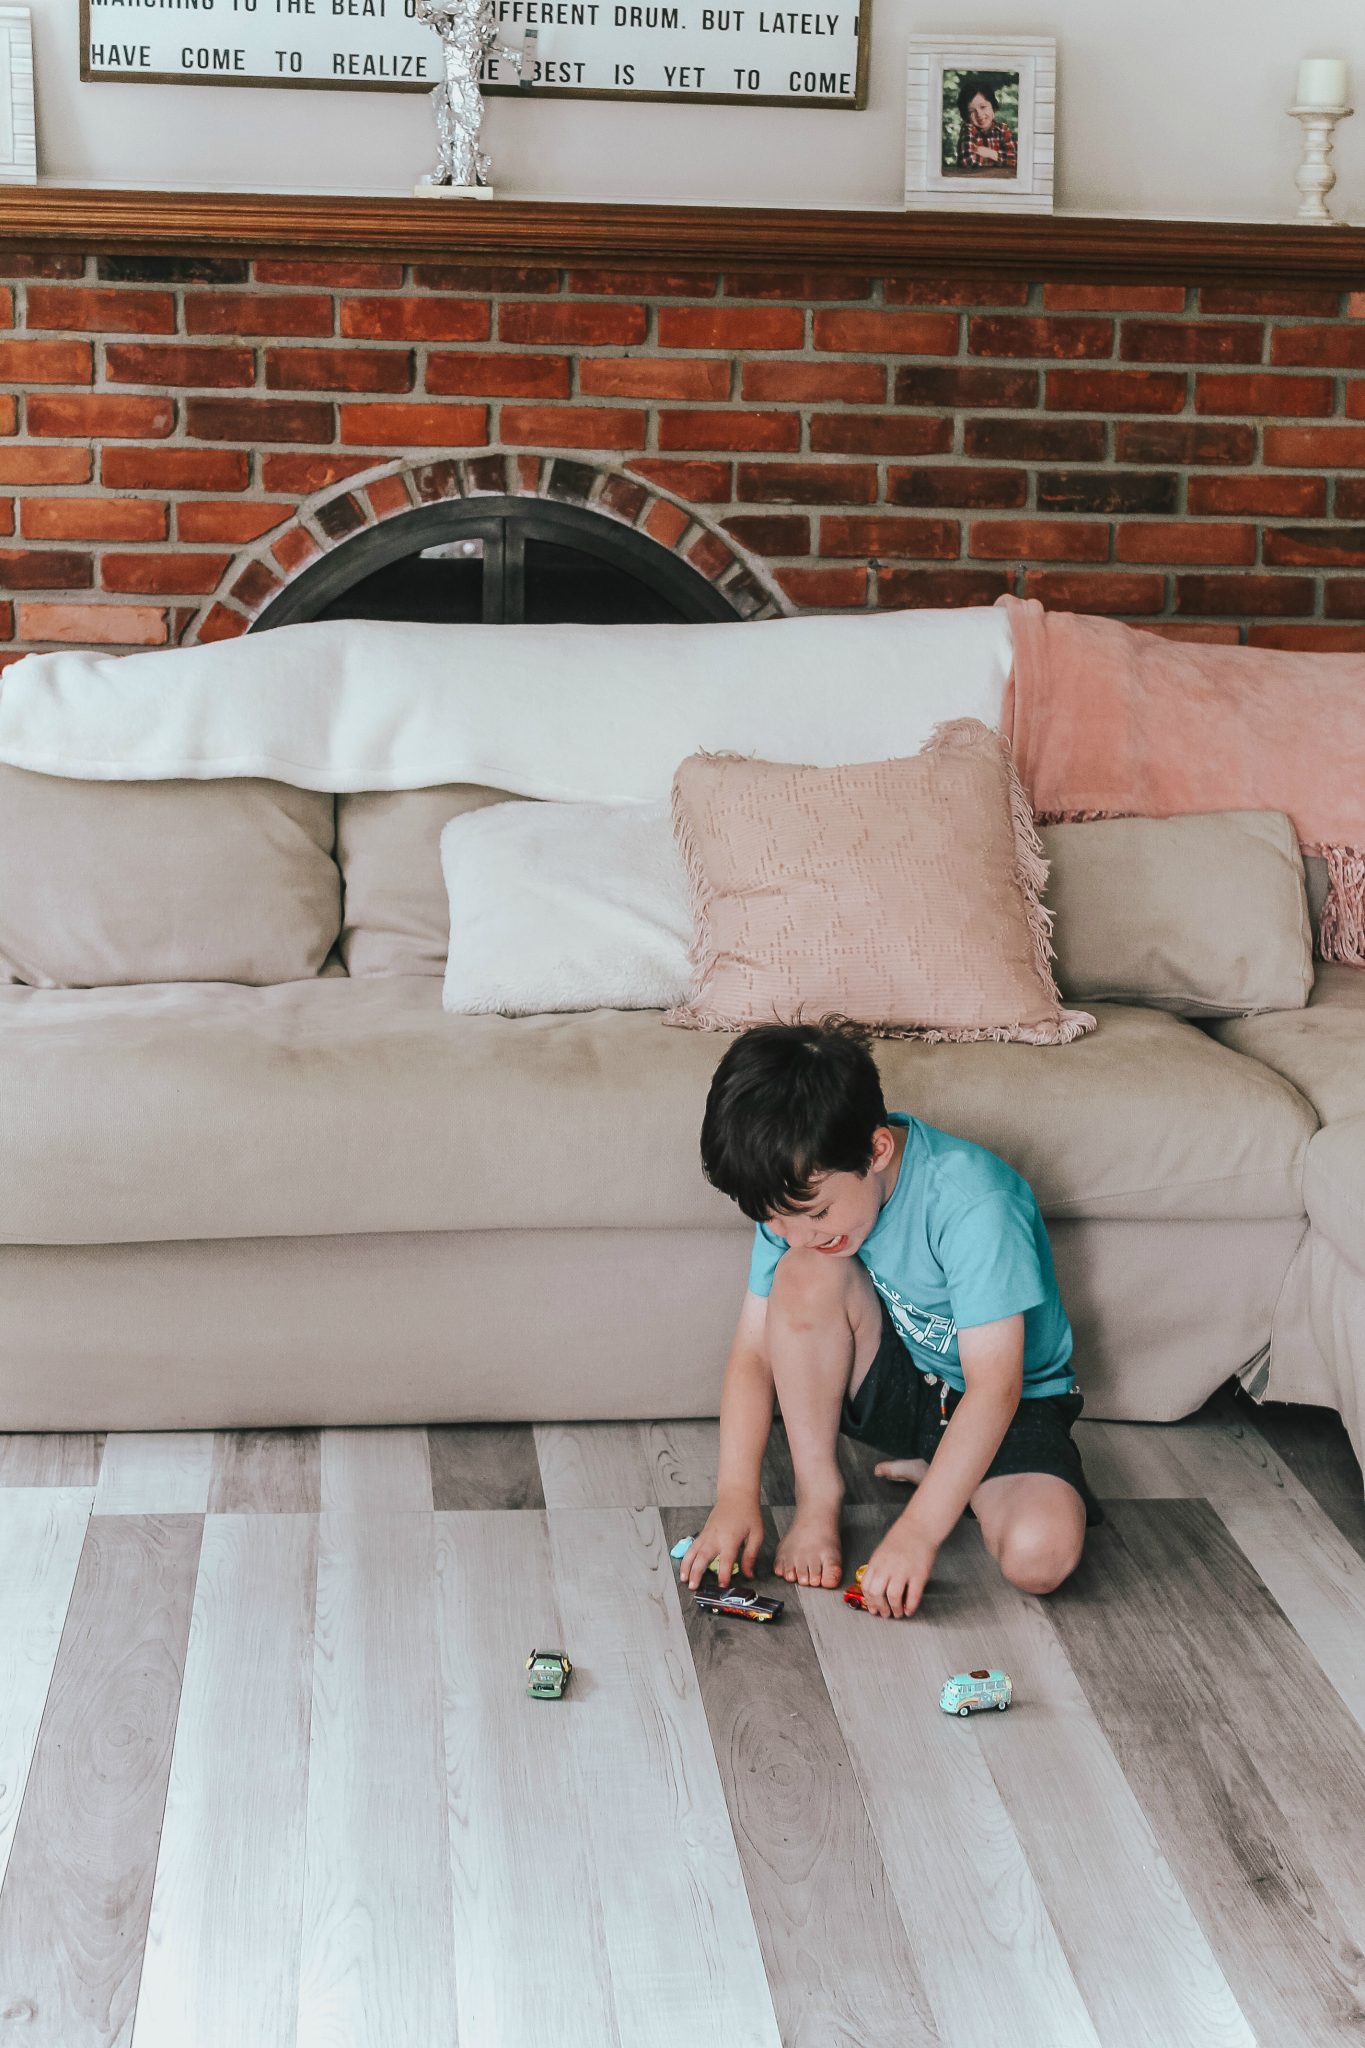
I love that we now have the perfect flooring for this heavy-trafficked area. And the boys just love playing on it already! Plus, there is something to be said about the fact that this is a project my husband and I completed together. Together we learned a new skill, and now we can’t wait to take on another room! Or, at least I can’t 😉
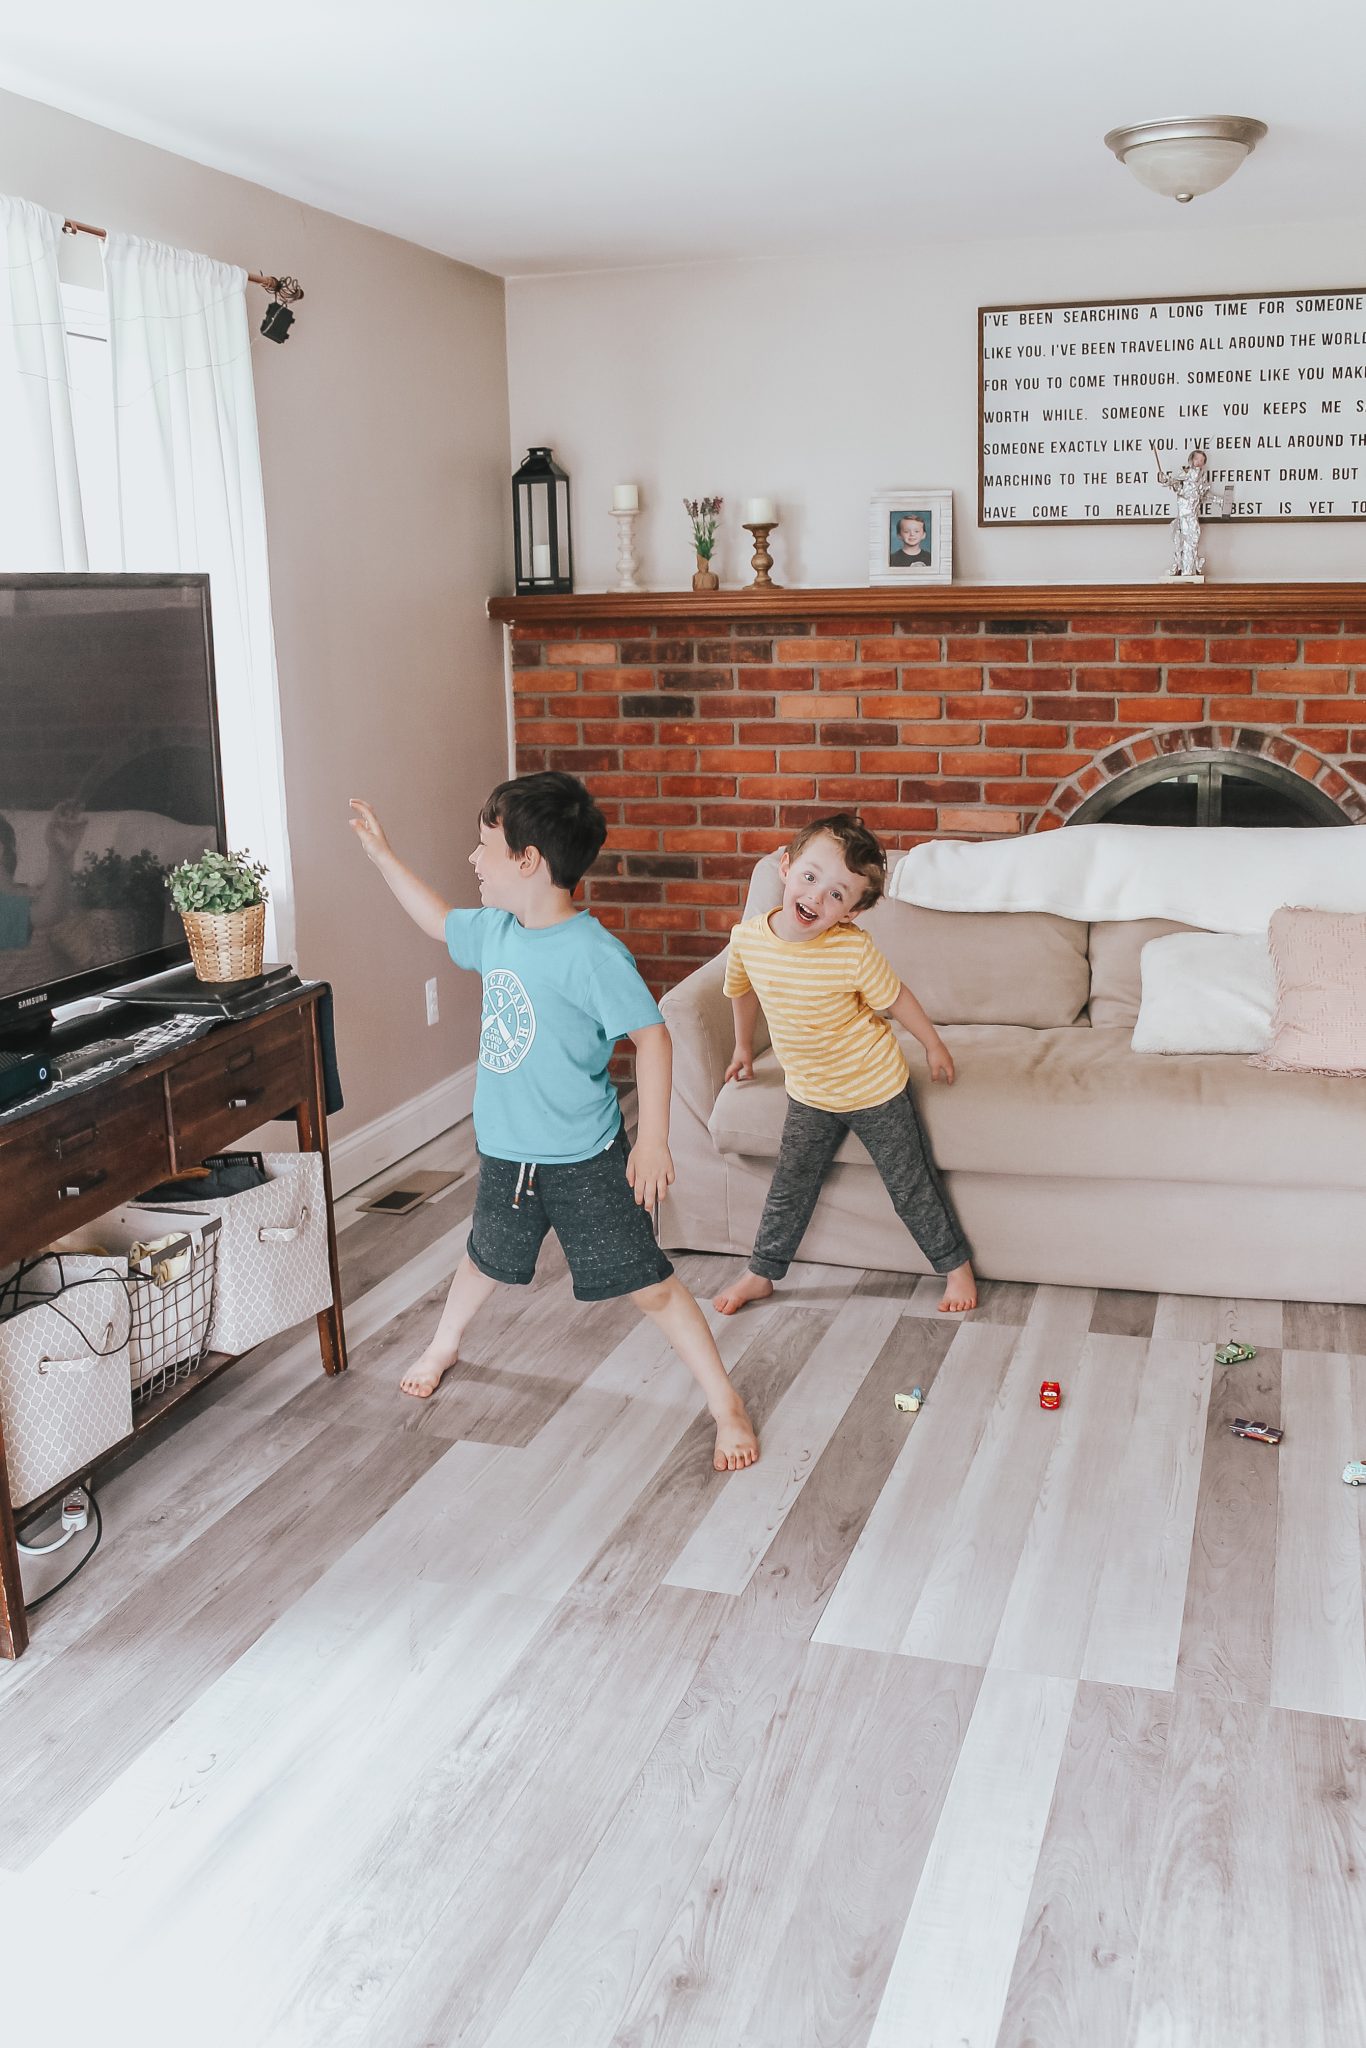
Next up for our living room is painting the fireplace, installing new lighting and fans, and getting new decor! I can’t wait for the full transformation to be done so we can just kick back and enjoy this space together as a family!
Do you have a space in your home that could use Tarkett ProGen Flooring? Be sure to visit their website to see all 22 of the beautiful designs they have to transform your space! For reference, the flooring design we used is the Alder Cashmere / Cool Grey.
Happy Flooring!
Love this post? Pin it for later here:


Good job on tackling this, but just fyi for next time, you need to stagger the planks when installing them. No two planks should line up next to each other.